Bead garland. Farmhouse beads. Wood bead garland. Not sure what you call them at your house, but I’m digging them at mine.
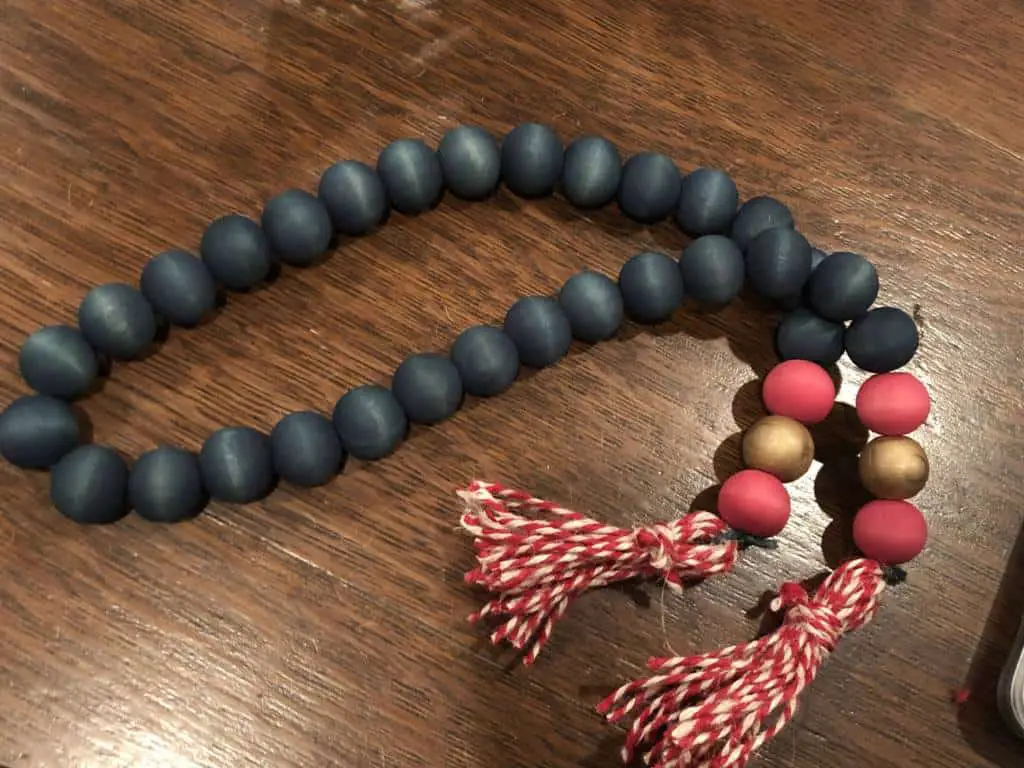
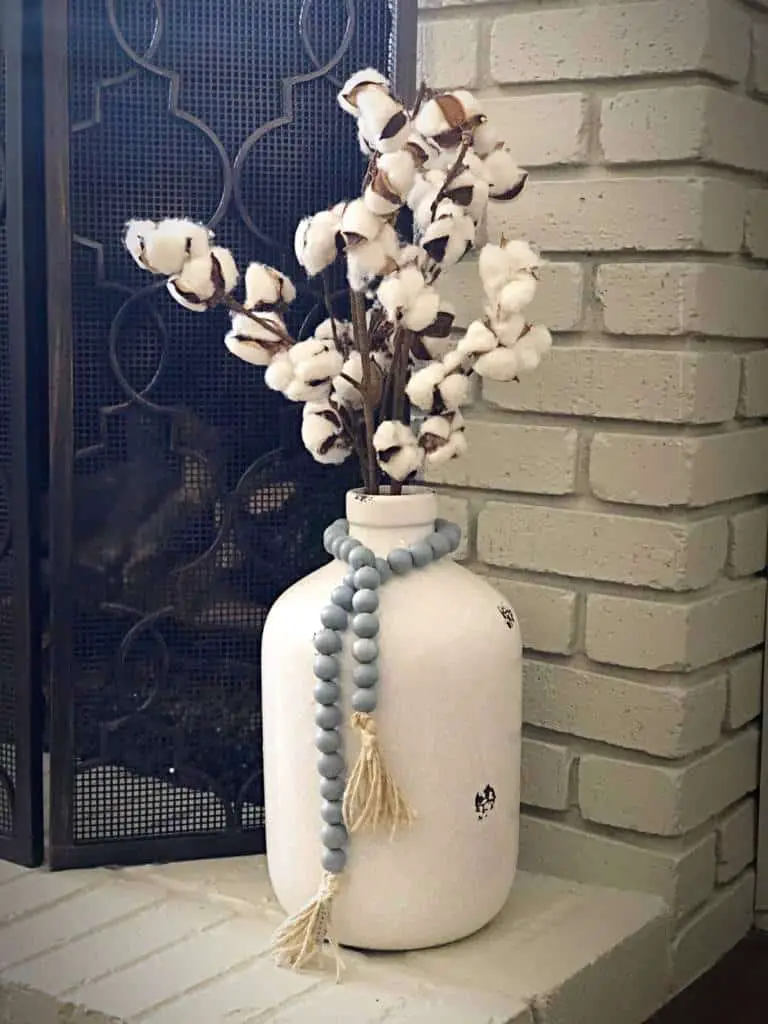
I’ve been stalking the hashtags on Insta to see how all these cute design gals are styling their wooden bead strings and I can’t get enough. I’m now convinced that my tablescape is naked without them. My tiered tray is incomplete if I don’t string them through my faux florals. My decorative jug is unfinished without a scarf of beads stylishly draped across its curves. My holiday tablescape is naked without a seasonal garland to set it off.
I’m hooked, and I must have them in every color. The problem is, you can’t find them in every color. So I did what every good crafter does, I set out to dye unfinished beads to the colors I need to make my own color co-ordinated farmhouse beads. They don’t look that difficult. A string of colored beads with tassels on the ends. Easy, peasy right?
Almost.
I couldn’t find the wood beads already colored in the size that I wanted (18mm), so I ordered unfinished wooden beads from Amazon.
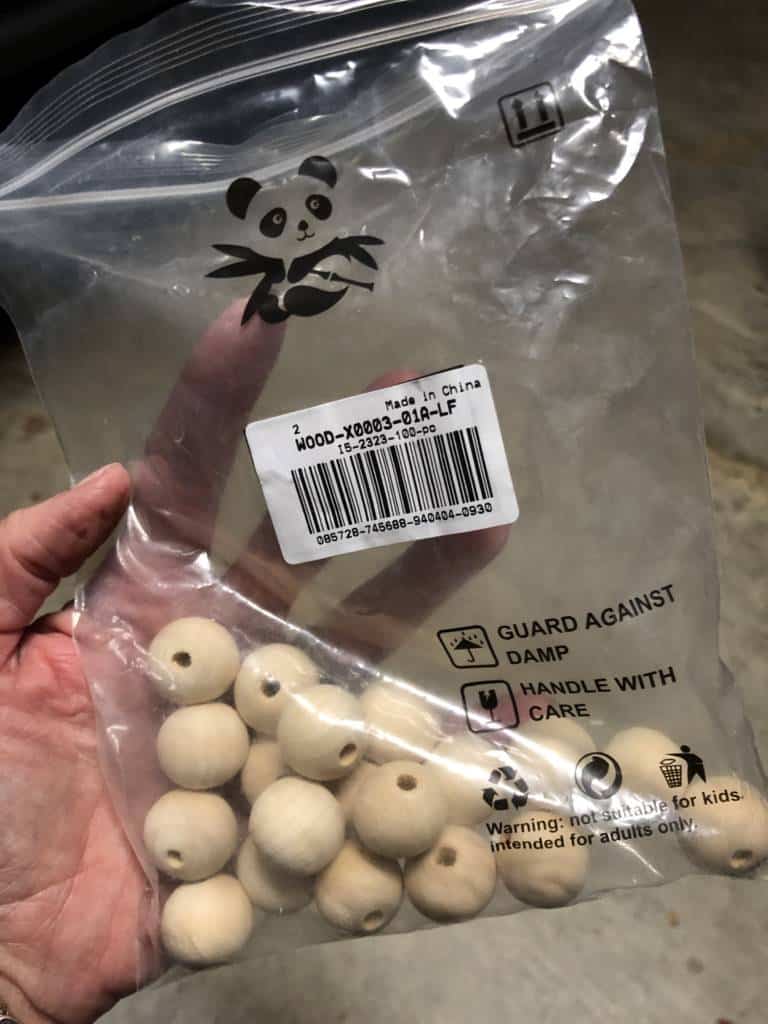
These are what I got in the first column, but there are others to consider too.


My first go around with making these, I decided to try staining the beads, and painting the beads. Spoiler alert: staining worked best. Here’s a video of my method, or if you prefer to read, continue below.
Here’s one of the methods that worked for me. (The better one comes a little further down, but this is a good option to mix in) I used some take out containers or an old baking dish and wooden cooking skewers to set up my bead coloring station.
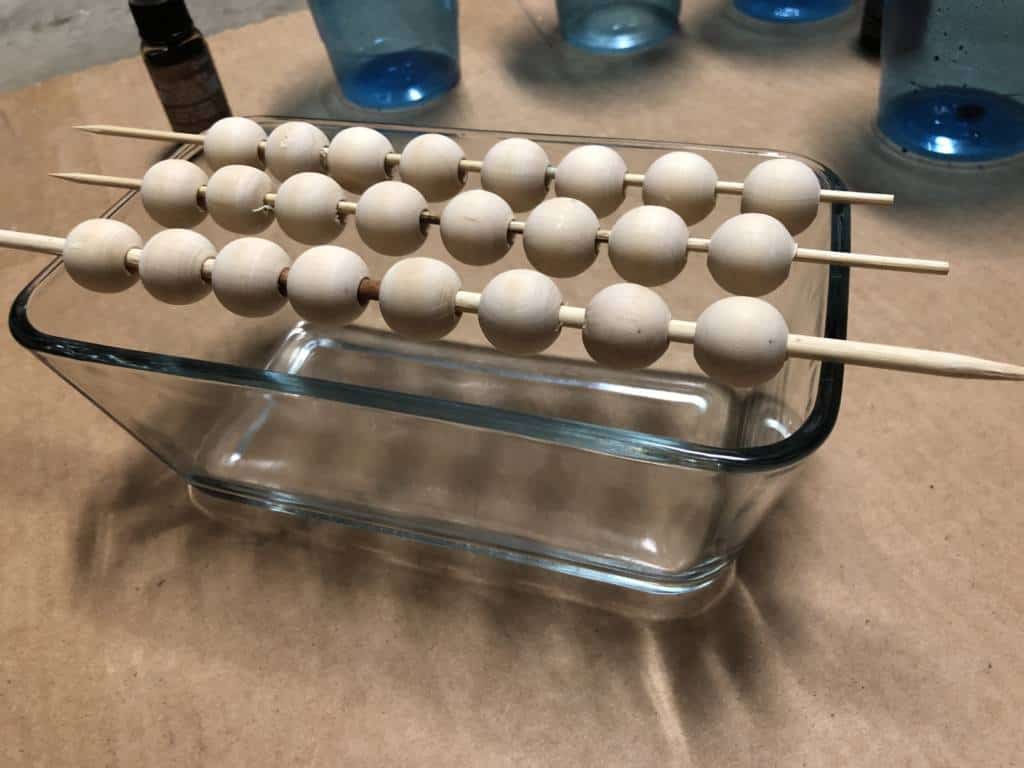
Push the skewers through the bead holes like you are stringing them with thread and lay them across the containers. Now you can spray your stain or paint onto the beads without them touching each other.
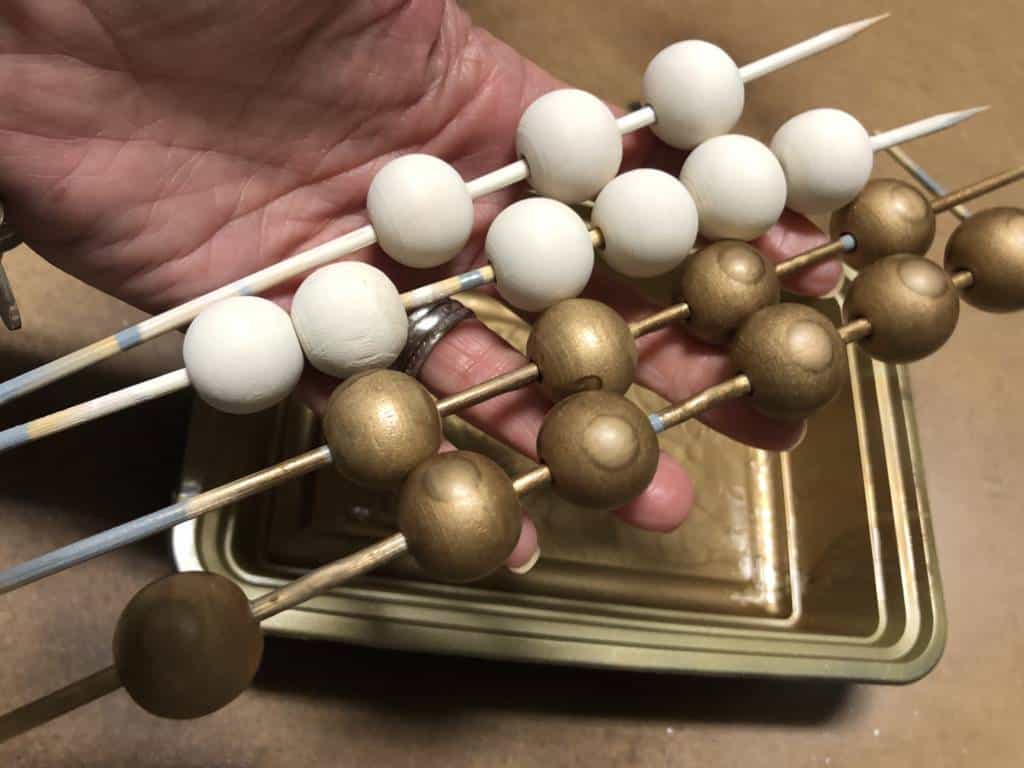
*** Skip to the end to see my tips on the BEST way to color your beads. THIS WAS NOT IT. ***
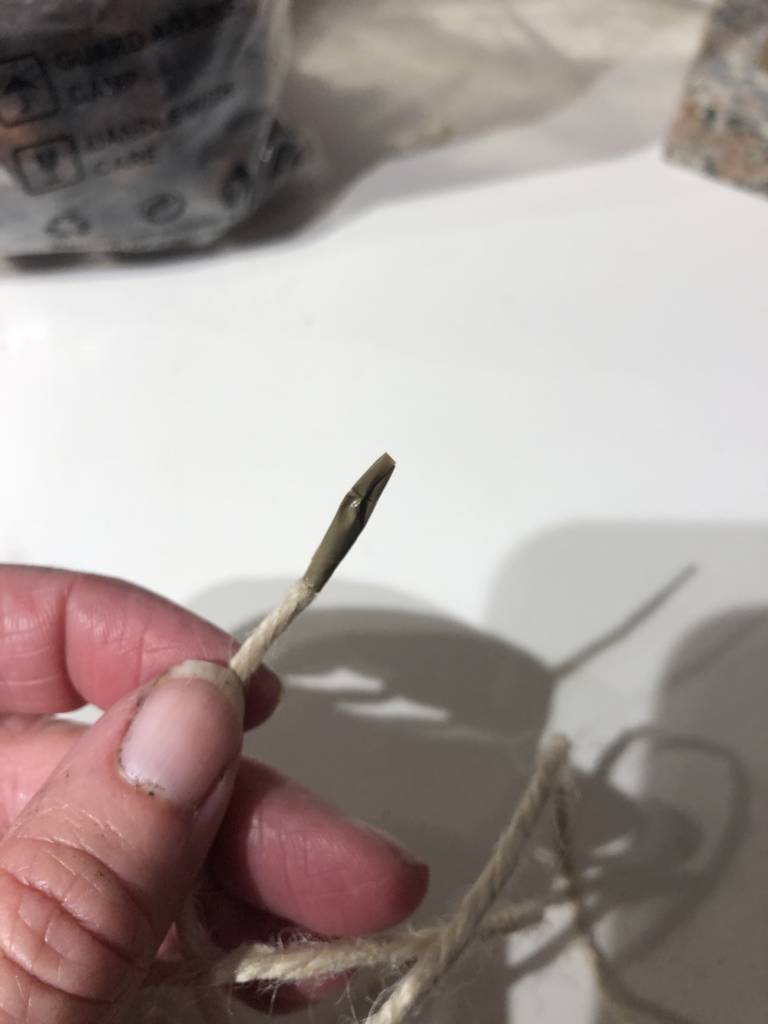
When dry, remove from the skewer and thread your string or twine through them. I used twine or jute. Pro tip: it’s easier to push the string through the beads if you tightly wrap a piece of tape around the end of the string first.
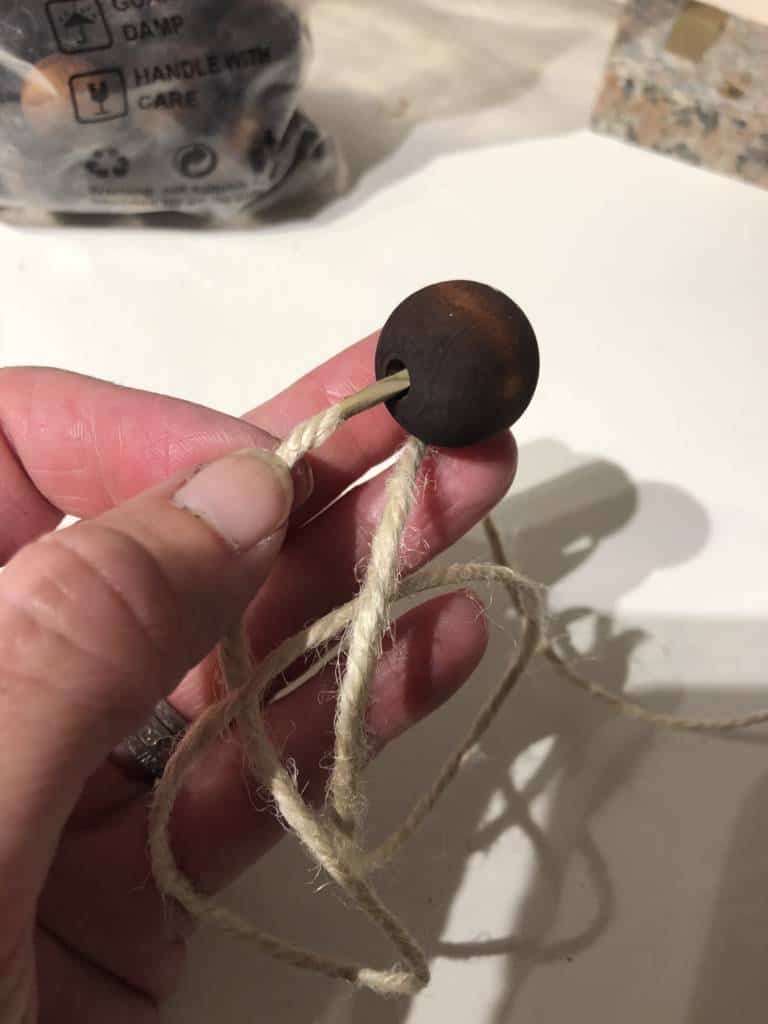
For each strand, I used 36ish beads.
Cut your string with several inches extra length on each side. Tie a knot on one end of your string, and then making sure your beads are tight next to each other, tie the other end too so they don’t slide off.
Now you’re ready to make tassels. They’re super easy too. Take about 25 of 8-inch pieces of whatever you want to make your tassels out of and lay them all together. Here are a few suggestions:


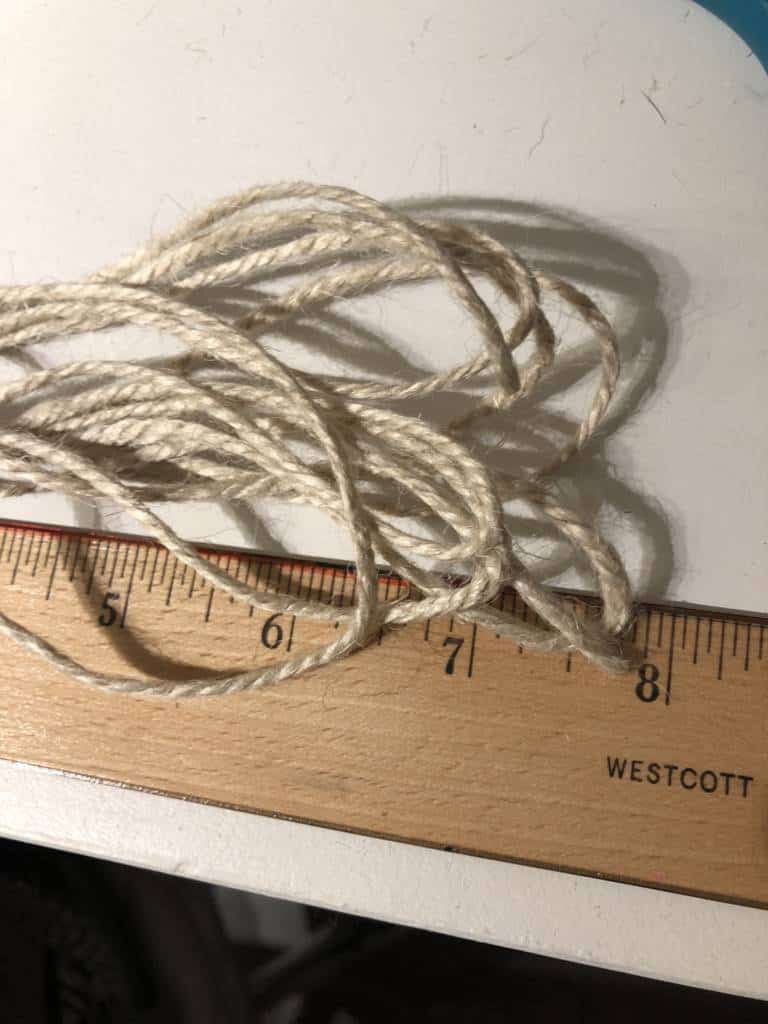
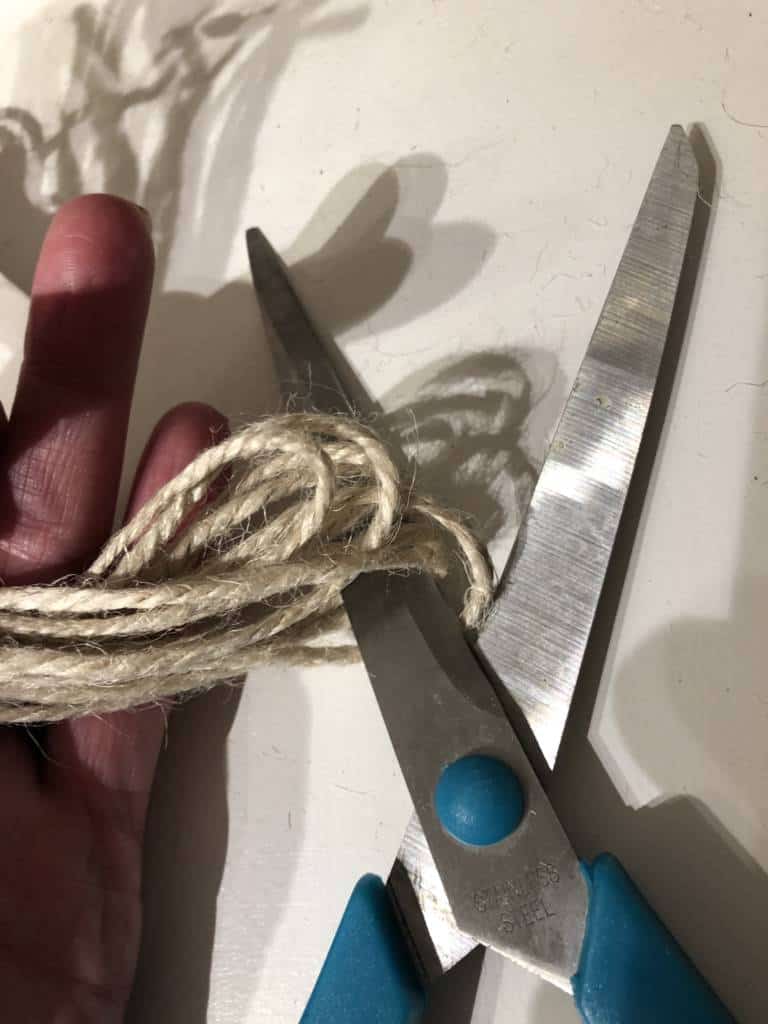
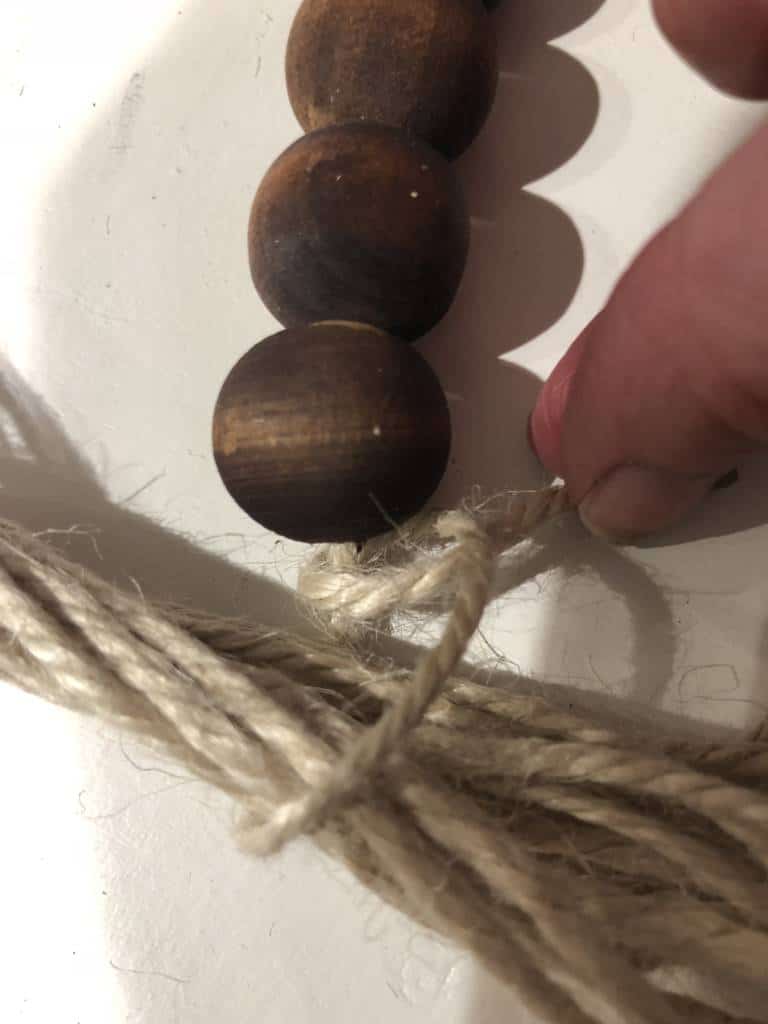
I may have forgotten to take photos around this time so it might be a good idea to watch the video above (insert blushing face).
Tie one end of your string of beads to the middle of the stack of strings. Fold the stack of strings in two. Take an additional piece of string and wrap it around the folded stacks and tie a knot to keep it together.Now do the same to the other side.Trim them up to make them even and the length you prefer. You’re done!
Well, unless you want to add some cute charms to them. You can totally rock charms on these. I did for Halloween. I took jewelry charms and embossed words like, “Fall” and “Boo” into them. I like the look both ways, with and without charms.
Enjoy my deco divas!
********THIS IS THE BEST WAY TO COLOR YOUR WOOD BEADS ******
I’ve made a couple of batches of these beads now, and I’m so hooked. I’ve also perfected my bead coloring skillz.
The first time I made wood bead garlands, I used Tim Holz ink stains to color the beads.


The spray bottles worked great. The darker colors worked well, but the light color did not. I don’t recommend the lighter stains.
I also tried the spray paint that we had on hand. I liked the way they turned out, but I didn’t want to keep buying cans of spray paint every time I wanted to make beads. It’s messy, it smells, and there’s that time that I ran over a can of black spray paint and punctured the can in my garage. That was bad.
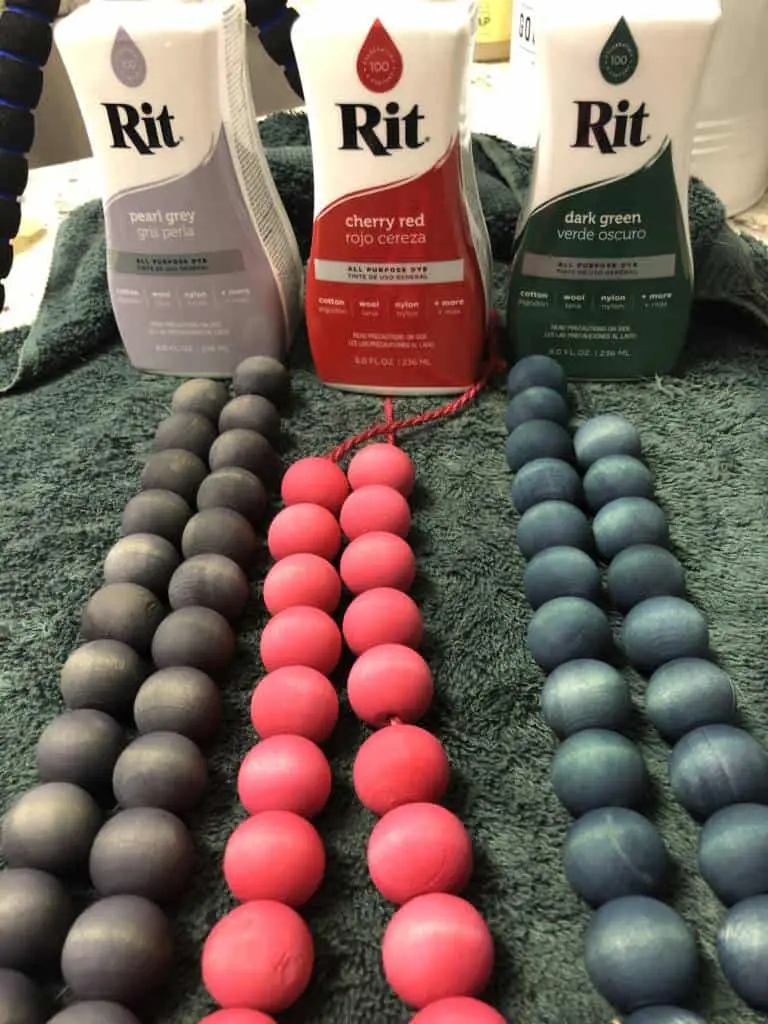
THEN I discovered the magic of Rit Dye and wood beads. It works perfect! And they come in ALL the colors! I recommend wearing some rubber gloves unless you like your hands colored for days.


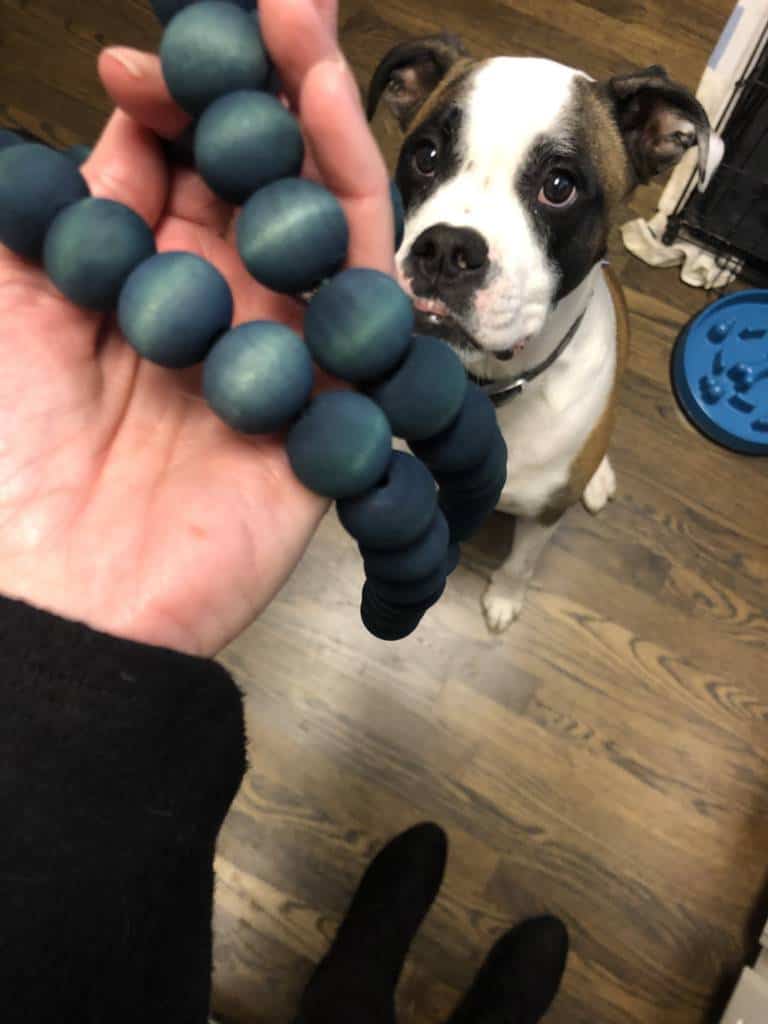
I reused take out containers (again) and filled them with HOT water, poured in about three tablespoons of dye and dipped in a strand of beads (I did string these first, they are easier to manage). I let them soak for 30 minutes, turning every 5 -10 minutes. Rinse them off, and then lay on a towel to dry. They turned out BEAUTIFUL!

Ask Dad
A girl always needs her Dad, right? My retired professor of chemical engineering father is super helpful and explains things we all have questions for. There are quite a few posts where he weighs in. Look for his cute photo for sciencey insight from Dr. John!
See more Ask Dad posts:
DIY Shrinky Dinks
How to Make Fake Water
How to Make Colored Wooden Bead Garlands
What is in Piggy Polish and is it really safe?
The Science Behind Baking Soda & Paint Textured Clay Effect

 What’s your happy place? Crafting? Cooking? Cocktails? Party planning? Yes please! I love it all, and I’ve tried a lot. Check out my how-to’s! What should we do next?



I went to Hobby Lobby and found there fall sale was down to 70% off. I grabbed the beaded items that had and decided this was a cheap way to fill my inventory with both beads and jute!!! Now I have plenty !!!
Are the orange and black ones dyed or painted
The dye idea is fabulous .. I was wondering however, if the beads get wet do they bleed color?
I had a wooden bead bracelet once that lost color a bit because of the sweat on my wrist… I choose not to wear it in the summer now but just want to be prepared if these are going to bleed and dye the surface they are in in high humid locations. Thanks so much.
Hi, that’s a great point. If you’re concerned about a humid or wet location (like by a sink), I’d spray them with a light poly or another sealer. 😉
The little boo tag (metal)… where did you get that please?
Hi Michele! Sorry, I don’t have a source. I actually made that by stamping metal tags. It’s super easy to do and I got all the supplies at Michaels.
Great Tutorial! I am so excited to try these!! Will send you a pic when they are done!
Great! I’d love to see them.
It’s 2020 October and I just found this site.
I love it.
I have all color of wooden beads and didn’t know what to do with them.
Now I do. Thank you.
Great! Have so much fun making those.:)
Love the great directions, I colored my first set (Charcoal Pearl) – and they came out great. Then I got a brilliant idea to put the beads into a glass canning jar, and just shake the beads frequently. I then spooned the beads out of the jar with a slotted spoon – and rinsed them in a strainer. Worked exceptionally well, AND I have a jar with dye already in it that I can do more beads later!!
A wide mouth canning jar may work better for larger beads – and for the small beads (10 mm size), I will use a pint jar. I saved them from Pasta sauce, so they had 1 piece lids – no leakage. Working exceptionally well – and the beads are awesome.
THAT’s BRILLIANT! Thanks for sharing that tip!
Can’t wait to try dying some beads & making a garland or two. Thanks so much for sharing this info. Muchly appreciate it.
How many times do we think you can use the jar of dye over again? I guess until it starts to look weak…
Yes, I think if it looks discolored then you should start with a fresh batch. 🙂
Why do you have to rinse the beads.
Did you try dying beads a pastel color or whitewashing them using the Rit? The dark garlands are lovely but I need pastels.
Thanks for the great article.
Sheila
Hi, no but I was thinking of making some for Easter!
THANK YOU for the Rit Dye tutorial!! I just ordered several bottles and beads. I am addicted!
Awesome! You reminded me that I need to make some for Valentine’s Day!
Love these! Would you happen to know the size bead needed (diameter) to make Christmas tree garland? I don’t want too small. Thank you!
What a great idea! I’d probably use 35mm beads, but I guess that really depends on personal taste and how big the tree is too.
Would ping balls work as garland so that it would be lighter?
They would certainly be lighter, but I don’t think they would take the dye like the wood does.
I would have never thought of Rit dye. Genius.
It works SO well!
Thanks for all the helpful tips! I have tried spray painting, I agree, messy! I am excited to try your dye method! Great tutorial.
Hey, thanks! I warn you, they are a little addicting to make!
Trista,
This is such a fabulous idea. I can see so many uses for these. From garland to kids sorting activities. Thanks for sharing!