
I’m always trying to come up with something unique to give the teachers for Christmas or Teacher’s Appreciation Week. In a stroke of brilliance this year, I upcycled my daughter’s uniform skirts into Christmas ornaments. I think they turned out great! And you can see how an upcycled school uniform ornament might work just as well for different occasions.
You could use this same technique to create heartfelt gifts using a favorite shirt, baby clothes, or anything! I love that it’s inexpensive and meaningful at the same time.
Kids’ school uniforms tend to be pretty pricy, and often, they need to be altered, so reselling them can be a challenge. Or when your school decides to change the style of the uniform and the vendor and you’re stuck with the ones you’ve already invested in… It seems like such a waste to get rid of them when they outgrow them too, so now I’ve got a project that makes a great teacher ornament from used uniform skirts.
What You Will Need
You may choose a different size of ornament, and all elements are adaptable but if you want your upcycle uniform ornaments to look exactly like mine, this is what I used:
- 3-inch clear disk ornaments
- Surebond cordless glue gun (glue gun only, not battery)
- White fabric trim
- Pearl and crystal beads
- Photo mount spray

How to do it:
First, take your seam ripper and open up the skirt so you don’t have any hems, and then iron out any wrinkles that you might have especially now that you’ve taken that hem out.
Then draw your shape. At first, I tried to draw around the ornament itself, but I found that it wasn’t quite big enough. I needed more edge. My next attempt, with a Starbucks cup, turned out perfectly so that is what I used to make my template.
Now, you will spray one side of an ornament with adhesive, Krylon, or photo mount spray work well, although photo mount spray had a finer mist which I like better.
Place one of your cut pieces on the ornament. If you are using a plaid or checked fabric, be sure to get it straight. The nice thing about this spray is that you will be able to re-position it for a few minutes. Smooth out any wrinkles all the way to the edge. You don’t want to have a large gap on the finished item. A little gap is fine. After you’ve done that go ahead and spray the glue on the other side of the ornament.
Now, you can do the other side. Smooth out any wrinkles or bubbles and go round all the edges to make sure the two pieces of fabric are as close to the edge and touching each other as possible. It’s okay if you have a little overlap because once you’ve let the glue dry, you can trim off any extra fabric around the edge. You don’t have to have a perfect seal, but get as much of the excess fabric off as possible

Now you can glue the trim around the ornament where the edges of the two fabric pieces meet. Choose a trim to complement whatever fabric you are using. The one I used was a crisp white, half-inch trim from Joann. It cost around $2.99 and I had more than enough to finish all my ornaments.
Wrap the trim around the ornament with the cap on, to measure how much you are going to need before you cut it or glue anything down. Depending on the trim you get, it may stretch a little, but don’t count on it. So, once you know the right length for the edges of the ornaments, go ahead and cut all those strips. Then you can do the same with the strips needed to go round the top. Again, measure these with the cap on.
When you have all your strips ready, layout the trim around the edge, keeping it even and straight on both sides. Don’t go crazy with the hot glue at first, because you may want to adjust the placement a little to get it landing right at the bottom.
Start at the top on one side and work your way around the edge of the ornament, just doing a couple of inches at a time.
Keep in mind that the hot glue will seep out so if you’re using a high temp glue gun protect your hands. I was using a SureBond Wireless Glue Gun so the temperature wasn’t too hot to touch.
Once you’ve got the trim set all around the rim, you’re ready to do the top. First, wrap your top strip around the cap to make sure you have the size right. Then starting with the side seam put a little glue and work your way around the top pulling off any glue strings as you go. Pull the trim tight to make sure it is snug and secure.
When you get all the way round, trim of any excess with your fabric scissors.

And now you are ready to put the beads on. Mine came from Joann’s. I just thought the pearls were beautiful and they went so nicely with the white trim. But, when you use a bead like this, it will sit higher up off the ornament so you’re gonna have to use a lot of hot glue to keep it secure.
I tried two different methods of adhering the beads to the fabric. In the video, you’re only seeing the hot glue. I put a whole lot in the middle of the back of the bead and then put more glue underneath so it would catch the legs of the bead. That seemed to work fine.
The other method I used with a few of them, was e6000. I just put it on the four little legs of the bead. That seemed to work just as well. I think they’re both probably equally good options but the hot glue dries faster.
Finally, add a ribbon to the top. I found a lacy ribbon to use this time, though I probably wouldn’t use it the next time. A plain white satin ribbon would look even better.
And that’s it!
As you can see from the pictures, , the ornaments all turned out beautifully.
There’s no guarantee that your kid’s teacher will recognize the uniform fabric, though one ours knew immediately and they loved the gift.
So, go on and make some upcycled school uniform gifts. Or you could do something similar with anything, maybe a shirt from a loved one or one of your favorite t-shirts. There are all kinds of garments that you could upcycle and get creative with.
More Teacher Gift Ideas

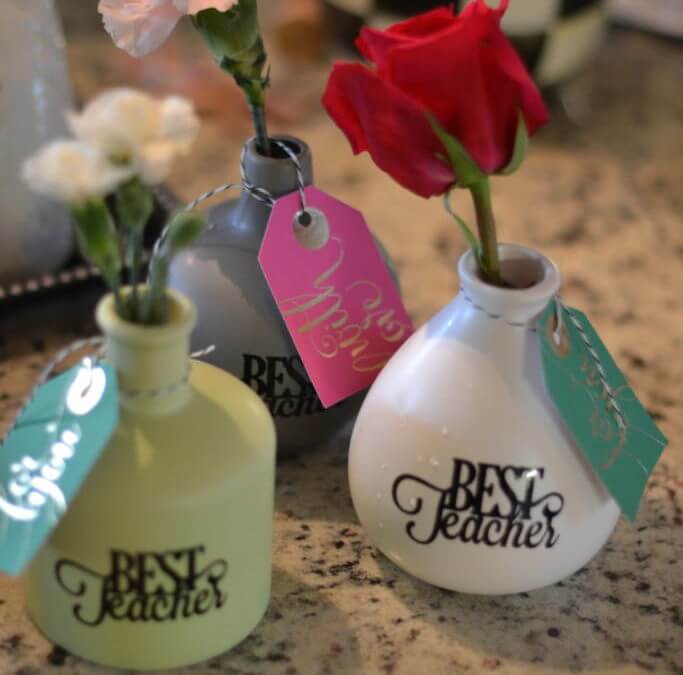
The Gifts Teachers Really Want on Teacher’s Appreciation Week
When it comes to Teachers' Appreciation Week, I emphatically agree with my BFF of a thousand years, Molly who said, “I’m not giving teachers lotions and soaps and food crap anymore!”. Molly recently had the opportunity to spend a couple of days in an elementary school...
Easy Teacher Gift
SOMETIMES teacher giving sneaks up on you. Even when think you're prepared, there's something about May that tosses chaos into the planning for absolutely anything. It's also times like these when I am so glad that I am a crafter and keep supplies on hand. If you're...
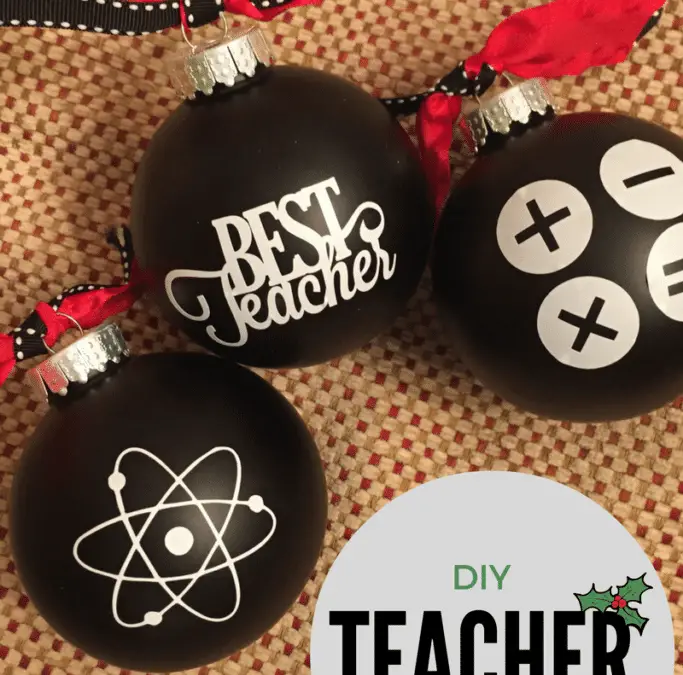
Easy to make teacher ornaments
Are you making your shopping lists for the teachers this year? It's so hard to give them something memorable, right? While I typically resort to gift cards, I like to add a little something personal as well. Last year, I made these simple ornaments to go with their...
 What’s your happy place? Crafting? Cooking? Cocktails? Party planning? Yes please! I love it all, and I’ve tried a lot. Check out my how-to’s! What should we do next?


0 Comments