Last week I showed you my $15 DIY decorative pumpkin – the twinkie of the Grand In Road version for $39. It was pretty easy peasy.
Well, I’ve got another Look for Less for you. It will take you just a teensy bit longer to put together, but it will save you a ton of money too.
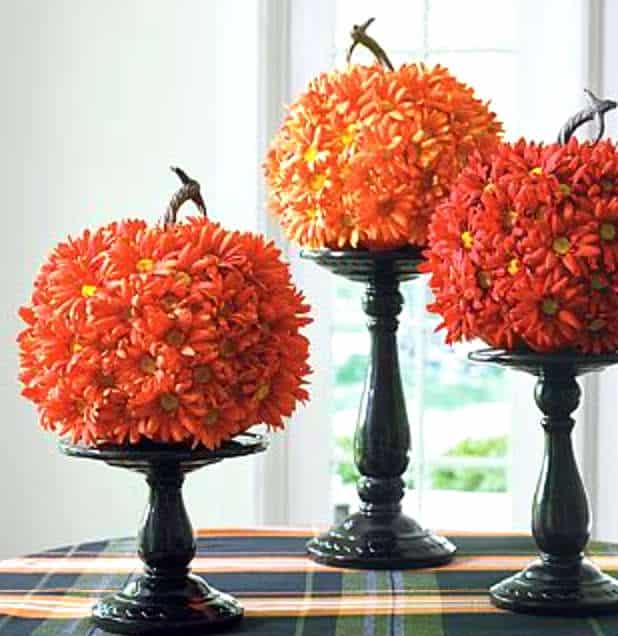
Here’s the Grand In Road (I so love everything on their site) petal pumpkins.
Sweet, right? I love them. What a fresh approach to fall! Let me put them in my shopping basket.
Oh wait, hold up. These suckers are $39 a piece too! (Stand not included) Back the bus up. We’re going to make these at home.
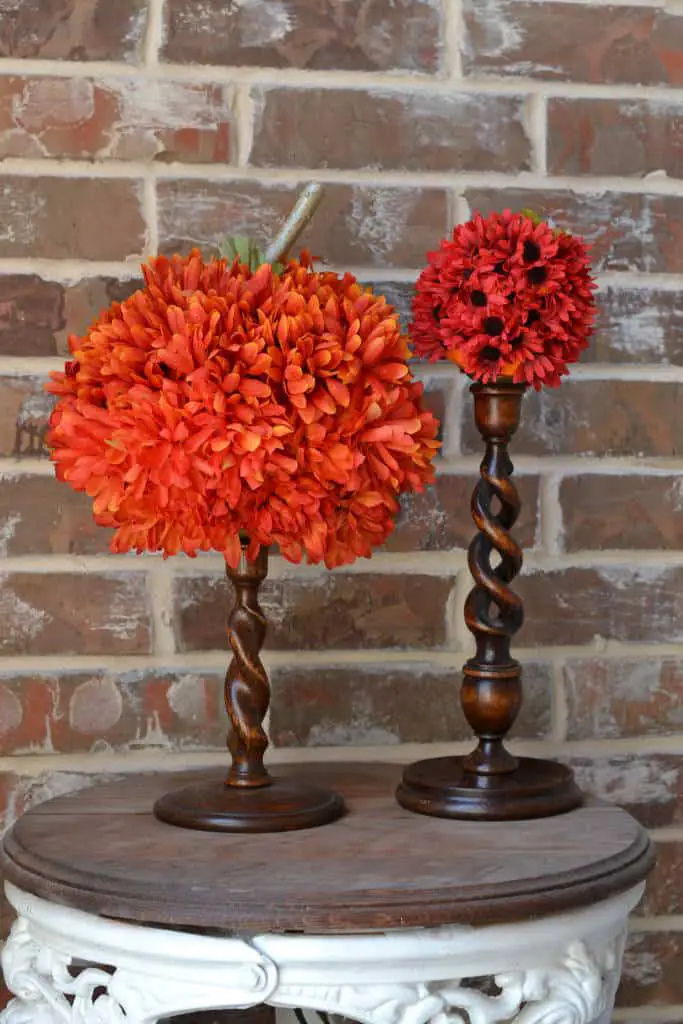
Here’s my version.
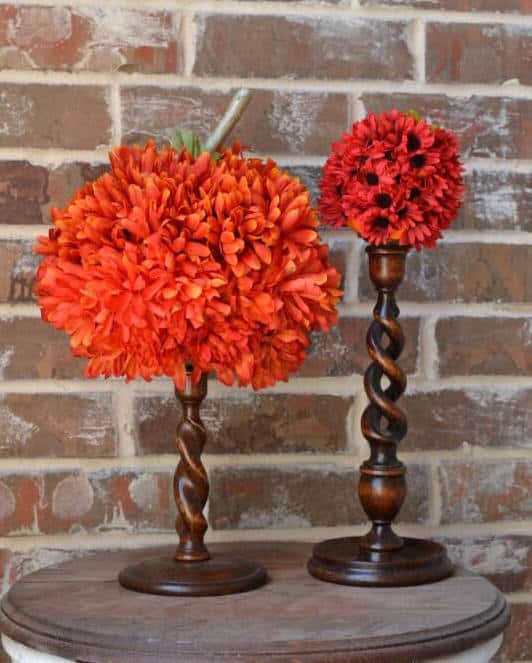
Okay, the cupcake says they look like apples. Whatever, apples are for fall too! Haven’t you heard of apple cider little one?
I did use slightly different flowers for mine. On my big pumpkin, I used mums. On the small pumpkin, I used daisies similar to the ones on Grand in Road.
Here’s what you need:Make your own flower pumpkin
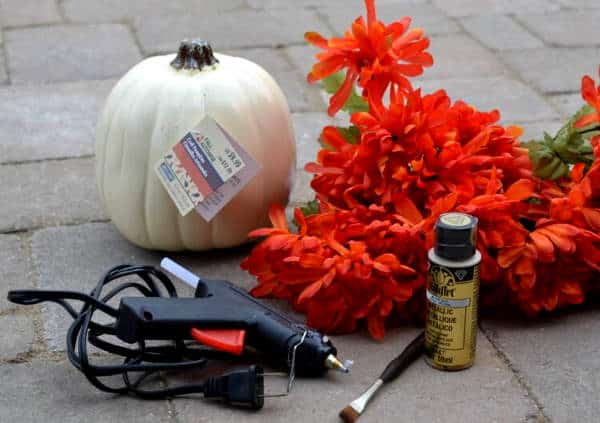
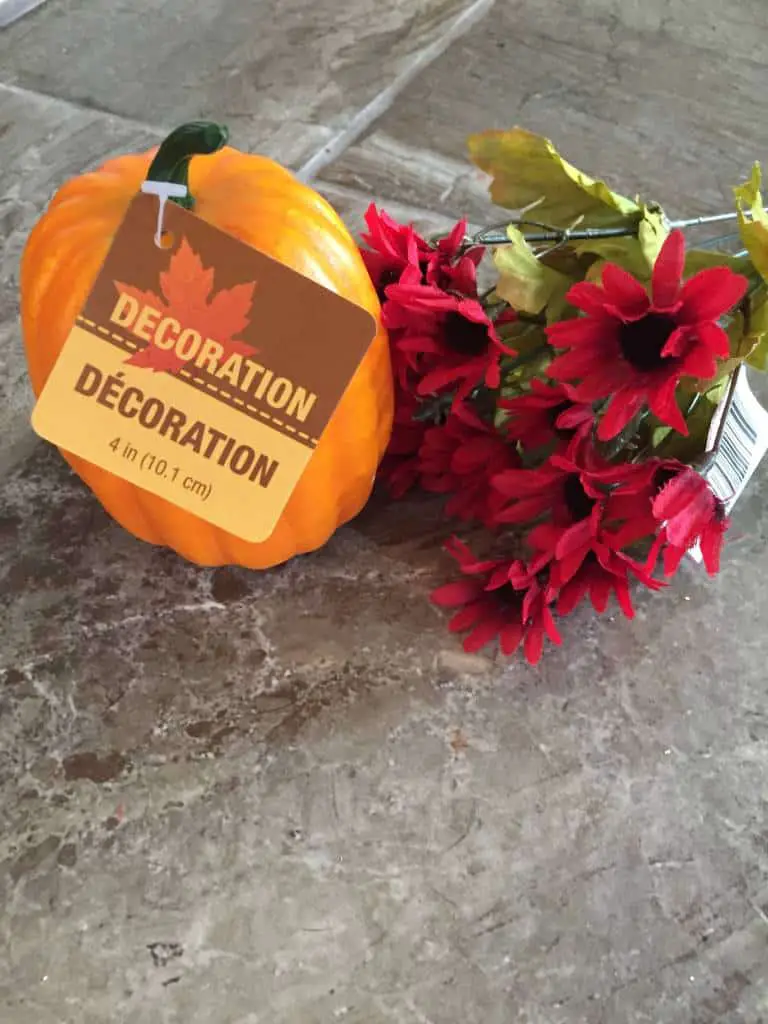
- Pumpkins. The 9 inch pumpkin was from Michaels on sale for 40% off of $16.99. The small one is from Dollar Tree for $1.
- Flowers. All of these flowers are from Dollar Tree. The big pumpkin is going to take a lot of bunches of flowers (there are 5 – 6 in each bunch) so… make sure they have enough in the flower that you want. I had to hit up two different stores because I didn’t buy enough on the first visit and when I went back to the same store, they were sold out. Grrr. (Maybe order online to avoid that problem) The big pumpkin used 8 bunches. The little pumpkins used 4 stems, but I think if I did it again, I’d space the flowers out more and glue the leaves down. Then you’d use fewer flowers and the daisy center would be more prominent.
- Glue gun.
- Paint for the stem. I used some gold paint I already had. I’ll admit, my stem disappeared when I got all the flowers on, so I ended up getting a stick from outside and painting it and putting it on top. I think if I was using daisies on the big pumpkin, it wouldn’t be a problem.
Here’s what you do.
- Paint the stem of your pumpkin and let dry.
- While your glue gun is heating up, pull the flowers off the stems.
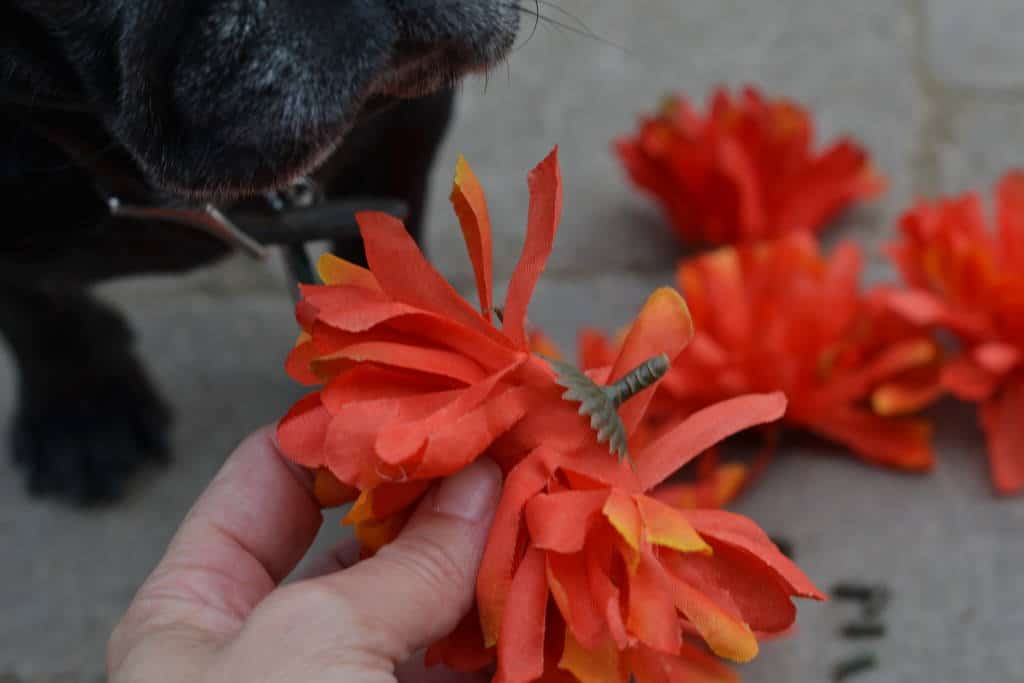
3. Cut the tiny part of the stem that’s still on there, flush with the back of the flower so it will lay flat against the pumpkin.
4. Hot glue the flowers around the pumpkin. I went in rows starting at the bottom. I didn’t put flowers on the very bottom of the pumpkin (where it rests on the table) because that would make it unsteady. I put the flowers up high enough that the leaves covered the visual bottom of the pumpkin, but didn’t interfere with it’s balance.
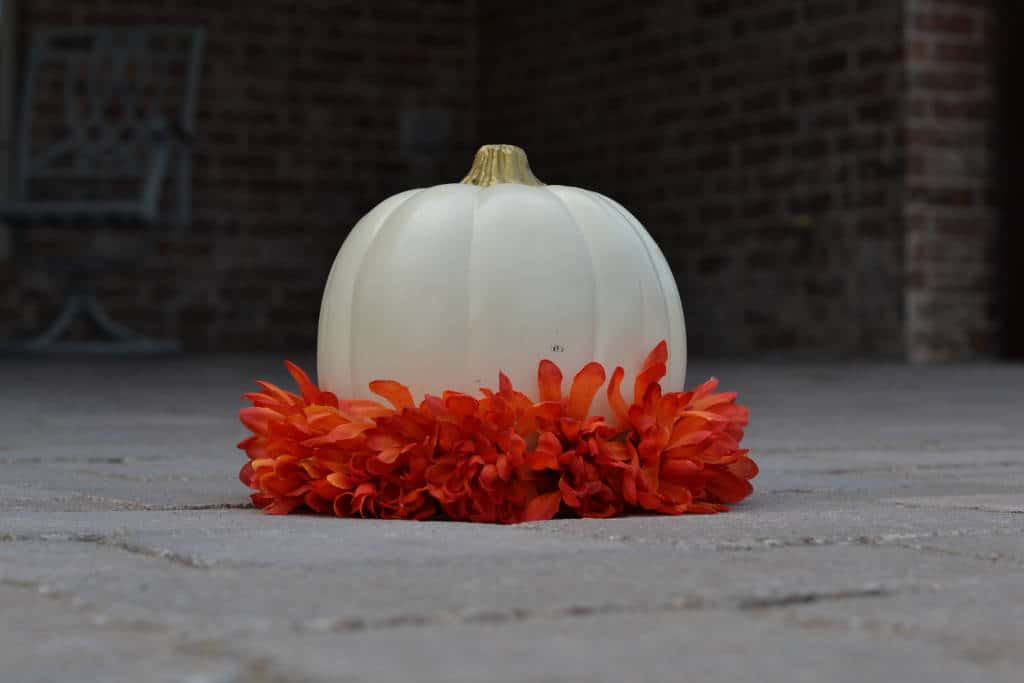
Hint: on some floral stems the flowers have slightly different size all on one stem. Use the bigger flowers around the middle of the pumpkin and save the smaller ones for the top and bottom. That will help maintain it’s shape.
5. Grab an old candlestick (that’s destined for an upcycle paint job) and display your flower pumpkins!
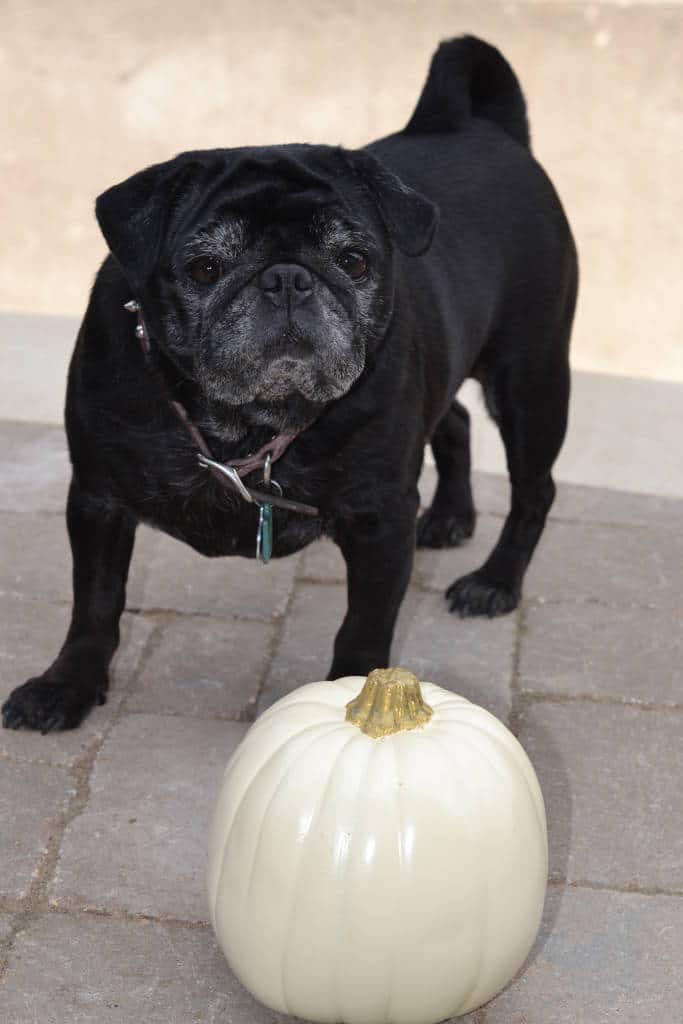
Oh hi Beignet. Are you ready to make another one? (Pugs like pumpkins.)

 What’s your happy place? Crafting? Cooking? Cocktails? Party planning? Yes please! I love it all, and I’ve tried a lot. Check out my how-to’s! What should we do next?

these are so cute! I am definitely going to make some! Thank you for the great idea.
I think they are beautiful. Keep doing what makes you happy!
I love these ideas. I think they look great! Think I will try them!
I think they are cute. There’s no reason for ugly comments. If you enjoy making them then go for it. You did a great job, very cute!
I think I would just buy the real deal at Hobby Lobby with 40% off their only $17.98 and time you buy everything to make these your almost spending that anyway sometimes it’s great to save money but in this case these look cheaply made and for the money your spending thats not worth it.