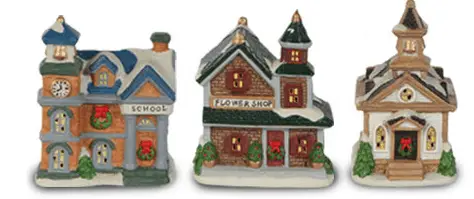
I’m featuring the members of my Craft Exchange and their awesome projects. Since it’s officially Christmastime, we’ll kick it off with this fun redo of a bargain buy. Debbie snapped up these gems at the Dollar Store (image via DollarTree.com)
and she turned them into THIS!
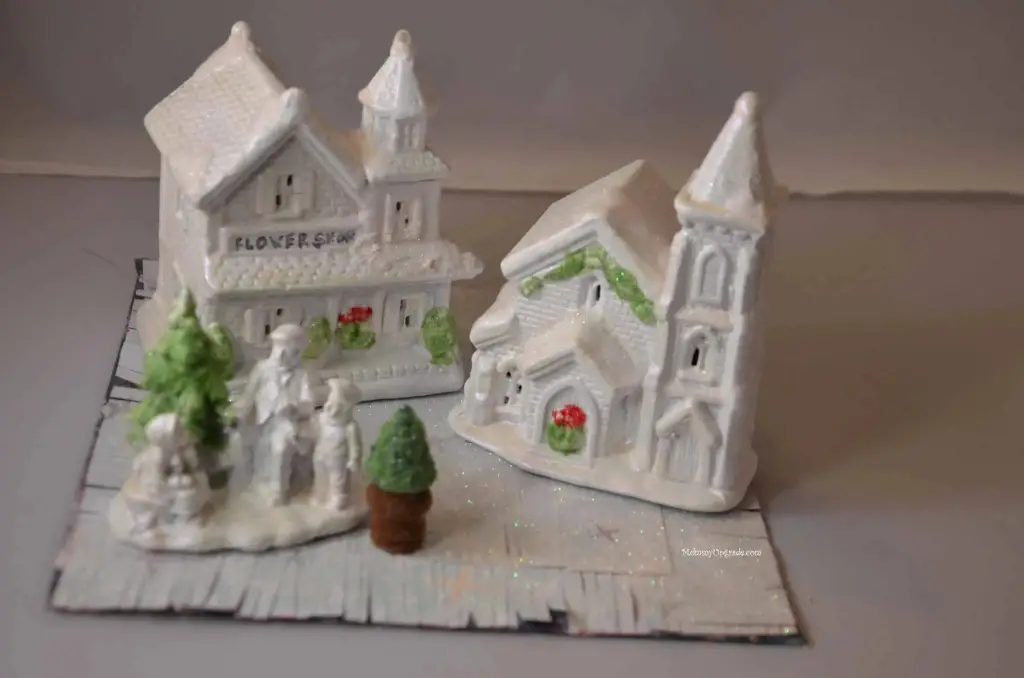
Hello winter village!
I love that she upcycled these into a a miniature winter wonderland. In her words, here’s how she chose her craft and what she did to add the magic using our challenge supplies from Martha Stewart Crafts. Remember, she had to use three items: the flocking powder, the tinted decoupage and the fringe scissors!
From Debbie:
What did you make? I made mini Christmas village pieces
Why did you choose it? Because I wanted something festive and simple that used both the decoupage and the flocking powder in a different way.
What materials did you use? Porcelain Christmas village pieces, spray paint, Martha Stewart decoupage, Martha Stewart glittered flocking powder and glitter, recycled cardboard covered with scrapbook paper, fringed with the Martha Stewart fringed scissors to make the base for display
Where did you get your materials? Dollar Tree porcelain village pieces, Martha Stewart provided the flocking powder, decoupage, and fringe scissors and Hobby Lobby and my stash for the scrapbook paper. I had spray paint on hand. Wal Mart for the glitter.
Cost of materials: Per gift, about $4 – $5
How did you make it?
- I first spray painted the pieces (This took several coats to cover), then painted with a shimmer and high gloss Martha Stewart acrylic paint mixed together
- I then used the Martha Stewart tinted decoupage in lavender, on the whole piece, which gave it a very nice shimmer
- I also used the Martha Stewart decoupage to cover the elements I wanted to flock
- I then used the Martha Stewart glitter flocking powder to accent the snow and trees
- I made a display base using recycled cardboard which I then covered with scrapbook paper and used the Martha Stewart fringe scissor to fringe the edges. I then applied more decoupage and glitter and snow, because you can never have enough glitter.
How long did it take per item? Total time per gift was probably about 1-2 hours, but the wait time in between applications of paint, flocking powder, etc, took forever. Another challenge I faced was the wind while spray painting the pieces – it was extremely windy that day!
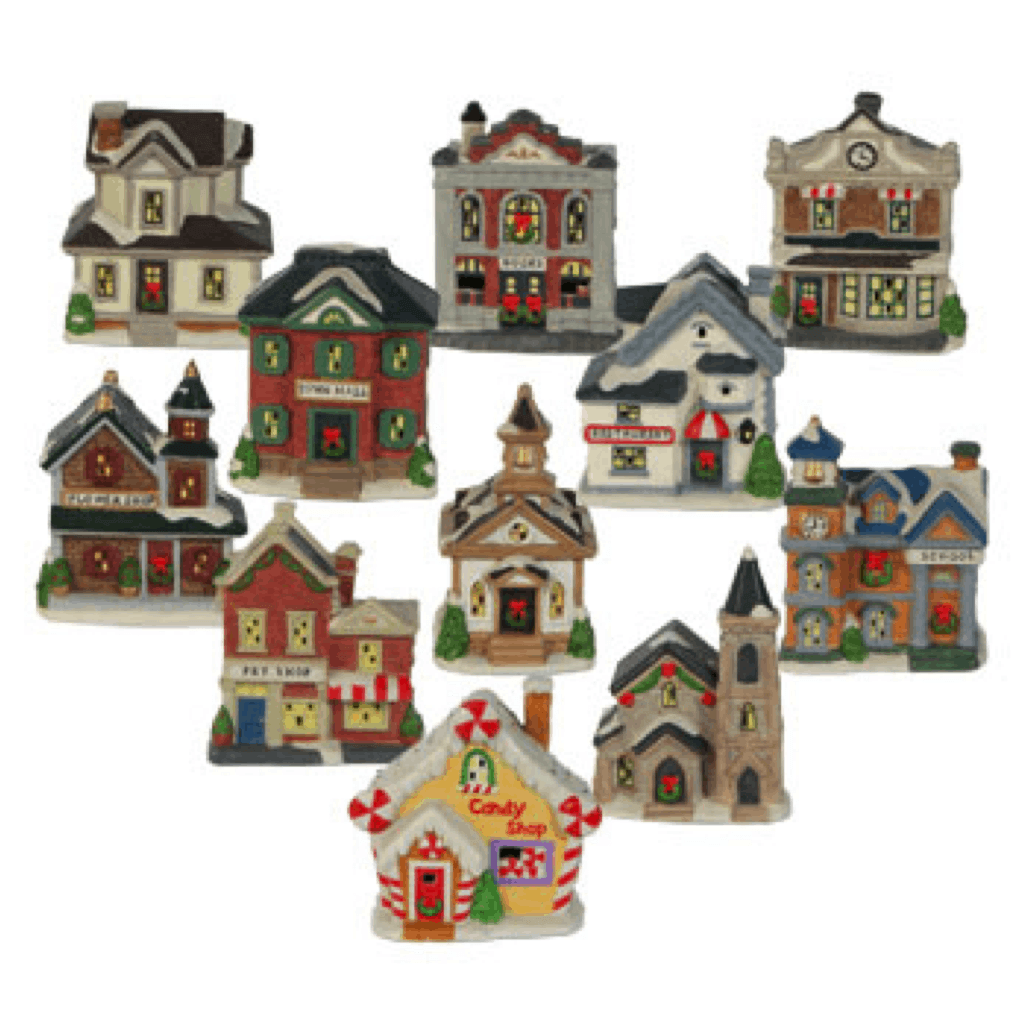
This is what the pieces looked like before, and the detail and quality of the paint was not very good. The dark colors took multiple coats of spray paint to cover. One thing I learned was that to use primer first really helped (I ran out of my stash and used plain white for the rest)
What was the hardest part about making this? It was very difficult to come up with an idea to use all the elements, especially the fringe scissors. I feel like I cheated on that part.
What was the funnest part about making this? It was fun to work with my son, who decided to make the same for his kids craft exchange since we were making for a mother /daughter. His turned out better as he only used Glitter and I liked how that turned out
Do you like it? You know, I do – and I hope everyone else does too. It got me out of my comfort zone of doing a fabric / sewing craft
If you made it again, what would you change? I would maybe try out the spray adhesive as suggested by several bloggers for better coverage and to use glitter to completely pre glitter the pieces
Would you make it again and why? I may make a village or a nativity for myself because I love Christmas durations! I may make a piece for my mom’s nursing home room because it’s inexpensive in case something happens to it.
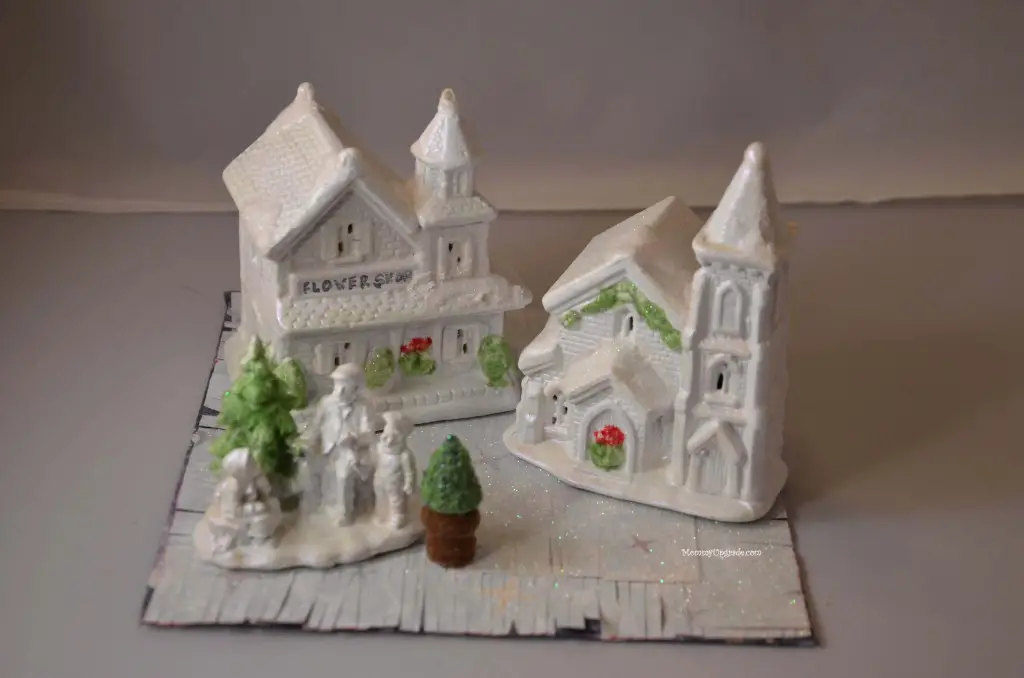
These are so gorgeous! Thanks Debbie!

 What’s your happy place? Crafting? Cooking? Cocktails? Party planning? Yes please! I love it all, and I’ve tried a lot. Check out my how-to’s! What should we do next?


0 Comments