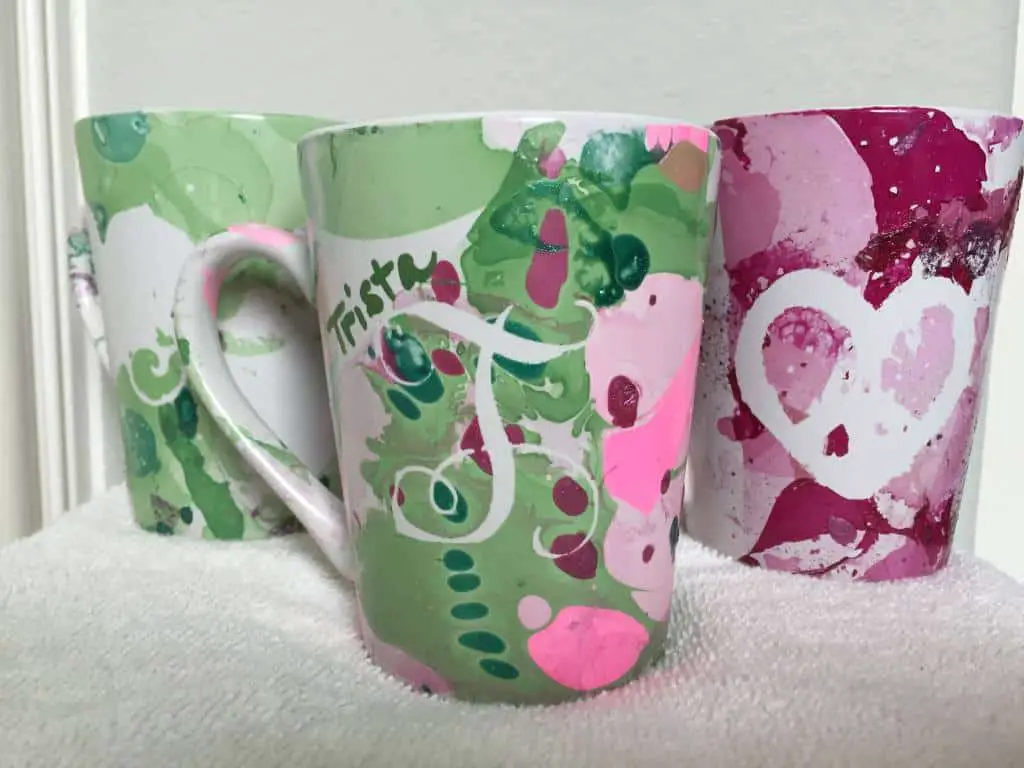
Here’s an easy craft you and your little can do in an evening! These watercolor mugs are quite popular on Pinterest and we couldn’t resist trying them out, seeing as how I have a “thing” for mugs.
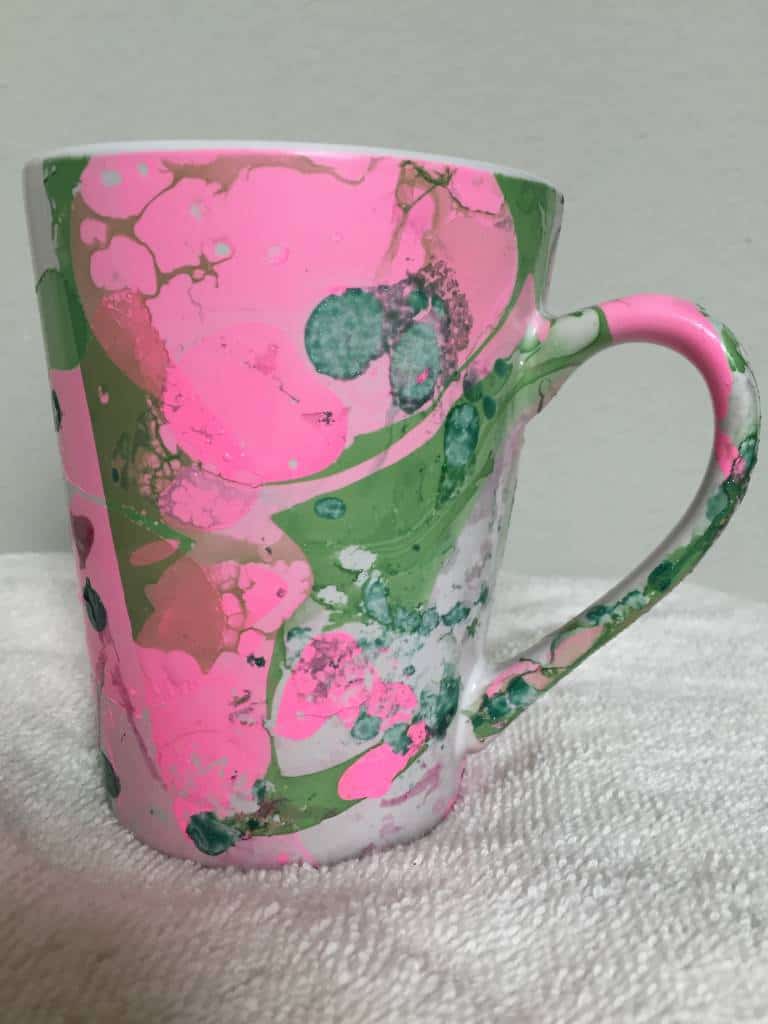
Here’s the first one I made:
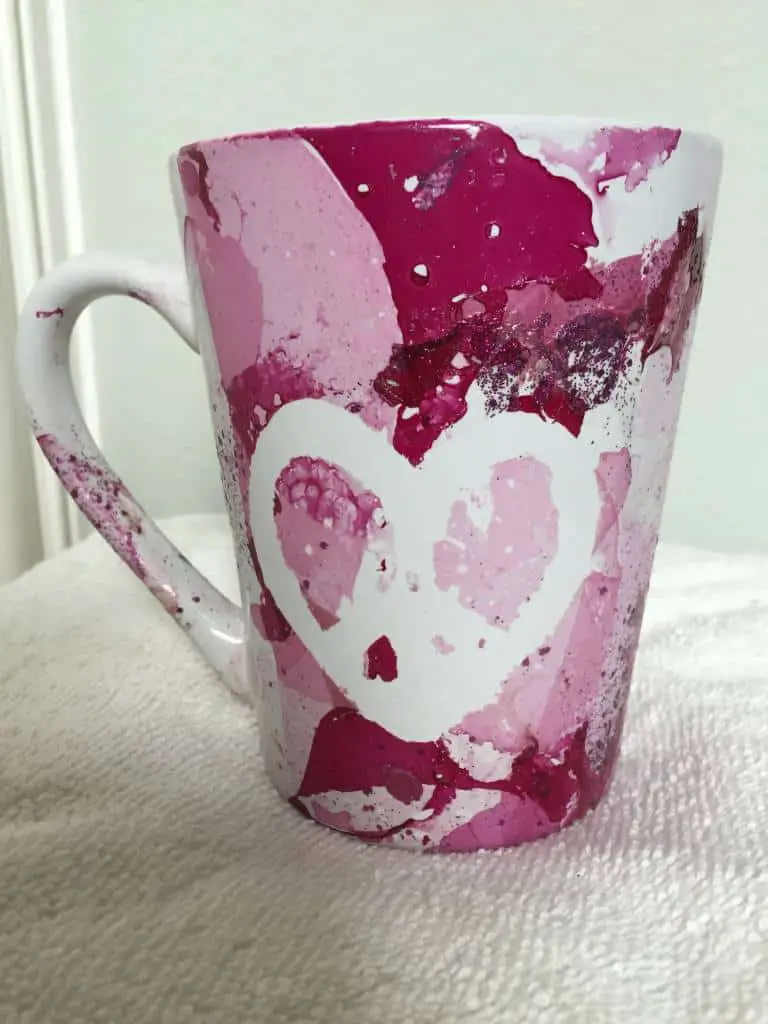
And here’s the Cupcake’s creation:
With only a few items (most you’ll already have), you can make these in just a matter of minutes. My video of it is below, as originally seen on Periscope (follow me @TristaP). Totally ignore the first couple seconds where my hand is over the camera, LOL!
Making Watercolor Mugs – What you need:
- Mugs – I got these all white ones from the dollar store. I suggest practicing on a few cheap ones to get your technique right before you upgrade to a more expensive Ikea mug.
- Nail Polish – I have a 7.5 year old girl, so we have an overabundance of nail polish in our house. Find a few of your favorite colors that you like that compliment each other. The glitter top coat polishes don’t work very well with this craft so, as mesmerizing as they may be, skip them. You can always use them as an accent at the end if you’d like.
- A plastic tub of water – You’ll want this to be deep enough to dip your mug into it. I picked one up specifically for this craft at the dollar store while I was there, but you can use one that you have at home. This one was cute, so it was my excuse to splurge on ANOTHER plastic container.
- Nail polish remover and cotton balls – You’ll need this to tidy up the edges or in case you make a mistake you can wipe the whole thing down and start over!
- Paper towels
- Mod Podge Dishwasher Safe – This took a bit of searching for but I finally found it at JoAnn. You can also order it online which was to be my last resort. Here’s an affiliate link to it Plaid:Craft Dishwasher Safe Mod Podge, 8-Ounce, Gloss
on Amazon.
What you do:
- Fill your tub of water deep enough to fully submerge your mug into it.
- Pour or drop nail polish into the water. Most of it will spread out and float on the surface of the water like an oil spill.
- Hold your mug by the handle and gently submerge into the water SIDEWAYS and slowing pull it out. If you get water into the mug with nail polish, don’t freak out. You’re going to remove it with your nail polish remover anyway. You can dip the mug up and down but most of the color will end up on the bottom. If you dip sideways, the colors will drape over the mug. You’ll still have a lot on the bottom.
- If you want more coverage on your mug, add more nail polish to the water and dip your mug again. Most of the polish has skimmed off the top with your last dip.
- Turn the mug over on a paper towel to dry. Gently pat off the excess water.
- If you like, add some sharpie marker designs.
- Coat the mug with the Dishwasher Safe Mod Podge and let cure for 28 days. Fill with coffee and enjoy! No need to hand-wash (although I would anyway) to clean.
Mix it up:
Try putting a sticker or decal shape on the mug before you dip it. Peel the sticker off after you’re done dipping and the polish has dried and you’ll be left with a fun white space design.
Enjoy!
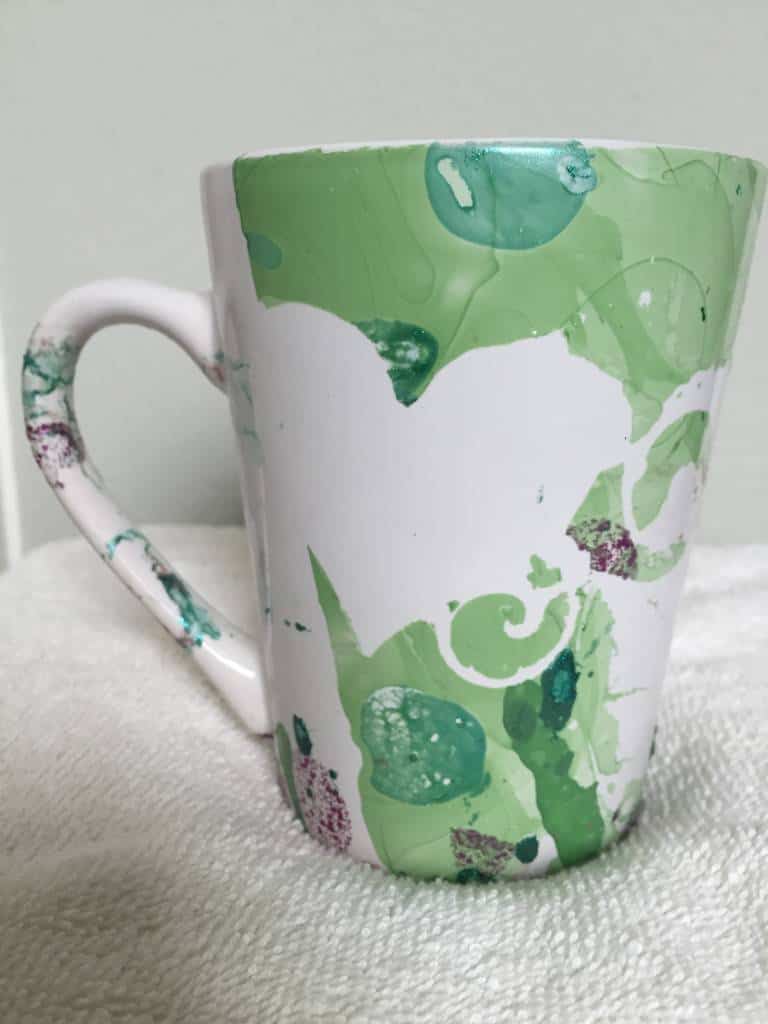
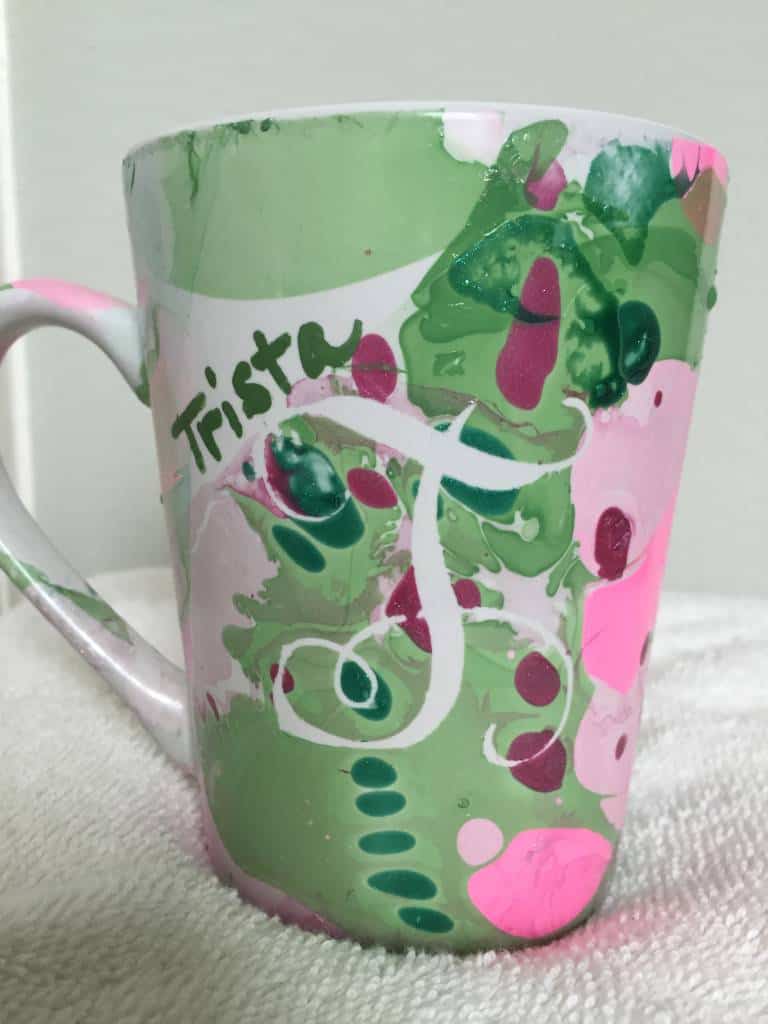
Here’s a close up of the one I made in the video, front and back.


 What’s your happy place? Crafting? Cooking? Cocktails? Party planning? Yes please! I love it all, and I’ve tried a lot. Check out my how-to’s! What should we do next?



0 Comments