I saw this great pumpkin back in JULY at a major craft retail store.
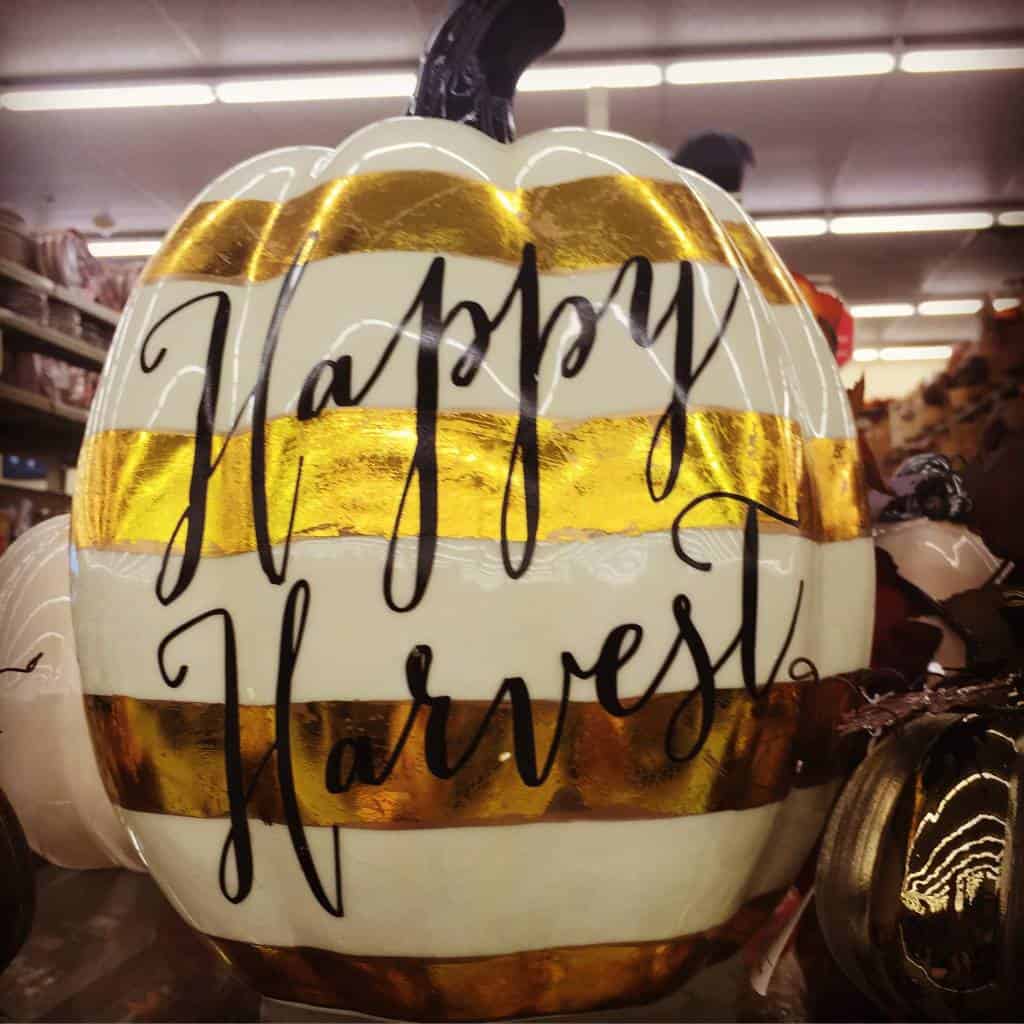
Loved it. It’s rocking that whole black, white and gold vibe that I can’t seem to get enough of. These fantastic gourds were flying off the shelves but when I saw the price tag, I said, “ouch” (even with a store coupon). Didn’t love that. Surely, I can make this at home?
So here’s my version of it, and how to make it at a fraction of the cost (with links to supplies on Amazon.com).
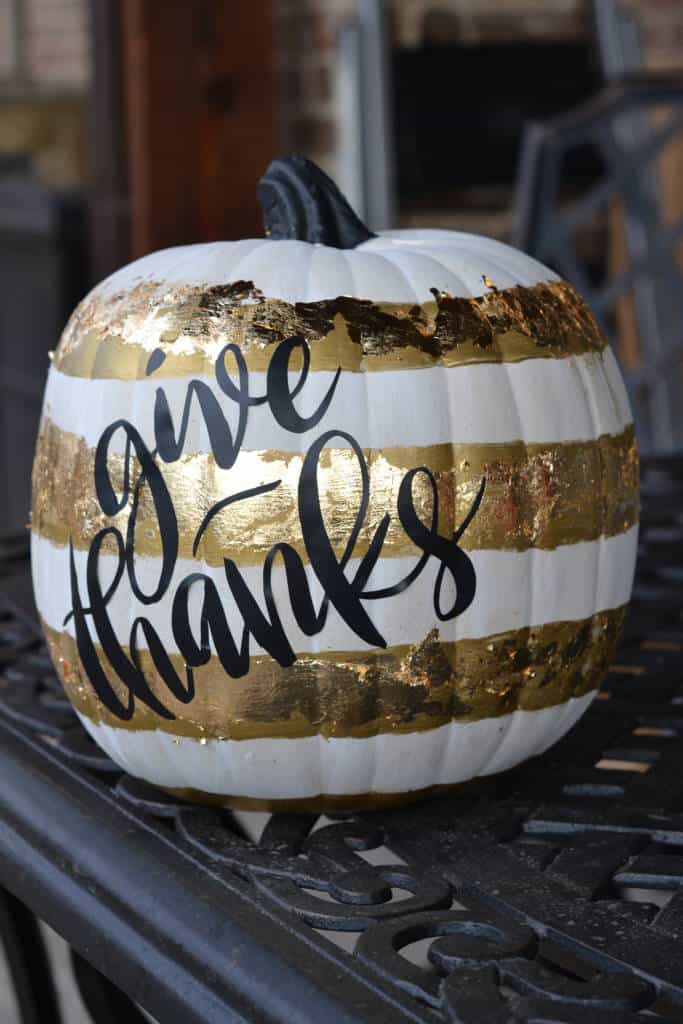
I am so glad I waited because I actually like love mine better! Here’s what you need to recreate this at home:
- Paintbrush
- Gold leaf/foil sheets (optional, but I think it really gives it that extra “wow” factor)
- Vinyl Lettering (You can find someone on Etsy to create this for you if you don’t have a personal craft cutter.)
How to Make Your Own DIY Thanksgiving Pumpkin:
It was really easy to make actually.
First I purchased a craft pumpkin in off-white.
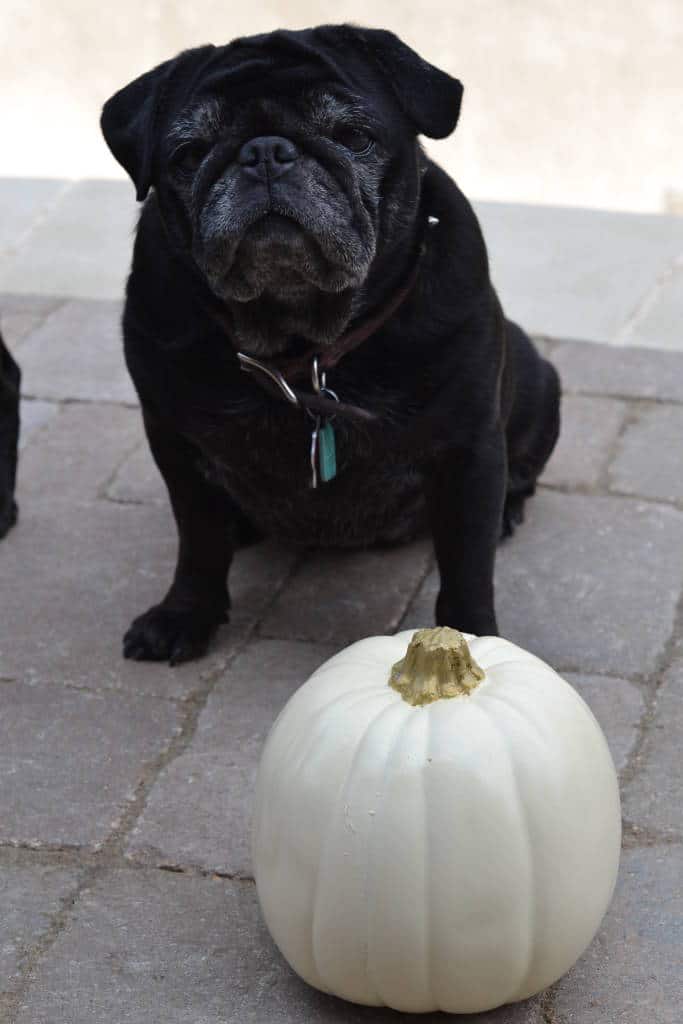
Next, I lightly drew stripes around the perimeter of the pumpkin with a pencil, adjusting for any wobbles as I went. You could also use painters tape to line it up evenly.
Then I took some gold metallic craft paint and filled in my stripes all the way around my pumpkin.
Don’t stop there, next I used black paint to cover the stem.
Let dry.
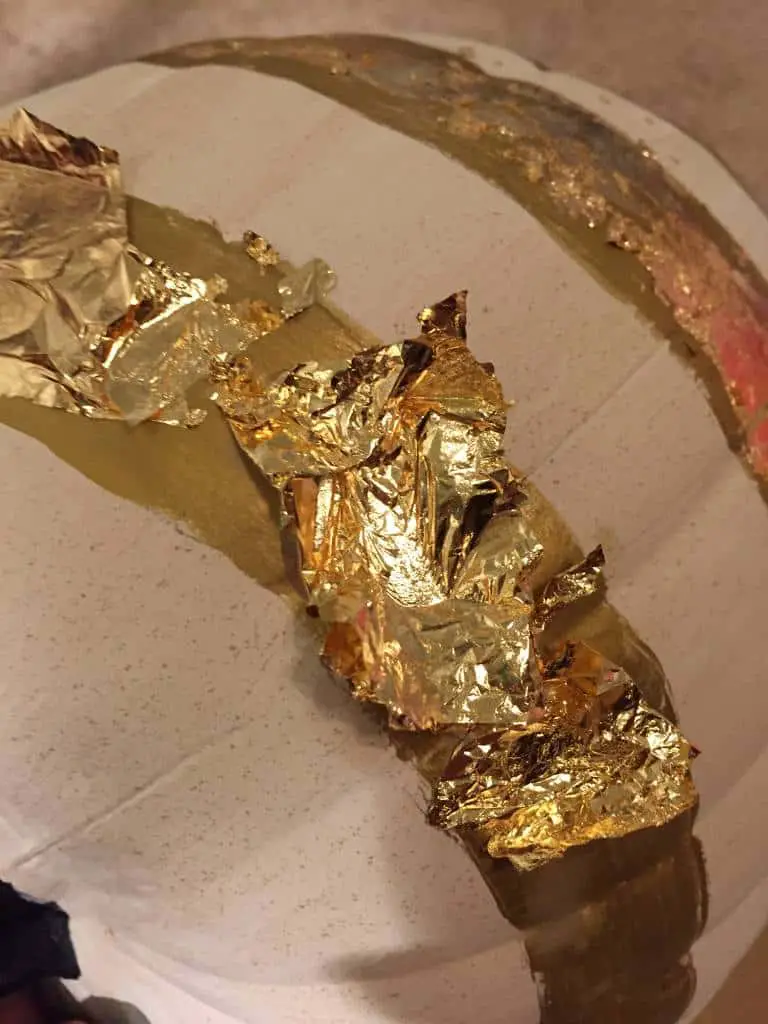
This next part was the hardest but only because I wanted it to be so even. I sprayed the stripes only with adhesive.
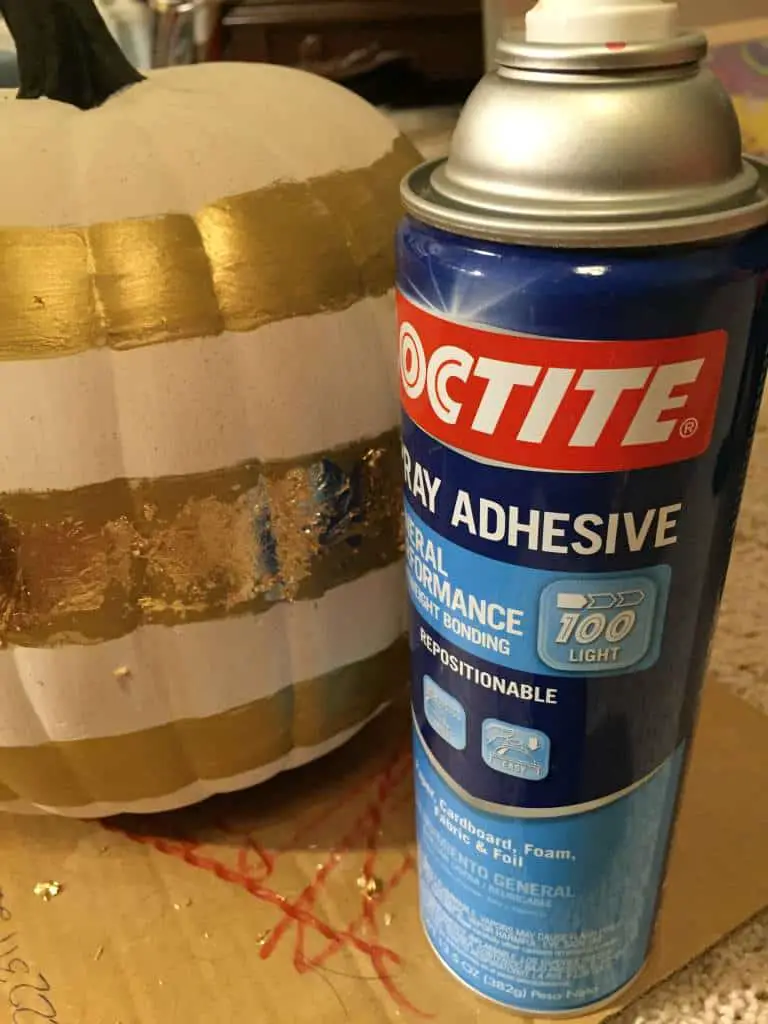
Then I laid gold foil on top of it and smoothed it down. If I was more patient, I would have made a stencil to keep my adhesive to the stripe portion only but… I’m not. So I didn’t. This was freehand (and it shows).
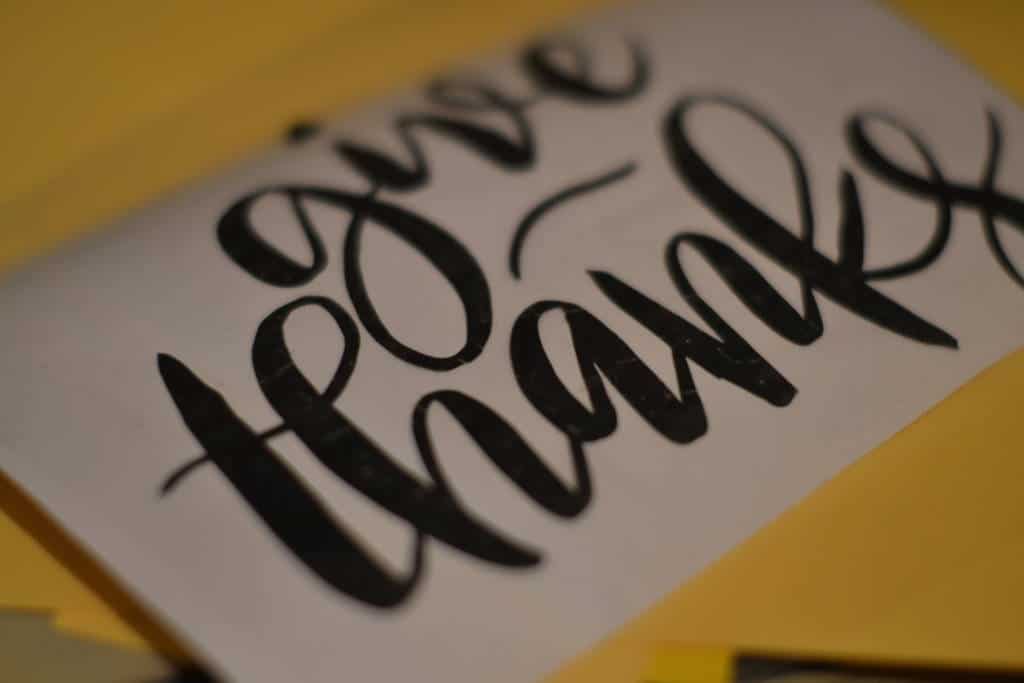
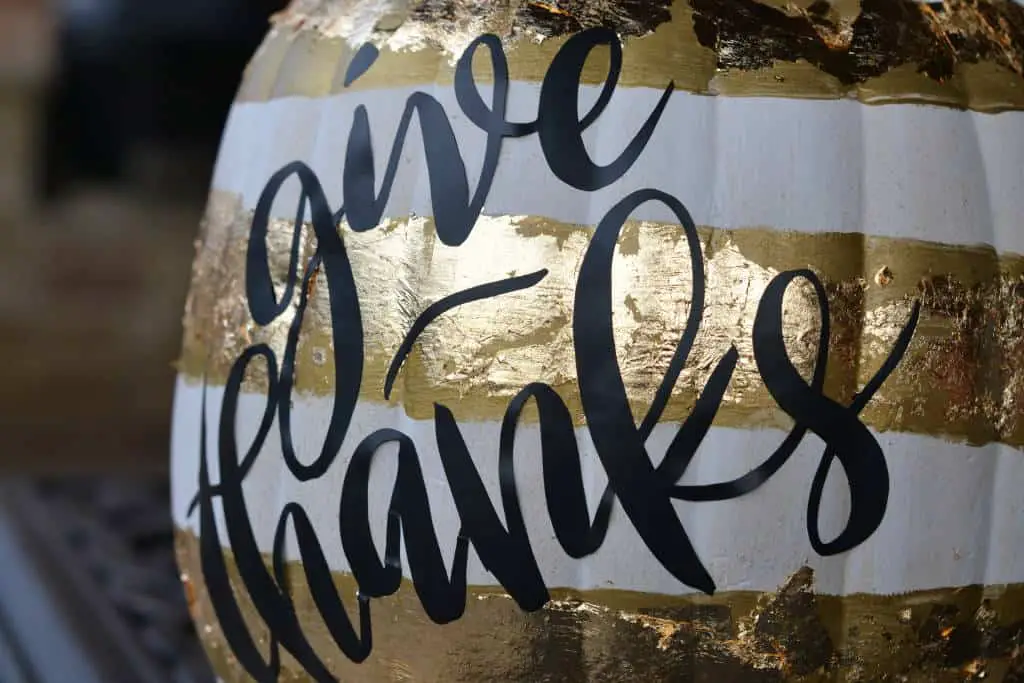
Lastly, I cut out my black vinyl lettering with my Silhouette Cameo and placed on the pumpkin.
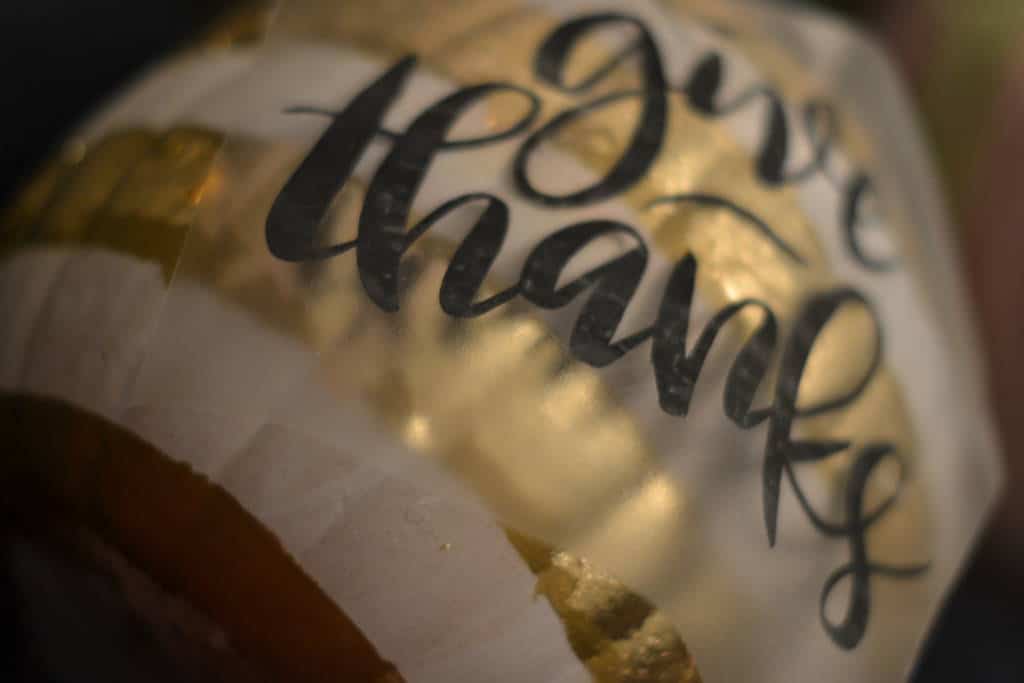
I like it even better than the one in the store because it’s not breakable, AND it weighs so much less than the other one, which is really important when you’re hauling storage bins up and down from the attic!
 What’s your happy place? Crafting? Cooking? Cocktails? Party planning? Yes please! I love it all, and I’ve tried a lot. Check out my how-to’s! What should we do next?


0 Comments