It’s Craft Exchange time and this round’s challenge theme was Kentucky Derby! You can bet there were fascinators, roses, and, of course, those cute jockeys.
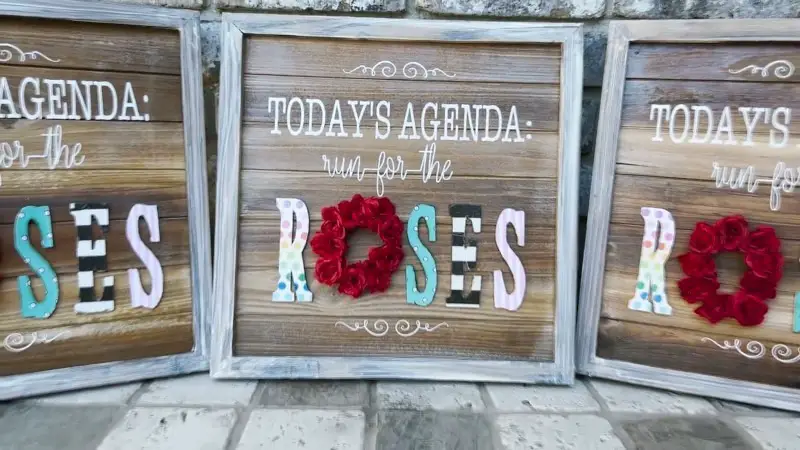
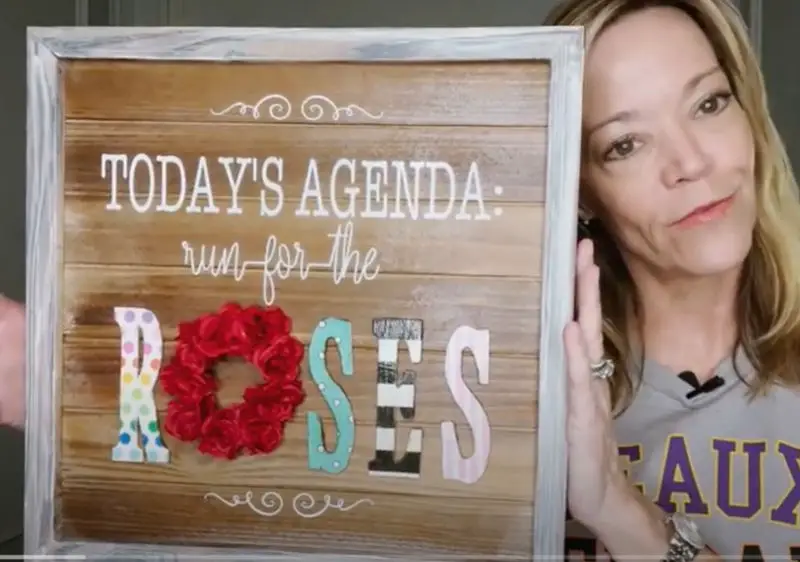
While I love the Derby, I wanted to make something that anybody could use—anytime. Whether they were having a Kentucky Derby party or not, I wanted to give them something that could be inspiring and fun even outside of Derby season. For me, it was a motivational piece for those days that you’ve been preparing for, or maybe just a challenging day: Today’s agenda: Run for the Roses.”
Nothing says Kentucky Derby more than jockey’s silks and those vivid, bold patterns served as the theme for my colors, paired, of course, with the roses.
I think this is perfect table décor for your Kentucky Derby party, or wall art for your office – which is exactly where mine is hanging.
If you’d like to make one, I have tips in the video below, or my step-by-step instructions below. It’s an easy-enough craft that is suitable for even a beginner vinyl cutting machine owner. Even if you don’t have one, the other techniques can be used for all sorts of projects.
What You Will Need:
I tried two new techniques that were new to me, but begging for me to try:
- Burning! I used a flame when decoupaging to get the edges of the paper aligned with the wood letters
- Using white wax (I’ve only ever used transparent wax in past).
How To Do It:
First, lay out the design elements that you need onto your silhouette to ensure they’re sized appropriately for your pre-made wooden frame. I purchased mine from Hobby Lobby.
Then, set the silhouette design space to be the same size as your wooden frame and make sure the design elements are sized appropriately. Once I have that set, I cram as many on the page as possible so I can save vinyl.
You can see the exact sizes and fonts that I used in the video.
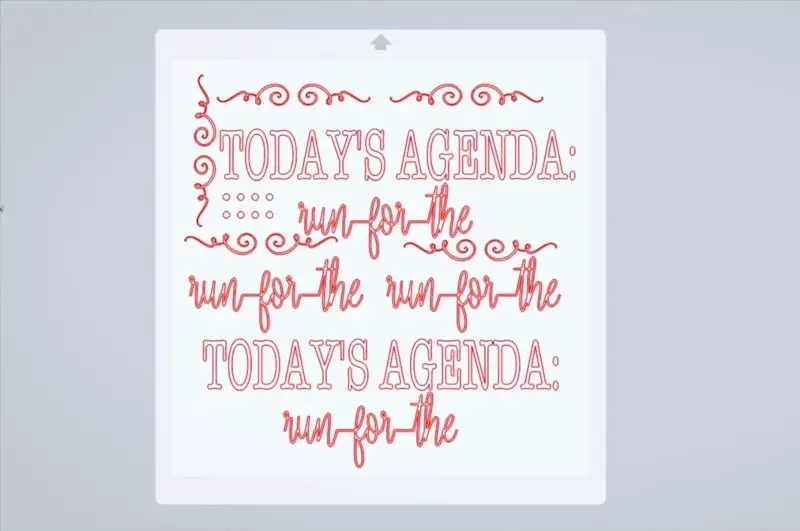
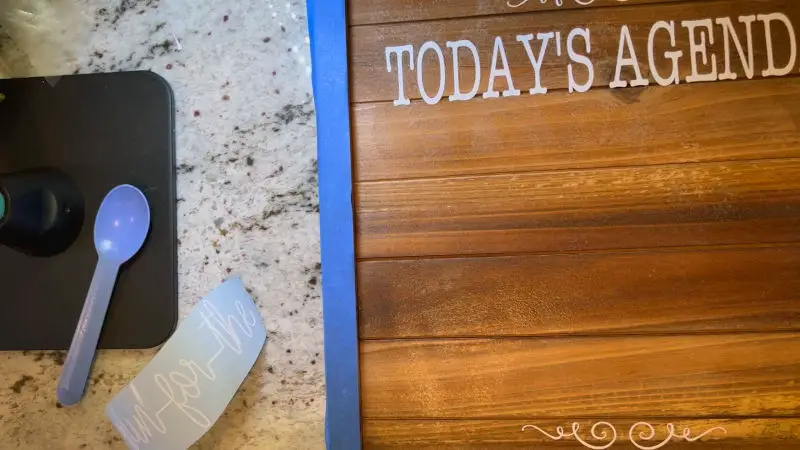
Eventually, you can place all the design elements onto the wood, carefully spacing everything out to leave room in the middle for your text.
Speaking of the letters, for the 3-D letters I purchased these wood letters from Hobby Lobby. Personally, I like the old-fashioned typefont that looks like a stretched-out Times New Roman font.
I painted my letters first, but it’s not a necessary step. I knew that I was going to cover some of them with black and white napkins, and I didn’t want the off-white color of the wood to contrast with the bright white of the napkin. I painted all the letters white to ensure the background was consistent for each one.
I forgot to record the actual Mod Podge of the napkins and the scrapbook paper to the letters, but you just use the Mod Podge like glue and spread it all over the front of the letter because that’s where you will add the color of the the paper or the napkin. Then, let it dry.
When they’re dry, trim as much off the edges as possible. Be extra careful on the inside of the letters like curves in the “S” because it’s difficult to access those tight spots.
Next is the technique I’ve been wanting to try for a while, which is lighting the letters on fire.
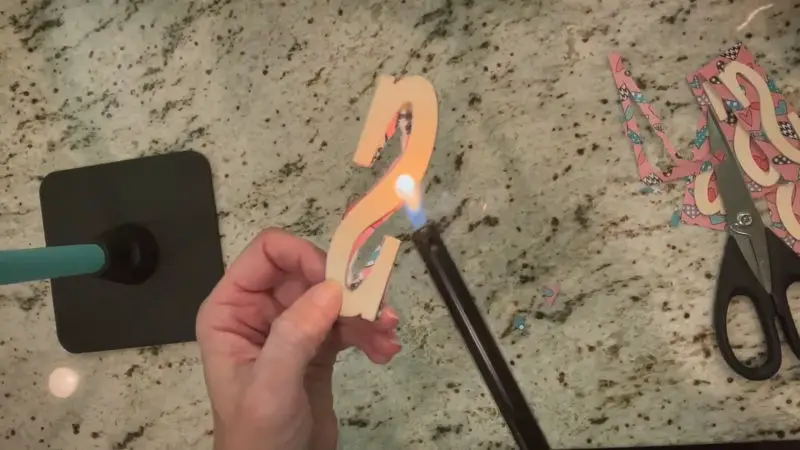
The idea, here, is that the edges of the paper burn up to the wood, giving it a cleaner finish on the edges.
When I was doing this, a few of the letters burned a bit further than the edge and – I’m speculating here – but it might be because the modge podge wasn’t applied all the way to the edge; however, I didn’t mind the “torched look” this provided on the edges of the letters since I was going for a vintage vibe.
This process will leave behind some ash, but you can take a Q-tip to those curved edges on the inside of the letters and swipe off the soot or grime. Be careful not to smudge the letters with the ash that will inevitably land on your fingers!
Overall, I liked the technique. I did go back with some fine 20-grit sandpaper to smooth out those portions in those areas where the paper didn’t burn quite to the edge or where the Mod Podge was too thick.
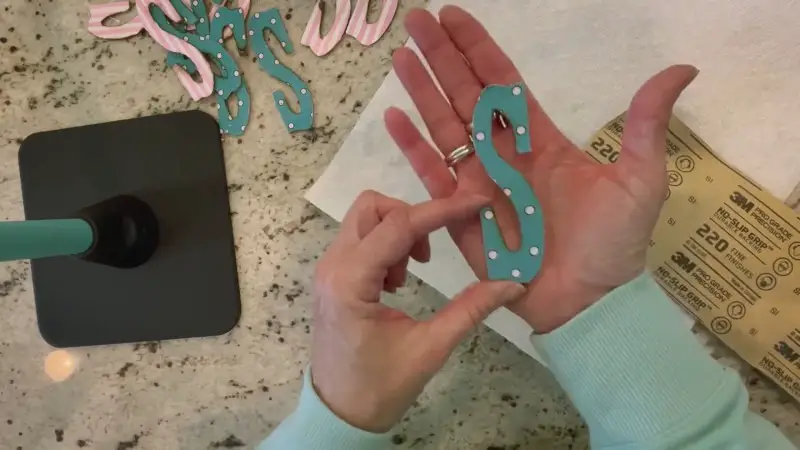
I also used scrapbook paper for my letters, and the burning technique probably works better with a thinner paper such as napkins or tissue paper.
Also, I Mod Podged on top of the napkins before I burned the letters and then sanded them down last. And for whatever reason, for the scrapbook paper, I didn’t put the finishing layer of moge podge on top until after burning the edges. I thought the second way worked better. So in hindsight, I might change this strategy if I did it again. I would still use the scrapbook paper (it worked fine even though it was thicker), but I would wait to add the final coat of mod podge until after burning and sanding the letters.
It’s a little harder to not gunk up the inside edges, so it may be useful to apply the sandpaper afterwards everything is polished and dry. Ultimately, you want the same semi-gloss finish on each letter you’re using..
Once the letters are finished, lay them out in that extra space on your wood frame to see where you want to put your message.
Don’t glue them, yet! You will want to want to ensure the spacing is correct. Then, take the miniature, artificial roses (I found these at Hobby Lobby as well) and remove the floral parts off the stems. Be aware that sometimes, if you pull the whole backing of the stem off, the flower comes apart completely. So don’t get overzealous. Don’t worry though, you can put it back together if need be.
Also, regarding the roses, you will have to clip the pointy part off so they will sit flat on your frame. Just don’t go too close, or again… it’ll come apart.
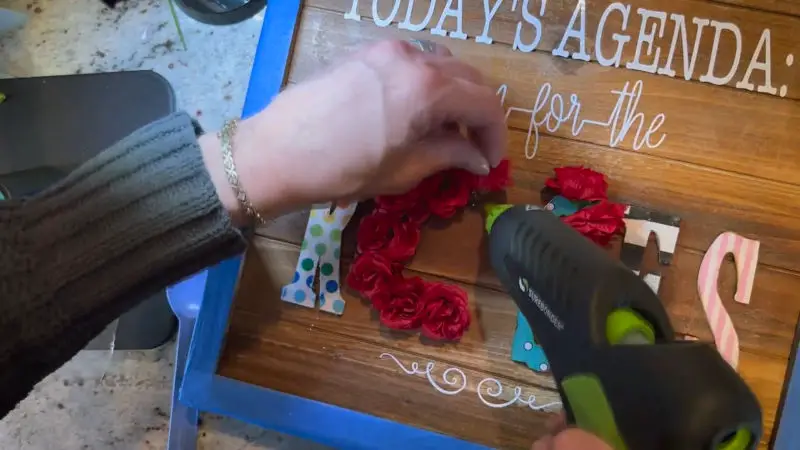
Now, carefully lay everything out to be sure you like the spacing and the placement of the roses—in my case to create the letter “O”.
Begin by gluing down all your letters, first, before applying the roses. I suggest laying the roses out before glueing down so you have an idea of how much space you’ll need and the shape of the letter. Eventually, I ended up with about 9 mini roses for each letter “O.”
As you’re working, be sure to pull some of the leftover glue strings off the board because the wood will still be tacky.
Once your board is set, remove the painter’s tape from the edges. I decided to use some white wax that I had from Waverly to help the edges of the frame stand out. I’ve never used white wax before so I was eager to give this a shot.
My technique is to put an old sock on my hand and dip it into the white wax, and then rub it onto the edges. I decided I liked the look without rubbing the wax into the wood so I basically used it like dry brushing paint.
If you do this same technique, it will be important to carefully monitor your strokes or swipes because the appearance you achieve as you apply the wax is exactly how it’s going to look when it’s dry.
So, as mentioned earlier, while this wall art décor was inspired by the derby, you can create something similar that features any images or messages inspired by any event!
I hope you’ll give it a try!
More How To Crafts
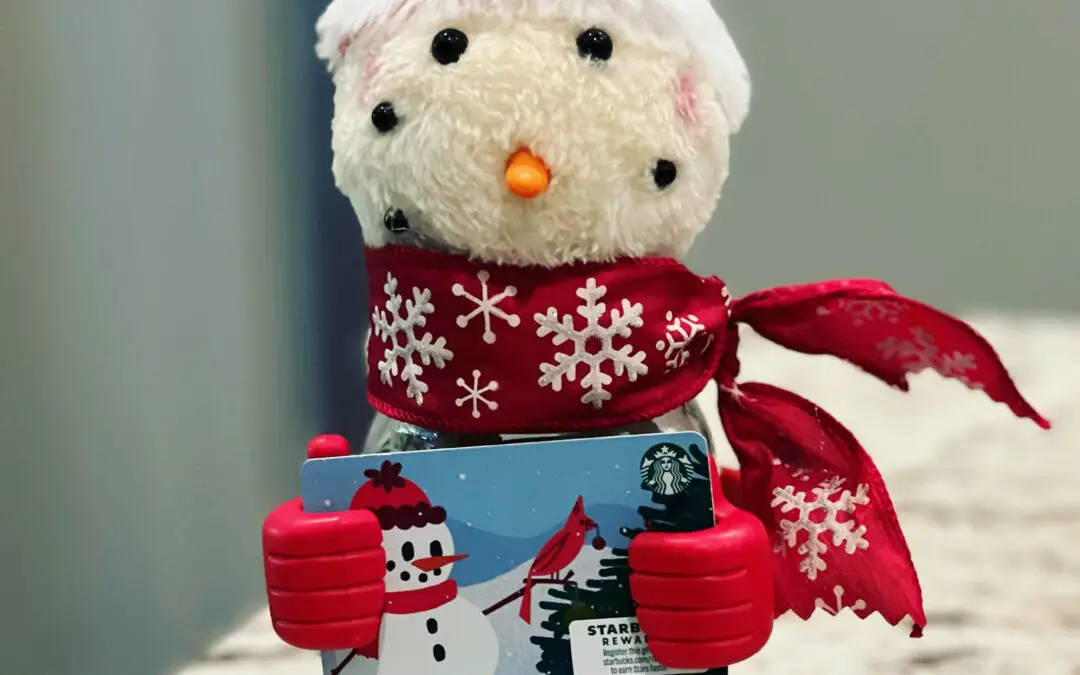
Easy to Make Gift Card Idea
Here’s the situation: the teenager had a gift exchange at high school and she wanted to keep it simple with a Starby’s gift card and some Sour Patch Kids. (Yawn) But unfortunately for her, she’s my kid, and we can’t roll with straight up boring gifts. We did get the...

Craft Room Ideas and Advice
Depending on how dedicated a crafter you are, these craft room ideas may help you plan and organize your perfect workspace.
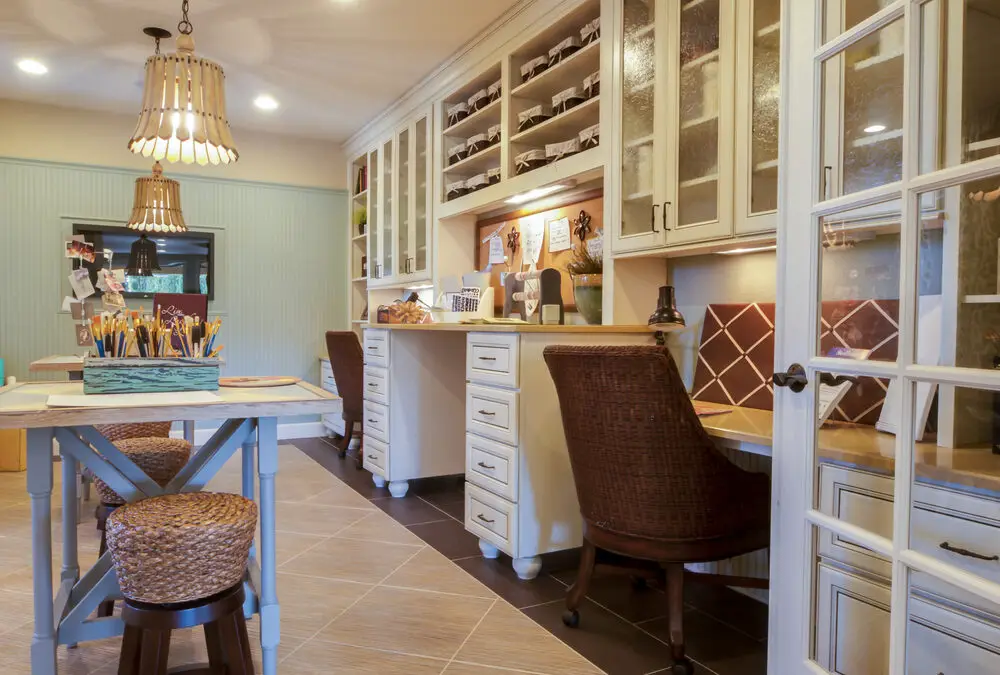
Smart and Crafty Craft Storage Ideas
This post is co-written by my talented, artistic friend and architect, Laura Davis, Vice President and Principal of hpd architecture + interiors. As dedicated crafters, we know how important it is to have a designated space for all my creative supplies. Let's face...
 What’s your happy place? Crafting? Cooking? Cocktails? Party planning? Yes please! I love it all, and I’ve tried a lot. Check out my how-to’s! What should we do next?


0 Comments