Tissue paper pom poms may be one of the cutest, most inexpensive and easiest things you can make for a party.
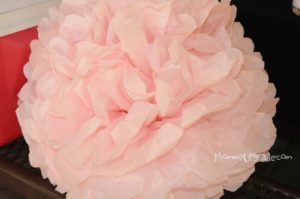
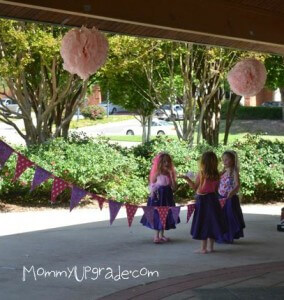
The cupcake’s 4th birthday party was a princess and pirate’s party at the park (say that 10 times fast!) and the drab pavilion needed a little sprucing up.
The thing is, a pavilion is really big, and our house is relatively small. So… don’t make too many tissue paper pom poms in advance because you’ll run out of places to put them! I swear the hubs thought it was like the tribble scene from Star Trek at our house. They just kept multiplying everywhere!
Here’s my tip on how to make tissue paper pom poms:
To keep the cost down, I ordered a box of tissue paper from Nashville Wraps. It was probably enough for 4 parties – or one party with enough tissue paper left over to wrap all the friend’s party gifts for the rest of the year.
In addition to the tissue paper, you’ll need scissors and floral wire (I use the white kind that’s almost like string) to make tissue paper pom poms.
Start by taking 8 pieces of tissue paper and lay them flat on a table – or in my case, a box in the Princess Cupcake’s room while she played with her doll house.
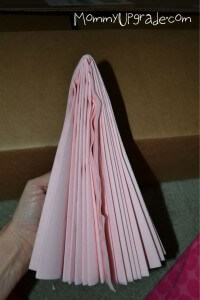
Make according folds (one fold towards you, one fold away from you) about 1 to 1 ½ inch wide on the width of the tissue paper.
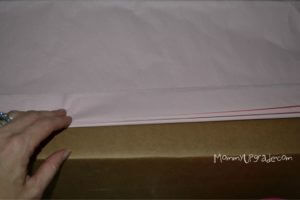
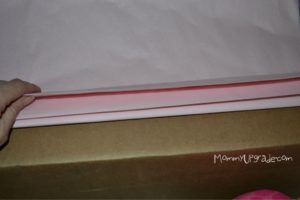
Continue folding until you have it all folded into a pile like this:
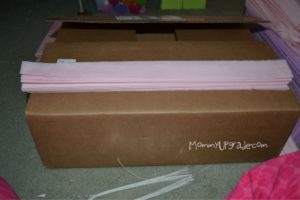
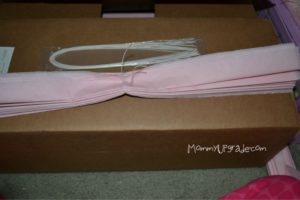
Bend in half to find the middle.
Then pinch your stack of tissue paper at the middle spot. Take your floral wire and wrap it around the pinched tissue. Tie it or twist it securely.
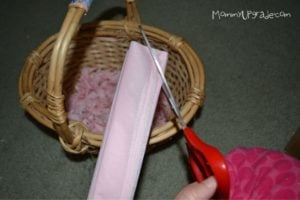
Now round off the ends of your stack of tissue. If you want more of a dahlia look, make the ends pointed.
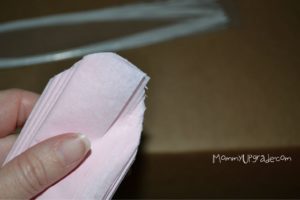
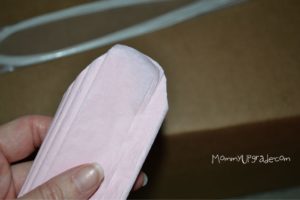
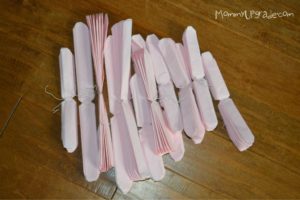
Now carefully pull one layer of tissue towards the pinch. I can’t believe I didn’t take a photo of this part. (Head smack!)
Continuing on that same side, pull another layer, and another, and another.
Be careful, it’s prone to tearing. If it tears, don’t cry. Likely it will be hidden once you’ve completed the fluffing process.
Now do the same to the other side, pulling it towards the fluffed side you just completed.
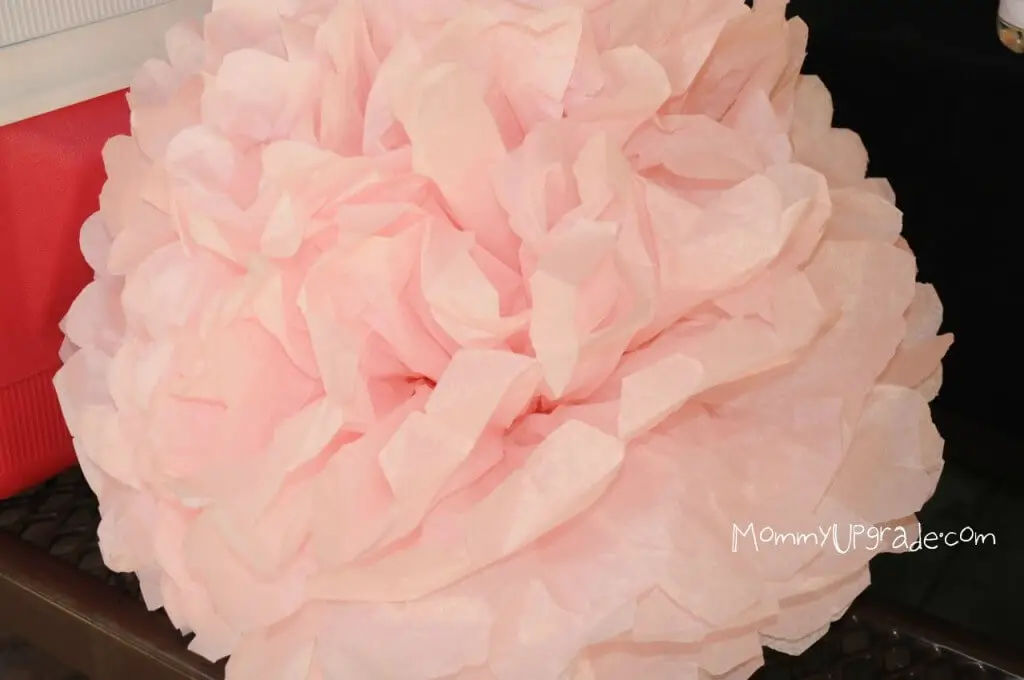
Now you have a nice, one-sided tissue paper pom pom.
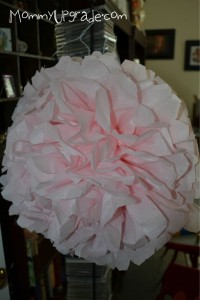
You’ll need to tie two together to get a round poof to hang from the pavilion.
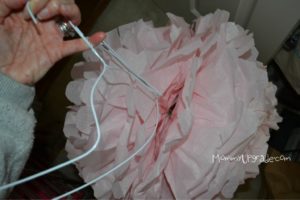
See, perfect pink tissue paper pom poms! Some of the mom’s wanted to take them home with them to hang in their little girls’ rooms. The hubs was more than happy to oblige – dreading me telling him we couldn’t THROW AWAY all that hard work! I kept a few and hung them in the Princess’s room. A lovely sentiment to remind us of a very special day.

 What’s your happy place? Crafting? Cooking? Cocktails? Party planning? Yes please! I love it all, and I’ve tried a lot. Check out my how-to’s! What should we do next?


I really like your tutorial.
What size tissue paper did you purchase from Nashville Wraps?
What size did your pom turn out to be?
The pompoms were probably about 16 inches in diameter. I honestly don’t remember the size I ordered, it’s been so long. I’m sorry!