I like to do handmade gifts at Christmas, usually I opt for something sweet from the kitchen – a rum cake (my faaaavorite…), santa bugles or buckeye balls, truffles or cake balls. This year I decided that I wasn’t going to bake for the teachers, the office and the neighbors. I would do something that wouldn’t require last minute standing in the kitchen for hours on end. I hated the late nights right when it seemed like it was the busiest week of the entire year.
This year — I would SEW.
I know, I know. If you followed the issues I had with the crayon rolls you’d think I was plum nuts, but that was before I got my Singer so I have a new level of confidence when it comes to stitching. After all, I graduated from 2 quilt classes this fall! No, didn’t say I finished the quits yet… in time, in time. They got bumped to lower priority to make these awesome cuffed stockings for gifts this year.
I am no expert sewer. I use one setting on my machine and I sew straight lines. No zippers, no buttons, nothing that requires a ruffle. Just straight sewing. If I can do it — YOU can do it! And they turned out so super cute!

I swear she photo bombs all my tutorials… 😉
For each stocking, you’ll need:
- 1/3 yard fabric for your stocking
- 1/3 yard fabric for your lining
- 9 inches fabric for your cuff
- 1/3 yard fabric for your batting (I recommend low loft)
- Paper
- Tape
- Thread
Draw out your stocking pattern on a few pieces of paper taped together. You just need the shape so you can use it to cut your pieces accordingly. If you are no expert stocking drawer (like me), you can also download an awesome template. Cut it out.
Now, you’ll need to start cutting your fabric. Fold your fabric in half, making sure that your pattern will fit on top. Pin the pattern to both pieces of your fabric. You’ll going to need two pieces: one right side out, the other side down. If you have folded your fabric, it’s easier to just leave it folded.
Repeat the same as above with your lining fabric.
Undo your pattern from the lining fabric and use it to cut out two pieces of batting. There’s no right/wrong side of batting so just cut them out however you want.
Measure the width of your stocking pattern at the top part of the stocking. Double that amount and add 1/2 inch to the total. From your 9 inch piece of cuff fabric, cut a piece the length of your calculation. If you’re using the pattern download link from above, it should be about 17.5 inches.
Now pin your batting to the wrong sides of your stocking fabric.
Okay, time to sew.
Pin together your stocking pieces right sides together. You should now have it layered from bottom to top: batting, stocking fabric, stocking fabric, batting. Sew the edge of your stocking sandwich with 1/4 inch margin. DON’T SEW THE TOP of the stocking.
When finished, turn it right sides out.
Pin together your lining pieces right sides together (if they have right sides), and sew the edge with 1/4 inch margin. DO NOT SEW THE TOP of the STOCKING OR a 3 INCH SECTION AT THE TOE. You’re going to use this little 3 inch gap to turn the whole thing inside out later.
Take your cuff fabric and fold it so the 9 inch sides are together. Sew the 9 inch sides using a 1/4 inch margin. After your finished sewing that part of the cuff, turn it right side out. Right now you have a long tube that’s 9 inches tall and about just under 9 inches wide. Fold under the fabric so wrong sides are together and you are forming your cuff. The cuff will be about 4/5 inches tall. The folded part will be the “bottom.” The cut edges will be the top.
Here are all your pieces:
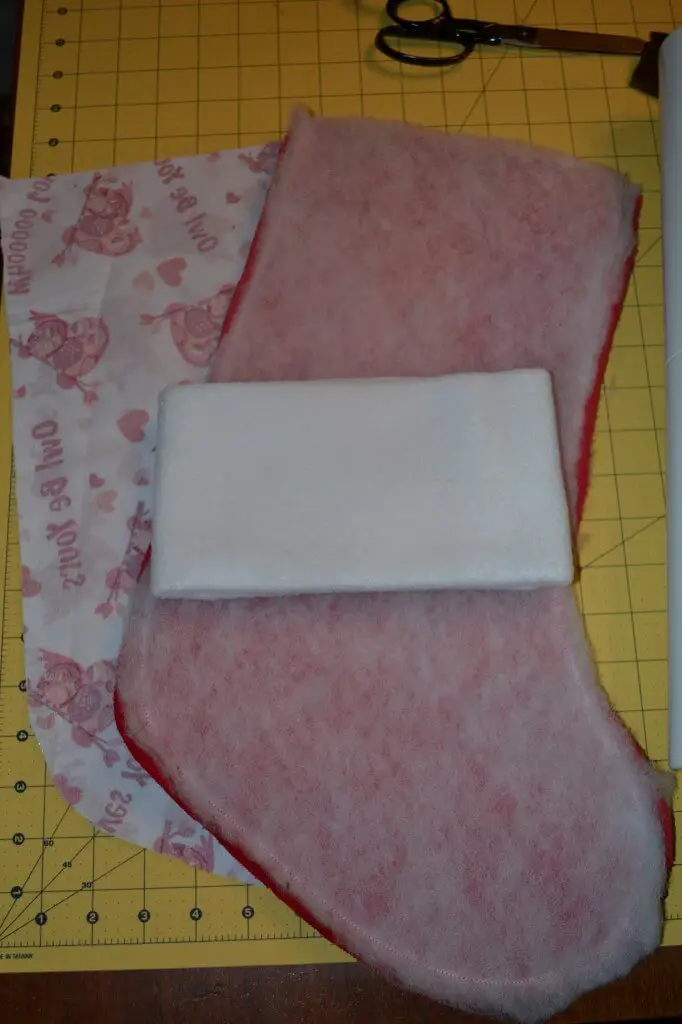
Here’s where the fun starts. Take your stocking sandwich and put the cuff around the top, all cut edges together. Line it up and pin it all the way around to keep it secure. Keep your lining piece wrong sides together (do not turn it out yet) and put your stocking sandwich into the sewed lining. Line up the cut edges at the top.
Two VERY important steps next:
1) Remove the pins that are holding the cuff and stocking together one by one, and replace them on the outside, pinning the whole stocking sandwich so you’ve got the stocking, batting, cuff and lining all together. If you forget this step, you will find pins on the inside of your stocking later that you are unable to remove.
2) Cut a small strip of fabric from the leftover stocking fabric. You want it to be about 1/2 inch wide and 3 or 4 inches long. This is used for your stocking hanger. PIN this INSIDE your stocking sandwich BETWEEN the LINING and the CUFF on the left side of the stocking (the heel side). If you forget this, you will have a beautiful stocking that you cannot hang. And you will have to add the hanger later, and it doesn’t look nearly as nice.
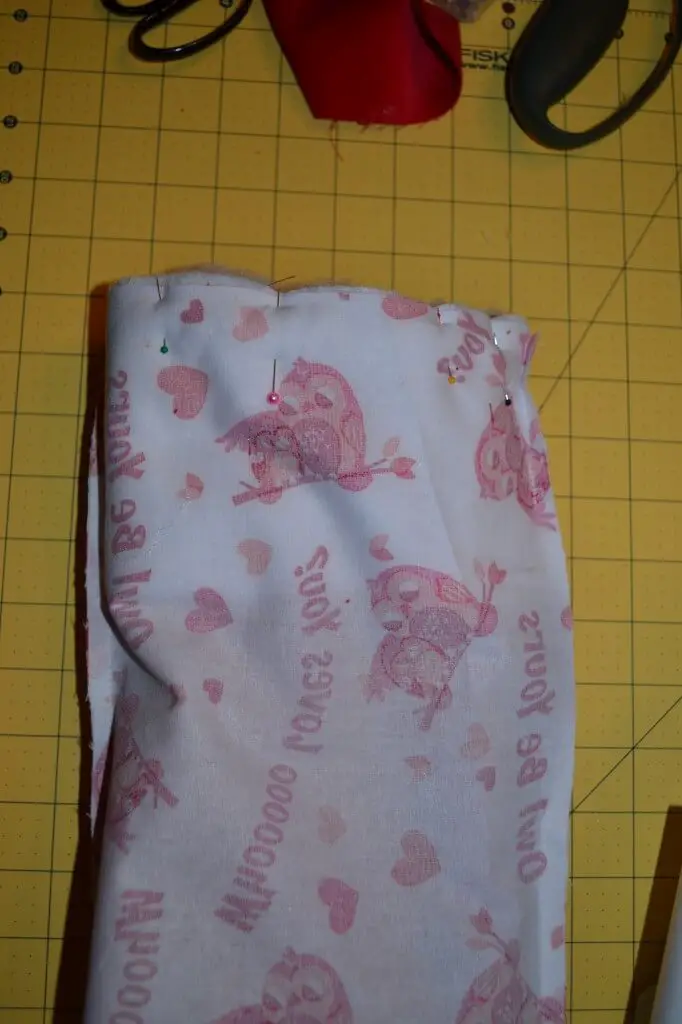
You are ready to sew it all together. Sew the top of the stocking all the way around with a 1/4 margin.
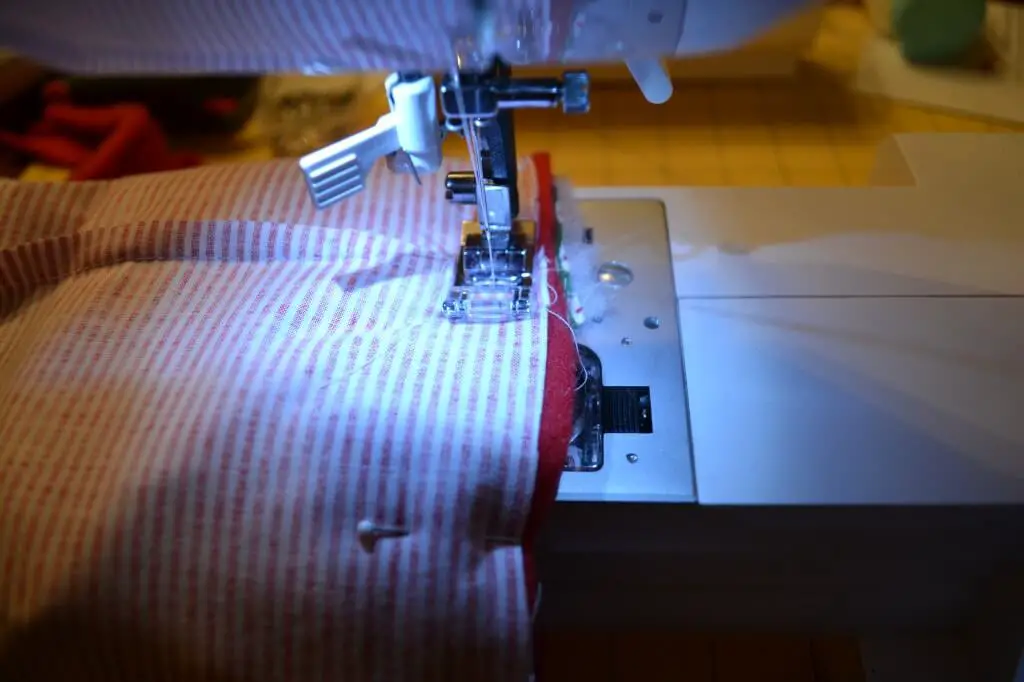
You’ll likely need to remove the arm off of your sewing machine to get this done without stabbing yourself with pins every few seconds. Go slow, you have a number of layers and pins to maneuver through.
When you’re done, turn the stocking right side out through the gap in the toe of the lining of the stocking.
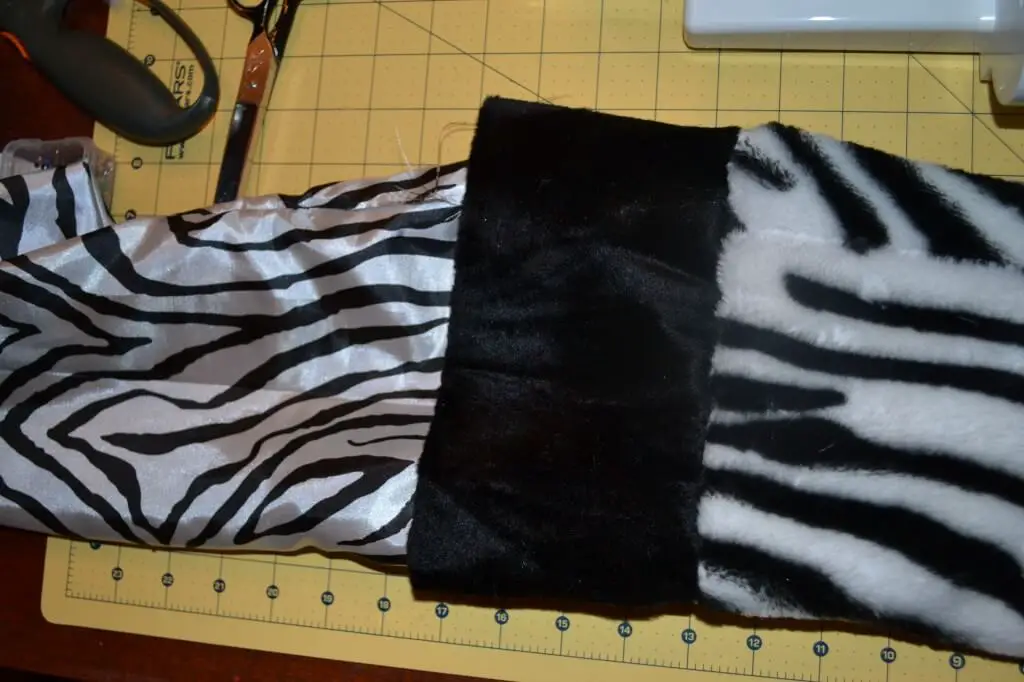
Sew the hole in the stocking.
Push the lining into the stocking and admire your adorable stocking!
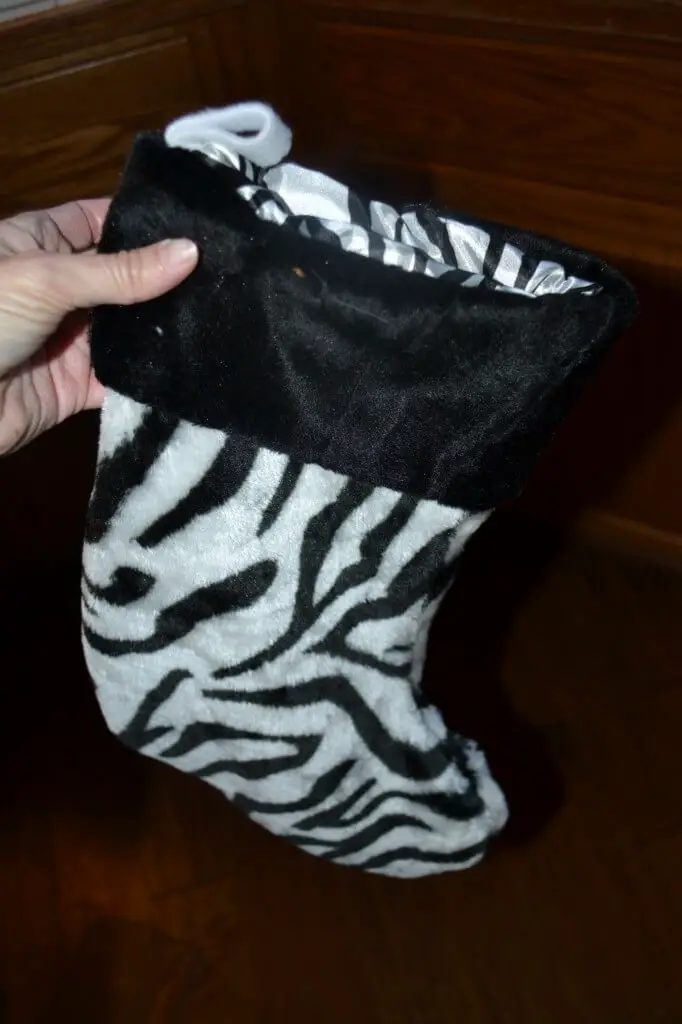
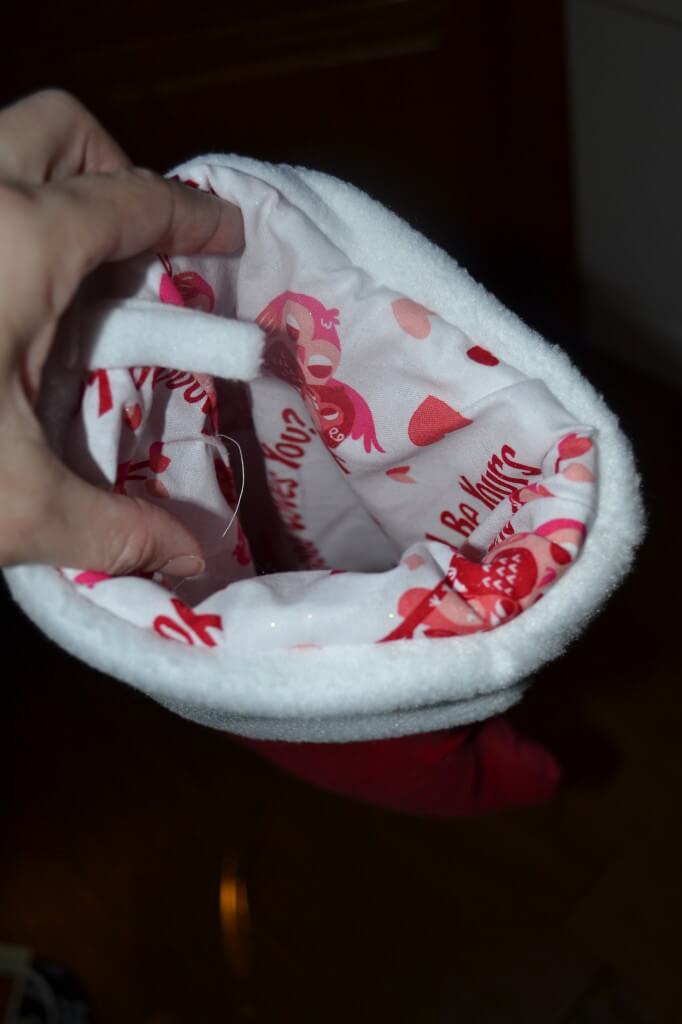
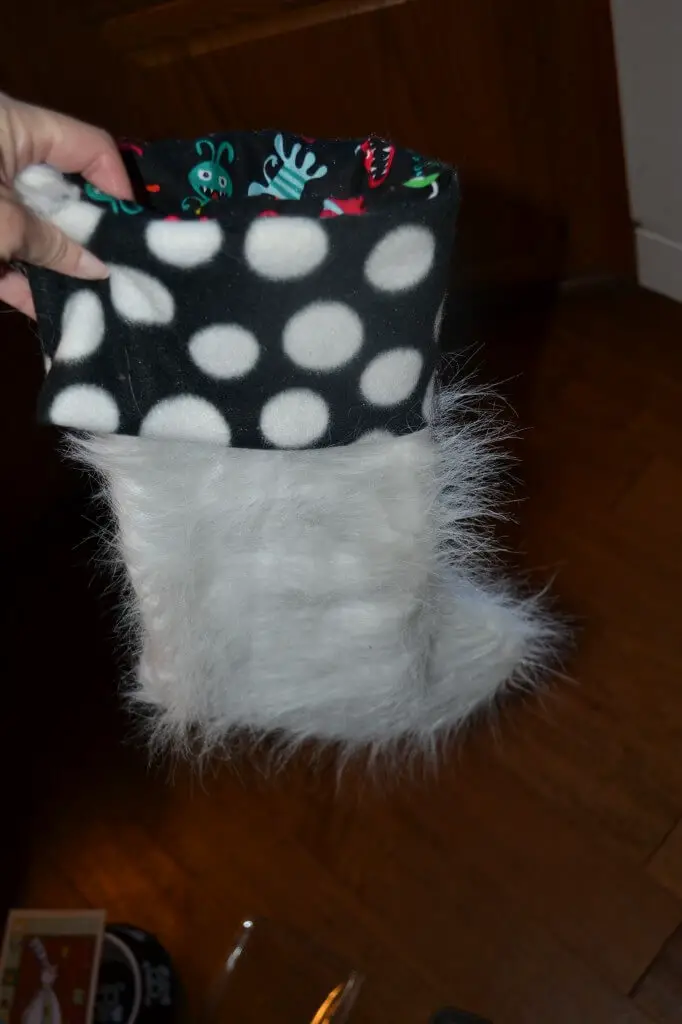
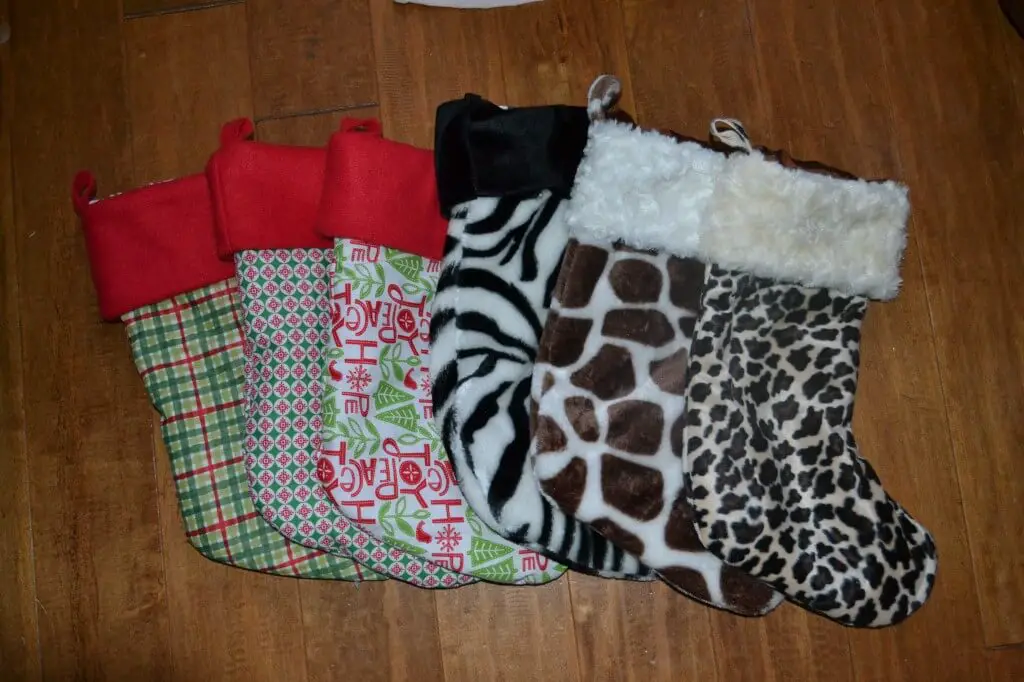
I had so much fun with these! We chose fabric to coordinate the teachers with their mascots for each of their classrooms (if you couldn’t tell…), and they turned out just adorable and super luxurious. For the office, we made girls stockings with animal prints with ultra soft cuffs, and boy stockings in traditional red and green with no pill fleece cuffs. And of course, we had to make one to keep. 🙂

 What’s your happy place? Crafting? Cooking? Cocktails? Party planning? Yes please! I love it all, and I’ve tried a lot. Check out my how-to’s! What should we do next?


0 Comments