And because I visit these groups daily, okay, several times a day… I’ve followed along with all the “challenges” that these puppers do to entertain their humans:
#guiltydogchallenge
#firstphotochallenge
#familyportraitchallenge
#sleepingdogchallenge
#dogmodelchallenge
The list goes on, but one of my favorites is the #artistdogchallenge. Here for it.
Artist Dog Challenge – Meet the Artists
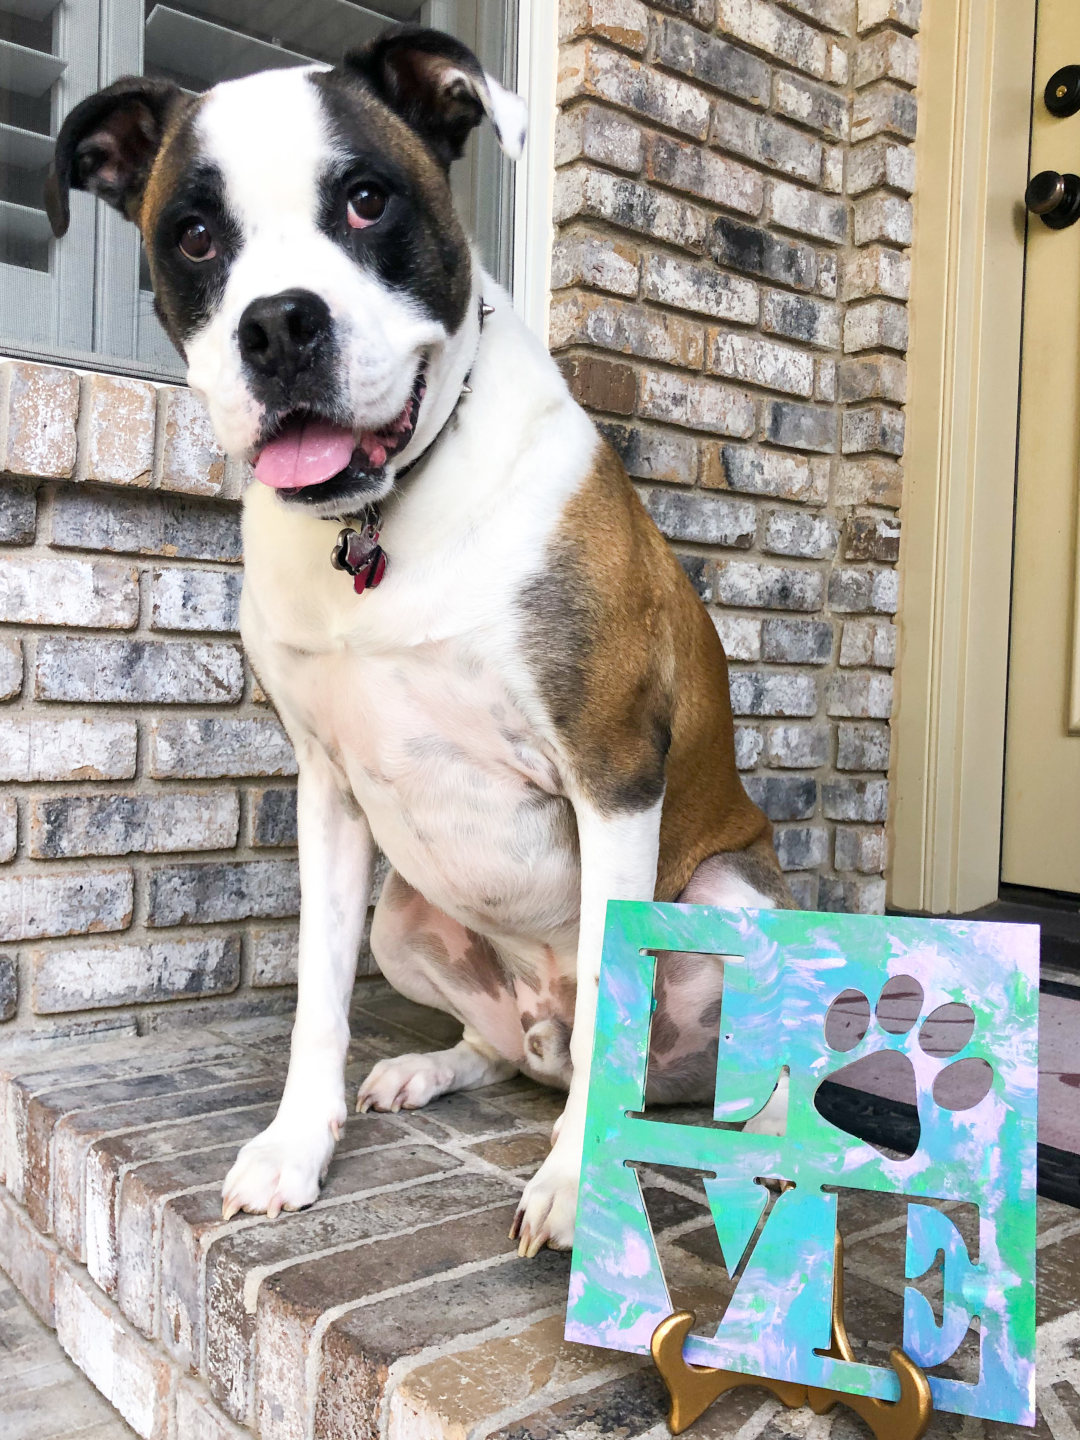
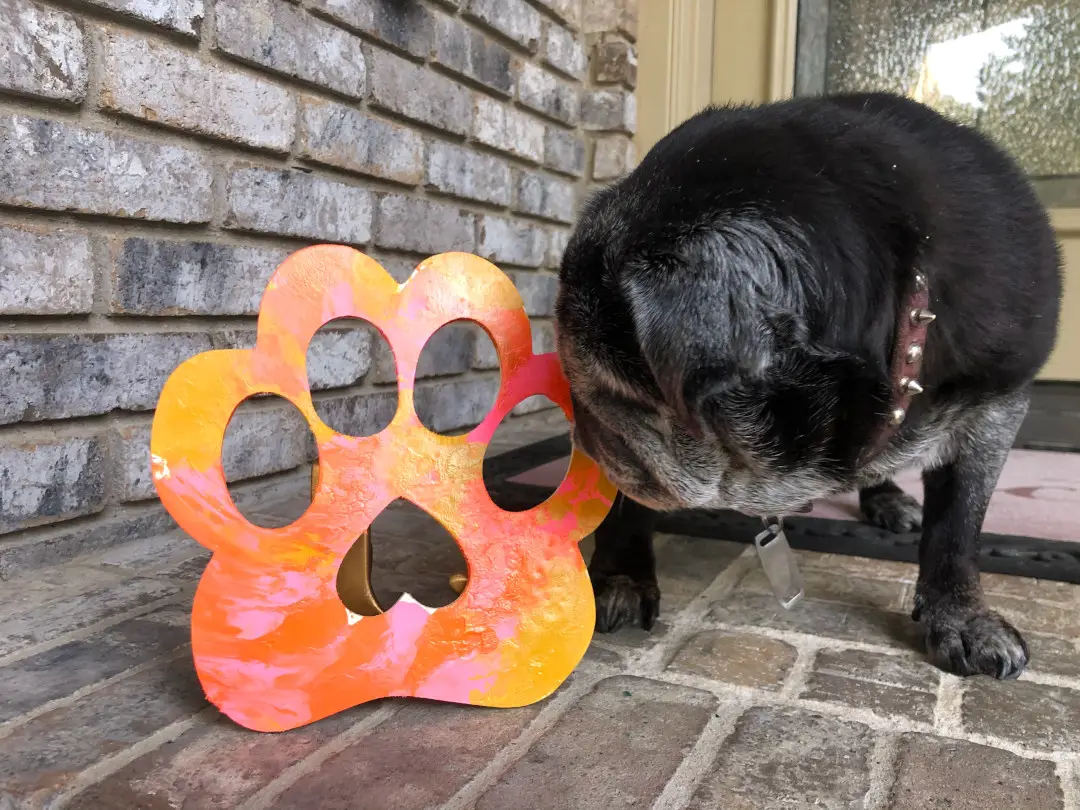
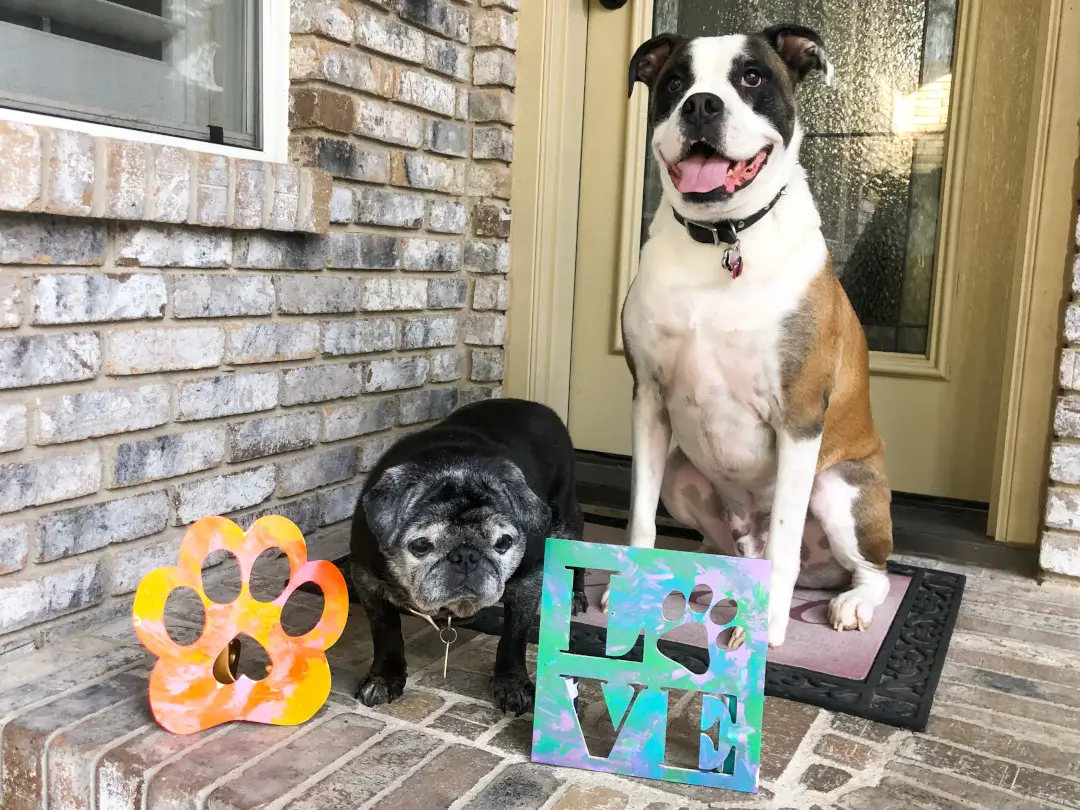
This project could be expert-level on the mess factor scale because it’s basically finger painting for your dog – except they use their tongue. So there’s paint, slobber, dog nails… all together a dangerous combo. We managed to not get a wayward drop of paint anywhere, so let me give you some words of advice before you start. Here’s what we did.
What You’ll Need for The Artist Dog Challenge
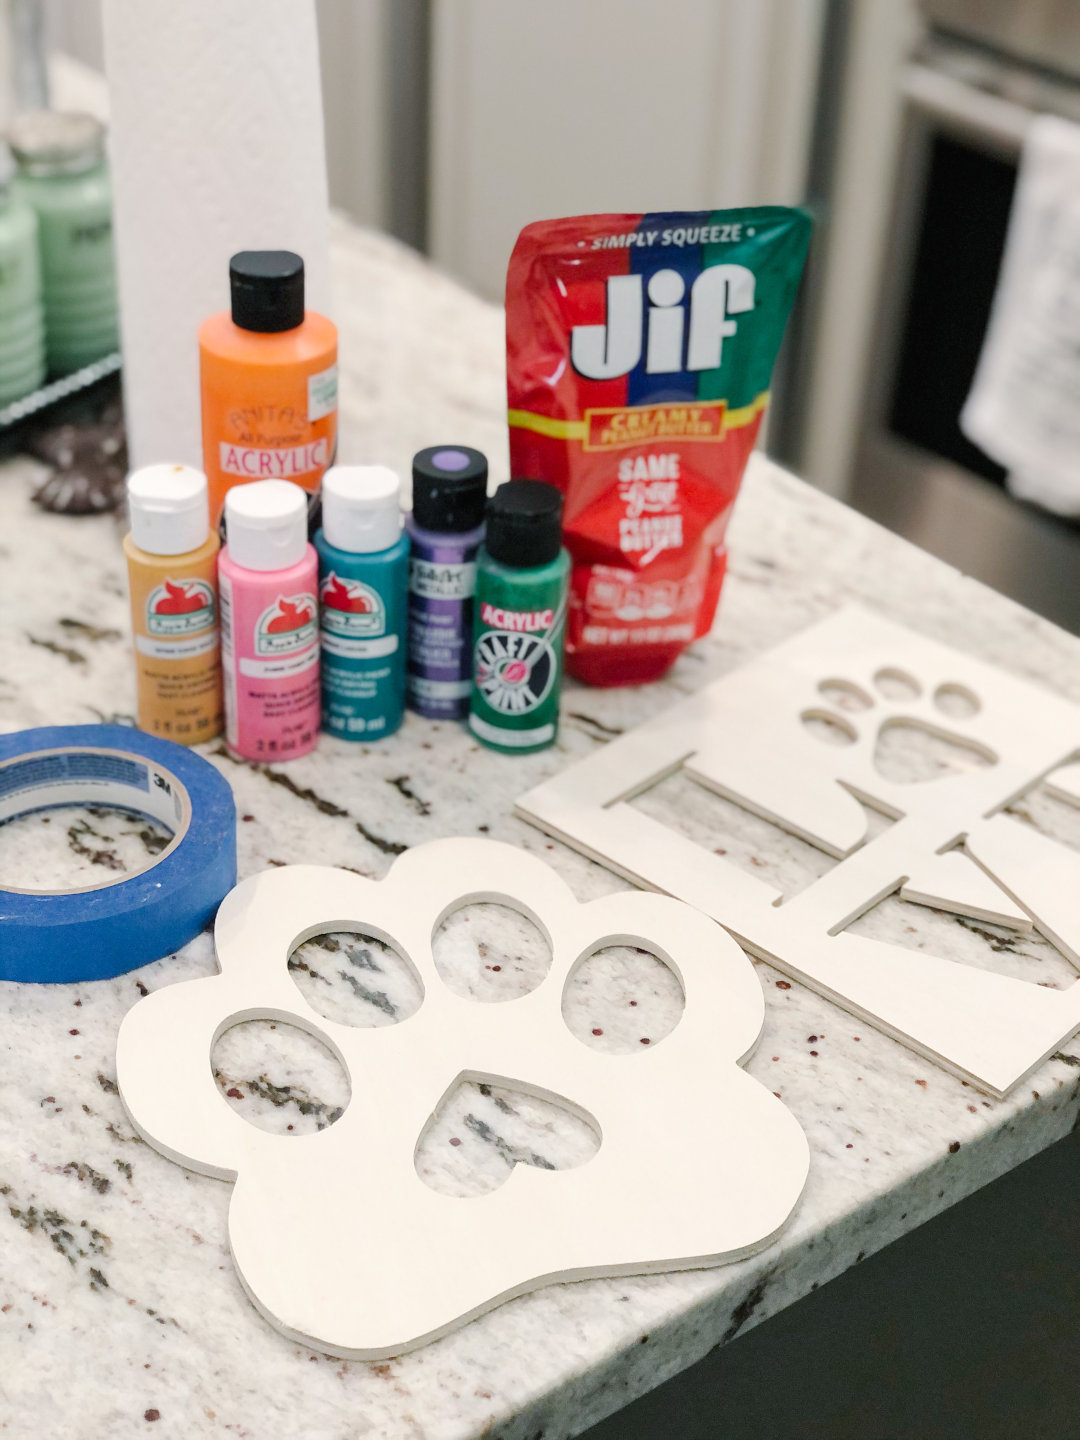
- Canvas – no more than 8 x 8 (I used pre-cut wood from Michaels instead)
- Acrylic paint
- Ziplock bag – gallon size
- Painters tape
- Peanut butter – squeeze type best (could also use cheese whiz or whipped cream)
- Newspaper or a flattened box
- Paint sealer (polyurethane, Mod Podge, etc.)
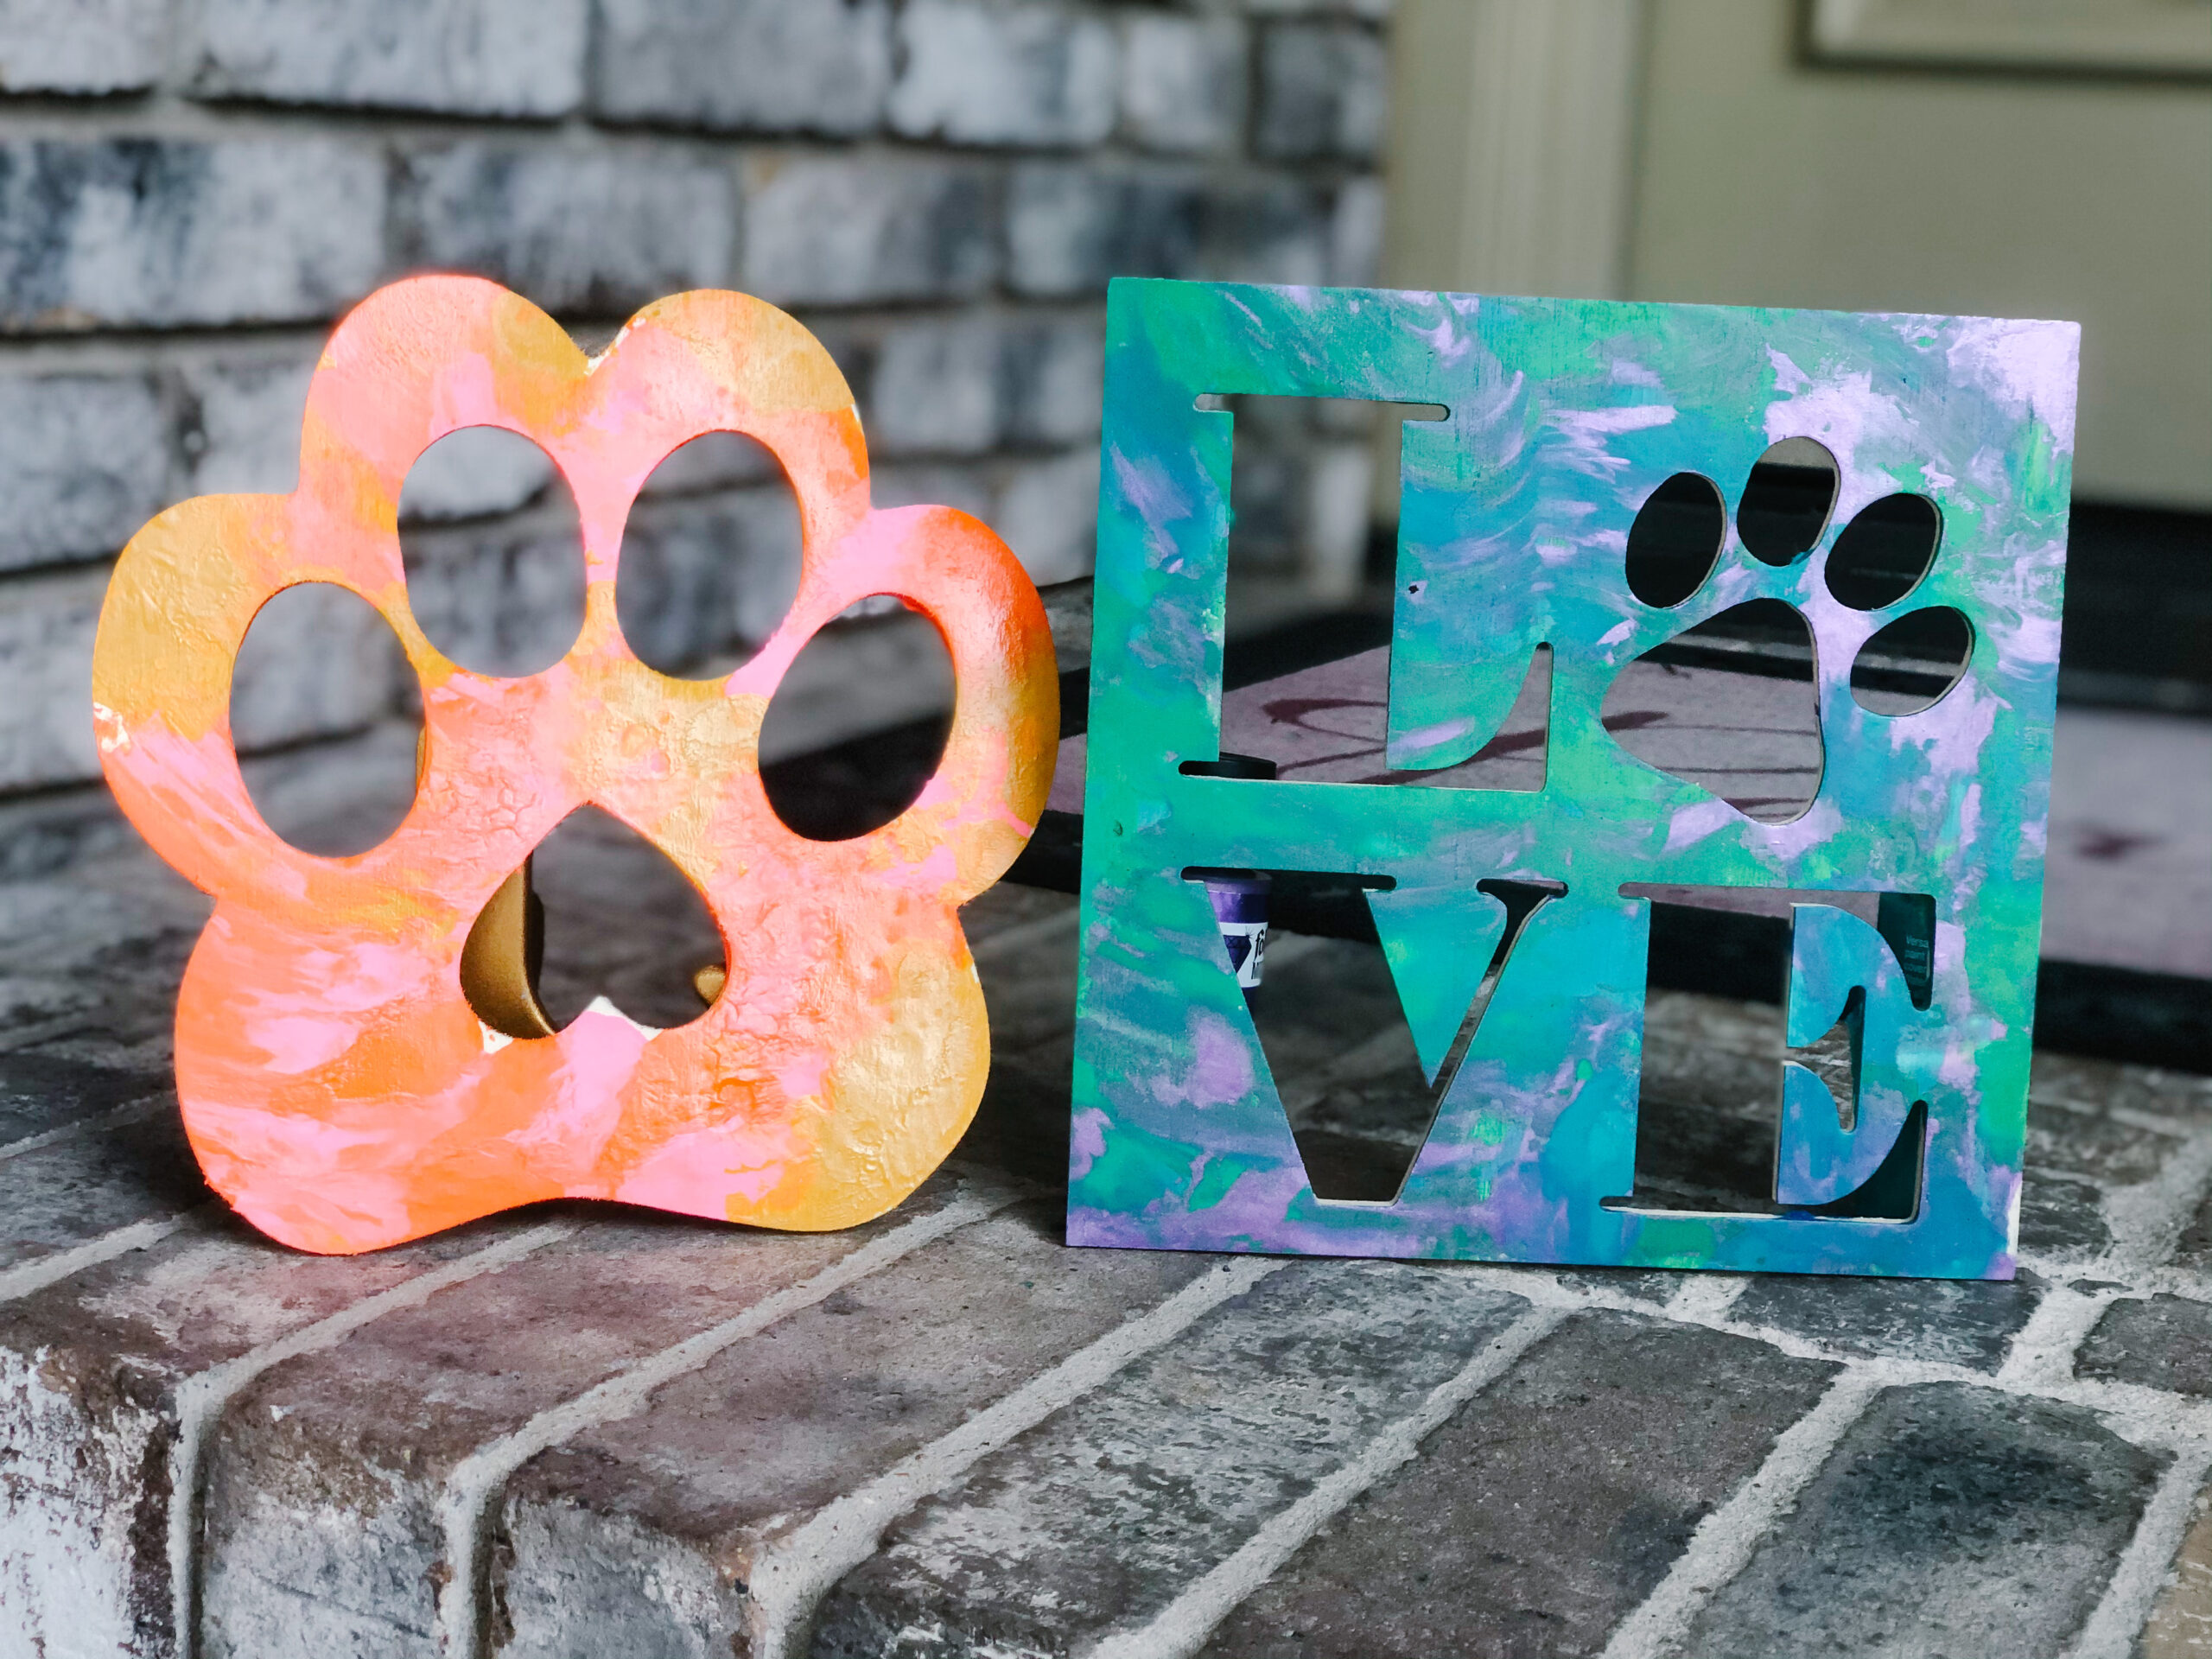
I chose these wood cutouts, but you can use a canvas or even cardstock for your artist dog challenge. (If I had used canvas, I would have put stickers or HTV on it first with their names and then peeled them off at the end.)
I squeezed small drops of the paint onto the wood cutouts, carefully spacing them to where the puppies would have room to spread the paint out.
Open the zip lock wide and place your cutout or canvas inside, careful not to smear the paint on the plastic as you put it inside.
Once inside. Gently get as much air out as possible and zip it shut.
IMPORTANT: Double check that it’s zipped shut.
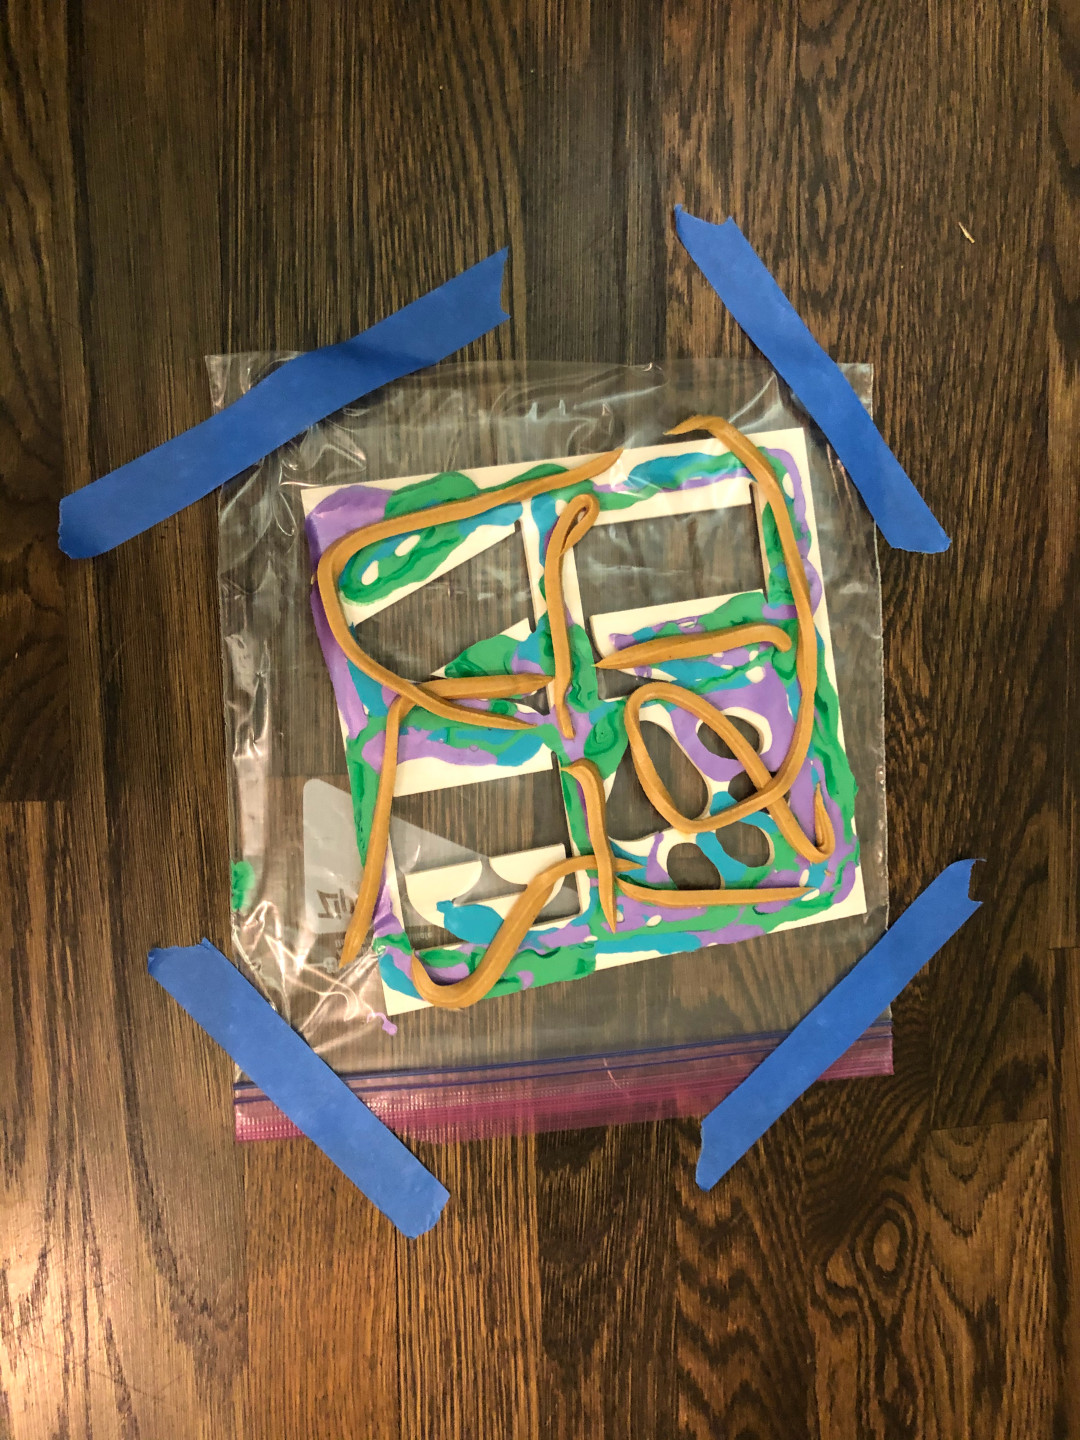
Tear off four pieces of painter’s tape and put them across the edges of the zip lock. You’re going to use this to secure the zip lock bag to your wood or tile floor. You can skip this step if you’re outside, but know that they’ll likely scoot their project all over the place. They may even pick it up and run with it.
Next, squeeze your peanut butter in small drops onto the Ziplock bag, but near the paint puddles. You want your dog to lick the peanut butter off, but at the same time, spread the paint inside to cover all of the canvas. If you have a small dog and are worried about too much peanut butter, you can gently spread some out. I ended up doing this with Beni’s project, but I was careful not to spread the paint.
Tape it down to the floor and back up. Your dog needs space to be an artist!
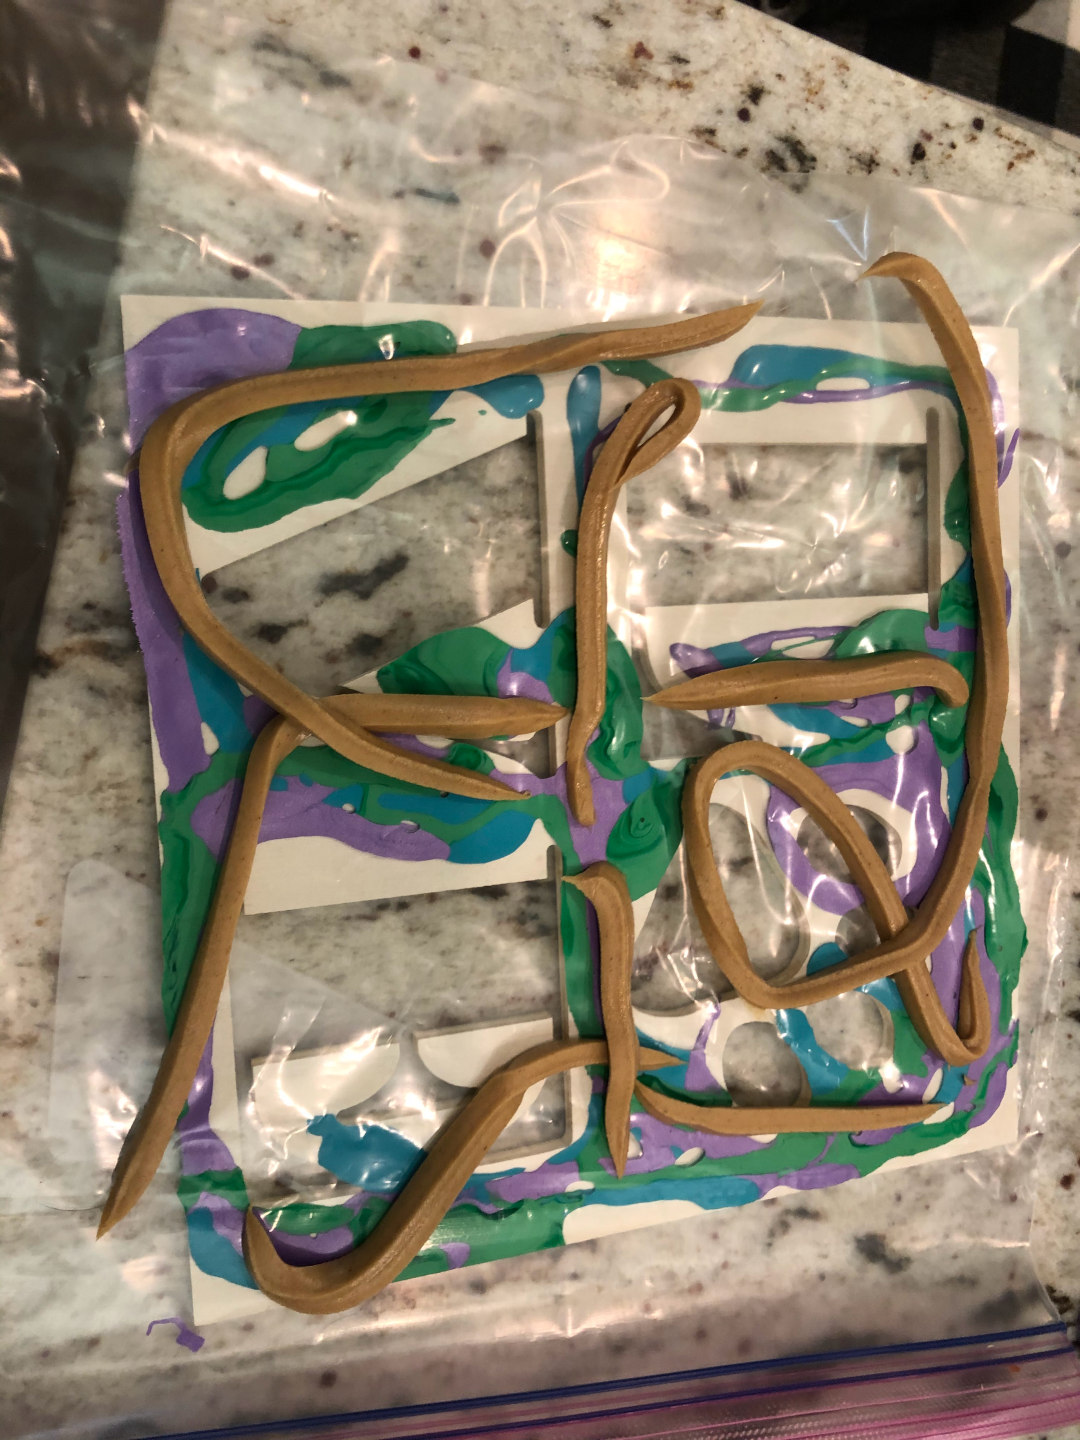
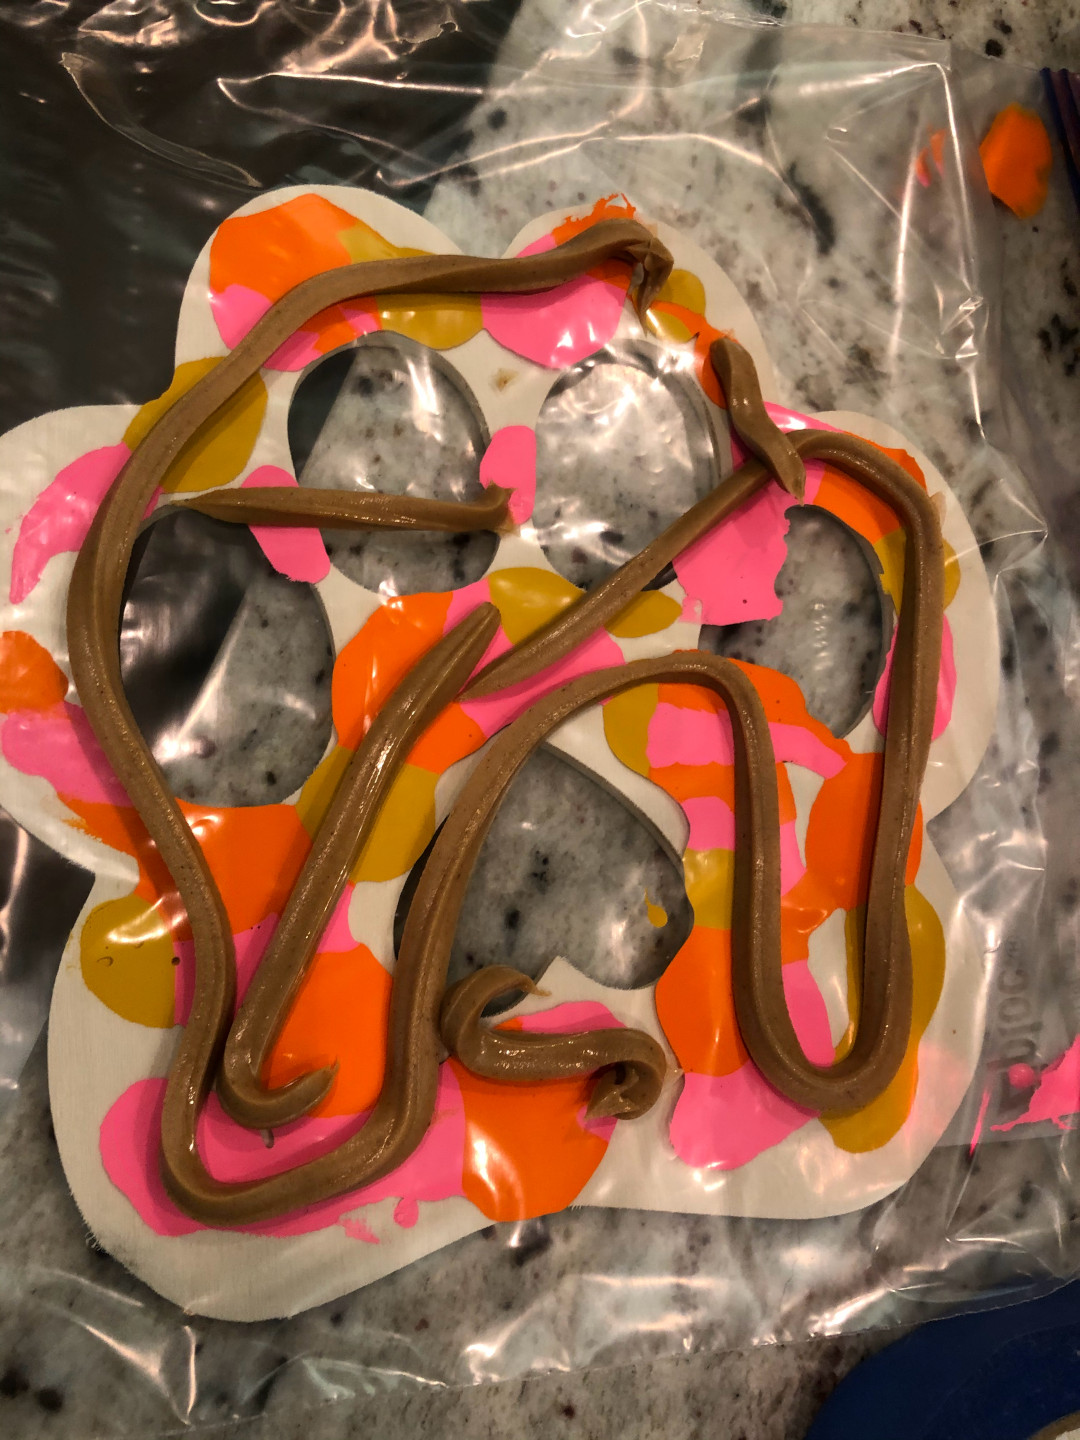
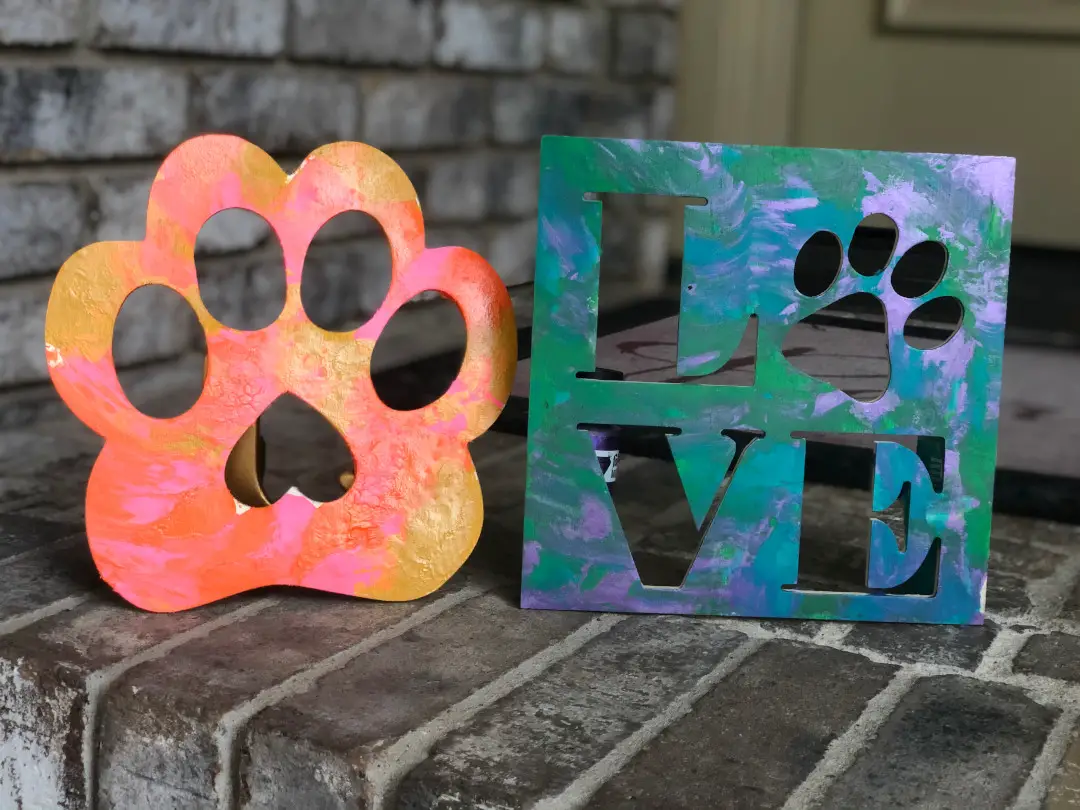
I sprayed ours with Martha Stewart paint sealer, but you could use polyurethane or Mod Podge too.
My dogs LOVED this project. LOVED it. We actually did two rounds with the paint because they didn’t cover all the wood the first time, and I’m one of those people… After it dried the first time, we did the above steps again, but I only put the paint where I knew they could fill in the gaps.
I’m so proud of them, and they can’t wait to do it again!
Wouldn’t this make a great gift?
 What’s your happy place? Crafting? Cooking? Cocktails? Party planning? Yes please! I love it all, and I’ve tried a lot. Check out my how-to’s! What should we do next?


Hello! I am looking for the pre-cut wood shown above, and I cannot find them on Michael’s website. I was just curious if you’ve been able to located the same pre-cuts elsewhere? This artwork is so cute!
Hi! I actually couldn’t find them on the website either but did find them in-store in with their dollar-type stuff bins. If your store doesn’t have them, I know they cost more but these are cute. Maybe try this: https://amzn.to/3CVxBTu or this https://amzn.to/3CY5Old