Since it didn’t come up on your Facebook friend reminders, you probably didn’t know that it was Johnny Appleseed’s birthday last week. Thankfully I have a 5 year old who keeps me apprised of these momentous occasions, and their requisite school celebrations where I have to bring things in for the class to share. So really, I ask you, what better way to celebrate the original Apple man than with some homemade apple butter?
That’s what I thought anyway.
Since I had recently conquered my fear of canning with a failed attempt at jelly, (it was still delicious), I thought I’d fill up my leftover canning jars with some Crock Pot apple butter in honor of our dear friend Johnny. Crock Pot because it’s easy and apple butter because it’s delicious!
Here’s my own recipe for Crock Pot Apple Butter
What you need:
- 3 lbs of Granny Smith apples (this is the only kind the Cupcake will eat so I went with these but can use any apples you like. Granny Smith will make your butter a bit more tart, but it’s really delicious)
- 1 cup of apple cinder vinegar
- 2 cups of water
- 3 cups of sugar
- ½ Tablespoon or more of cinnamon
- ½ teaspoon of ground cloves
- ½ teaspoon of allspice
- ½ stick butter
- Juice of ½ of a large lemon
- Dash of nutmeg
- Slow cooker liner (LOVE THESE) – you don’t HAVE to have these, but I don’t use my Crock Pot without them.
What you do:
1) Wash and cut the apples into quarters, removing the core. I leave the skin on because that’s where a lot of the flavor comes from. And let’s face it, it’s less work to leave the peel on it.
2) Put your liner in the your Crock Pot and add the apples with the water and the apple cider vinegar.
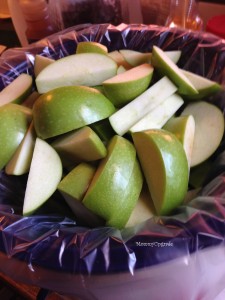
3) Heat on high for 3 hours stirring occasionally.
4) After 3 hours, do a stir check on the your apples. They should have broken down and become a huge mushy mess. Some of the skins will start to come off, you can just pull them out – or not.
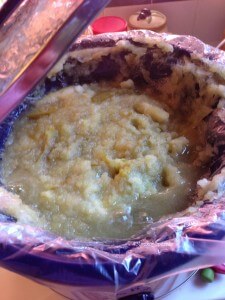
5) Using an immersion blender (I don’t have one) or a food processor (mine’s in the PODS) or blender (also in the PODS) or whatever you use and puree your mushy apples and skins. I had to use a tiny nut chopper over and over since every normal sized appliance was packed but that’s my own pity party. Chop/grind/blend your apples until smooth and you don’t see any more pieces of skin. Remember, this is REALLY hot so be careful when handling.
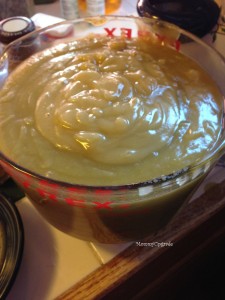
6) Pour your smooth apples back into the Crock Pot. Mine made a smidge over 9 cups worth of apple puree. Add the rest of the ingredients and stir. If you have noticeably more than 9 cups or less, then adjust the sugar. If you don’t want yours so tart, add more sugar.
7) Cook the mixture on low for 4 hours.
8) Stir, keep the lid off and continue to cook for 3 more hours. Your apple butter will begin to thicken during this time.
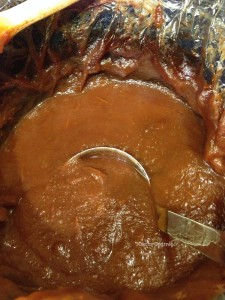
9) Now you’re ready to can your delicious apple butter. If canning scares you, just pour it into jars and refrigerate to eat over the next few days. If you’re not sure you can eat 9 cups of apple butter over the next week or two, then you should try canning it. Don’t gasp, it’s not hard even though it seems scary. If did it, you can too.
Canning
1) Wash your jars and lids in hot soapy water. Again, I’m lazy so I put them in the dishwasher.
- 2) Get a big pot of water boiling on the stove. Put a canning shelf in the bottom. If you don’t have a clue what this is (I still don’t), put something in the bottom of your pot so the glass isn’t touching it directly. I use a pot that has a pasta strainer that fits inside it.
- 3)
Sterilize the jars and lids by putting them in the boiling water for 15 minutes.
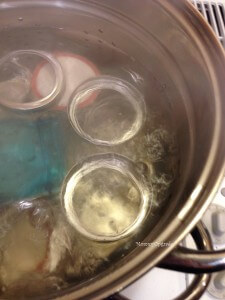
4) Remove with tongs that you’ve also sterilized in the boiling water and place your jars on the counter.
5) Ladle your apple butter into the jars leaving a ½ inch to an inch to the top.
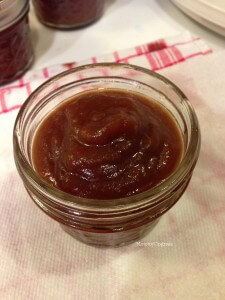
6) Wipe off any excess around the rim with a clean towel.
7) Put the lids on the jars and tighten by hand. Remember, they’re still hot!
8) Put the full jars with lids on back into the boiling water bath for 10 minutes.
9) Remove and set on counter or level surface for 12 hours and don’t move them. In fact, don’t even touch them. You might hear popping sounds from the lids and be tempted to pick it up to see what happened. Don’t. The popping sound is normal and means you got a good seal.
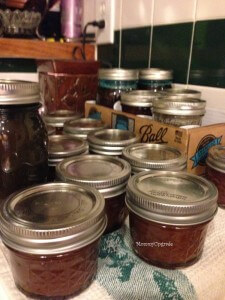
10) After they’ve set for 12 hours, press down on the middle of the lid. If it doesn’t move, you’re good to go. If it gives way to the pressure of your finger, then put that one in the fridge and eat it right away. The others that have a firm seal will have a long shelf life. Put pretty labels on them and give them to your friends.
Enjoy!



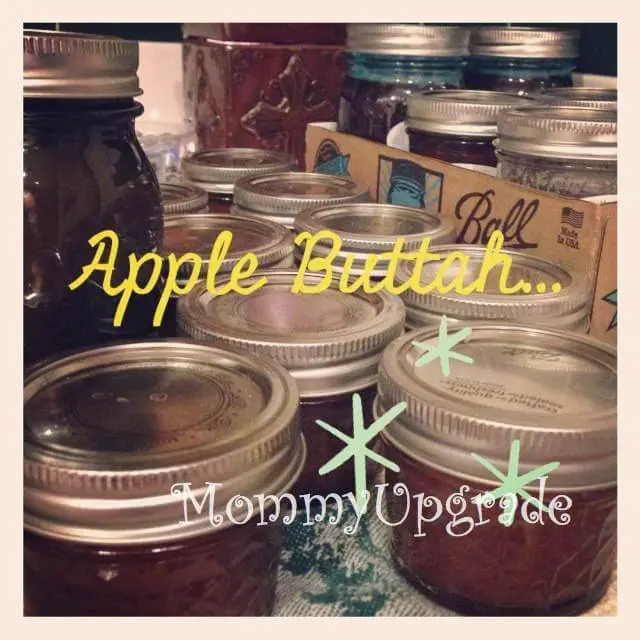

I had the privilege of receiving one of these jars and it was delicious. I use it on my rice cakes and toast in the morning. Great job!
You’re so nice. Thank you! Muah!