Not sure how many paint pouring videos I’ve watched, but I finally got brave enough to try it myself. In true Trista style, I not only wanted to test out the technique, I committed to making eight of them for an upcoming craft exchange, and on top of boxes nonetheless. The spoiler is that they turned out great and I definitely learned a few things along the way (like for one, you should wear gloves, lol). They turned out so great, that I became brave and did a bonus project at the end that I loved EVEN more!
Here are the products I used:
- Miscellaneous empty cigar boxes (I had these on-hand, but you can usually pick them up at a liquor store pretty reasonably)
- Deco Art Ready to Pour Paints in Grey, Sky Blue, Navy, Emerald Green and Burnt Umber
- Polycrillic crystal clear spray in matte finish
- Spray paint
- Miscellaneous scrapbook paper
- Mod Podge
- Joint compound
- Painter’s tape
- Small dixie cups
- Dropcloth or something to cover the tables. I used garbage bags taped together.
- Paper towels
Prepare Cigar Boxes for a Paint Pour Project
Some cigar boxes have embossed logos and lettering. You can spray paint over some of it, but a lot of boxes have their logos indented in them and the depressions will show through if you paint on them. If you paint over labels, you’ll also see where the sticker is. So before doing any painting, you’ll need to remove the labels first. (See my video here on how to do this easily). Next, you want to even out any of the embossings. For this, you’ll want to spread some joint compound on any of the surfaces that have this kind of marking to smooth them out.
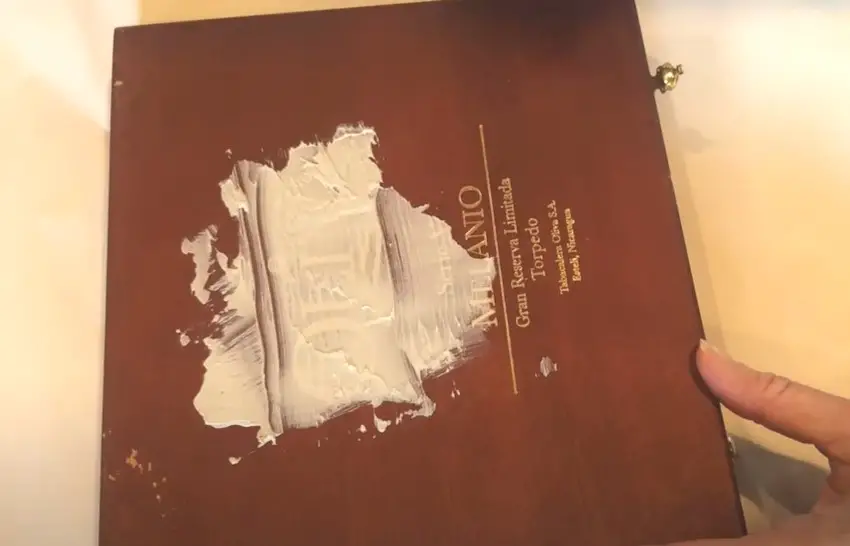
Let the joint compound set overnight or at least a couple of hours. When you’re sure it’s dry you can gently rub it over with sandpaper to smooth it out. You don’t want to go too crazy with the sandpaper, just make the boxes as smooth and seamless as possible. Afterwards, you can remove the sandpaper dust with a damp paper towel and then let the box or boxes dry completely.
Spray Surfaces of the Cigar Boxes
Once all of the ridges have been smoothed out with the joint compound, then it’s okay to go ahead and spray the boxes. You want to create an even base coat and cover it entirely. I used Rustoleum paint in Espresso. The color really does remind me of espresso or chocolate, two of my favorite things!
Prepare Box for Painting
Next, cover all the sides of the box with painter’s tape. You’ll be painting on the top of the box so this is just to prevent drips from spoiling the finish. I didn’t cover any of the bottom of the box, but I wish I had covered the edges. I had a few drips go onto the bottom of the box as it was drying and I could have avoided having to spray the bottom of the box again.
Next, you’ll want to find a way to lift your box up off your table surface. I used small dixie cups (because I had them which worked just fine. It’s important to lift the boxes up so that when the paint drips off the sides of the box, it doesn’t pool on the bottom of the box and glue it to whatever it’s sitting on. If your box is not lifted off the surface, it’s going to get all messy on the bottom.
It’s a good idea to cover your working area with plastic or a drop cloth to make clean-up easier.
Pouring the Paint
I used a selection of DecoArt Fluid Art Ready-to-Pour Acrylics that reminded me of the colors of Rocky Mountain National Park: greens, blues, browns, and greys. Simply layer your colors into the cups. I think it’s better to have a lot of layers of different colors than one deeper layer of one color. When you pour the paint from the cup, it will blend and will flow across your box in a beautiful way.
I’ve seen some people add their paint to their cups from the side like you’re filling up a foamy beer, or you can just do it in the center. I think they’ll produce slightly different results when you pour. I experimented with both methods to see how it would turn out. The more you layer the paint, and the thicker your squeeze of paint, the bigger the stripes of color will be. And if you do a smaller squish, your stripes will be more delicate. For me, it was a small squish, lots of layers, poured into the cup from the side.
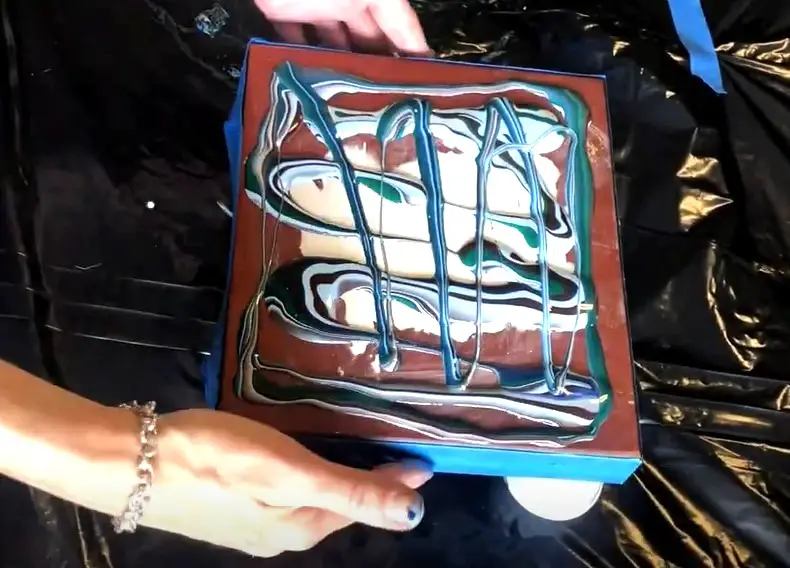
I filled the dixie cups about two-thirds of the way full and that seemed to be the perfect amount to cover one cigar box. I would recommend that you wear gloves for this craft. If you watch the video you will see that I didn’t (oops) and this is one of those do as I say, not as I do moments. 😉
When it came to pouring the paint, I experimented again. First, I poured a whole bunch of paint in the middle and then rotated the box to spread it all over. But then I got a little braver and landed on the technique of making little pools all over the box and then turning the box to let it spread. This was actually my preferred way of doing it but it’s 100% personal taste, whatever way works best for you!
Once you’ve got the top of your cigar box nicely patterned with your poured paint, you’ll want to set it up on another set of your little cup risers so that the paint can continue to spread and expand and drip off the sides.
I was super intimidated by this project and was convinced I was going to mess it up but in the end, I was grateful I needed to make so many because it is really fun! I made 8 boxes and none of them turned out bad. Honestly, I loved every single one of them and it was a bit mesmerizing to watch the colors blend. Even my husband came around to try it!
Finishing the Cigar Boxes
One thing I noticed was that the paint does tend to dry a bit thinner than it appears when the paint was still wet. Once it was set, I used a Polycrylic Crystal Clear in a matte finish to seal the tops of the boxes, but I think next time I would coat them with a high gloss finish to really make them shine. I let them dry overnight in the garage with the sealer on them.
Next, comes the fun part – taking off the painter’s tape! It came off easily and as you can see from some of my boxes in the video, they did drip all the way over to the other side. And to my disappointment, the painter’s tape actually pulled off a little bit of the paint but that’s totally okay. I just touched it up with a little spray paint.
If you find that pulling the painter’s tape is going to remove any paint from the top of the box with your paint pour masterpiece, use an Exacto knife or something to slice through the paint. You don’t want to have any paint come off the top of the box!
To properly finish the boxes off I wanted to do something on the inside. I chose pretty scrapbook paper and used Mod Podge to decoupage on the inside of the boxex but you could even spray the inside to match the outside. When I do this again, I’ll definitely spray the insides as well as the outsides before I pour on the tops.
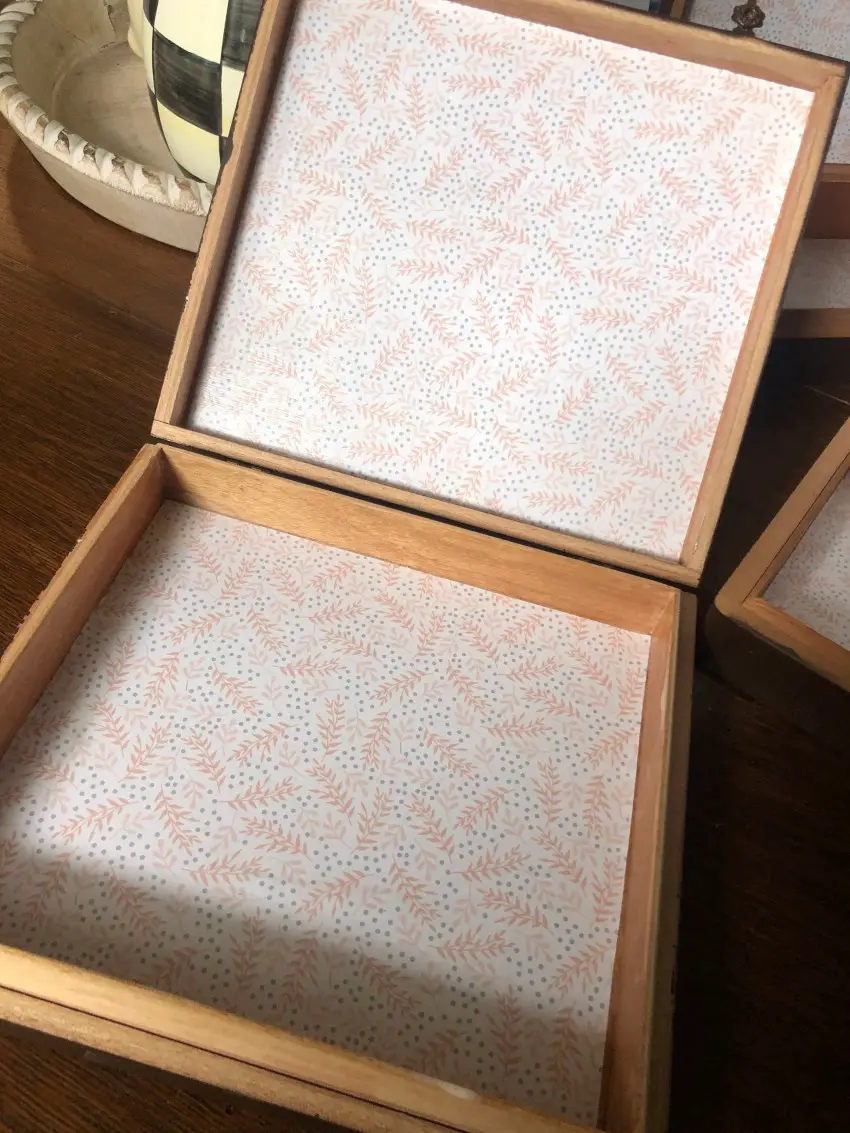
That would give continuity from the inside to the outside and then I probably wouldn’t have had to put paper in there, but I actually kind of like that too. Because this project had a National Parks theme, I found some cute forest paper to line the boxes.
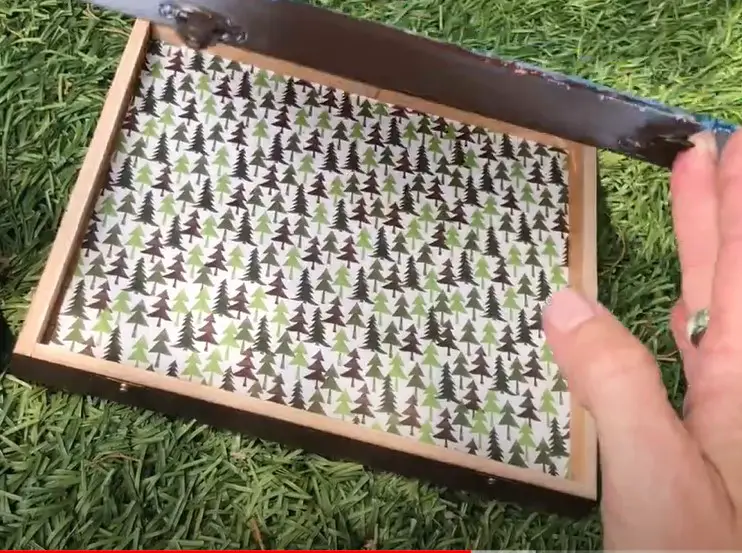
These boxes I made for the project were intended to be ticket boxes, so you could put all of your national park tickets in there after you visit, along with photos or other momentos.
Paint Pouring on Glass
After the success of my paint pour on the cigar boxes, I got brave and decided to give it a try on glass. Whhaaaaa?! I told you this was addicting!
I picked up this bowl for $1.50 because I loved how it mimics the cut glass antiques we have. I thought the cut patterns would add a fascinating dimension to the paint pour — and also, it’s glass!.
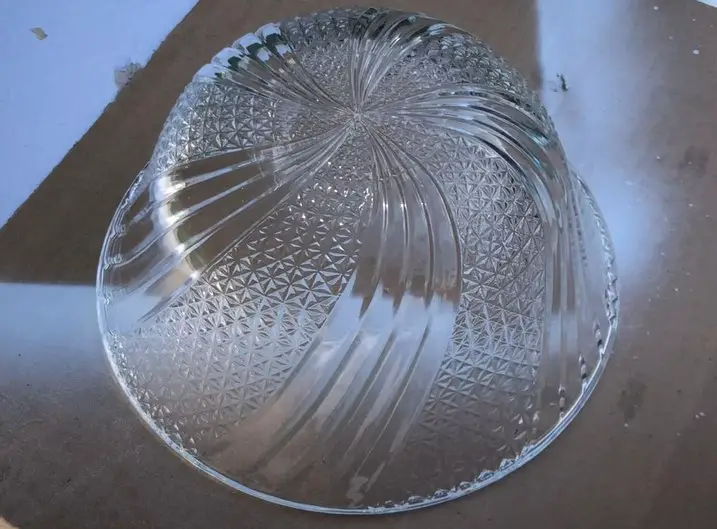
Knowing that you’d be able to see the inside of the bowl (because it’s glass…), I went ahead and sprayed primer on the outside of the bowl before I started. You can skip this step, but I was also a little worried about the paint maybe not sticking evenly to it so I thought the primer might help it adhere. The white primer is what you see visible on the inside of the bowl. I let that fully dry before I was ready to do the paint pour.
Instead of trying to do a balancing act with my cup foundation to raise up the project, this time, I made a little tower of cups to keep the bowl off the surface. You need the item to be up by about an inch from whatever surface you are working on. Then I used the same Deco Art Ready to Pour Fluid Paint in the same colors as above.
Just as before, I took my cup and started layering but different colors and this time I had maybe eight or nine different colors. For this project, I used that frothy beer side pour approach so I had everything lined up on the side of the cup as I was filling it and making my layers. Another helpful tip that wish I’d done before: I covered a lazy Susan with Glad Wrap and used that as my work surface. It saved me from moving around the table to see all the angles.
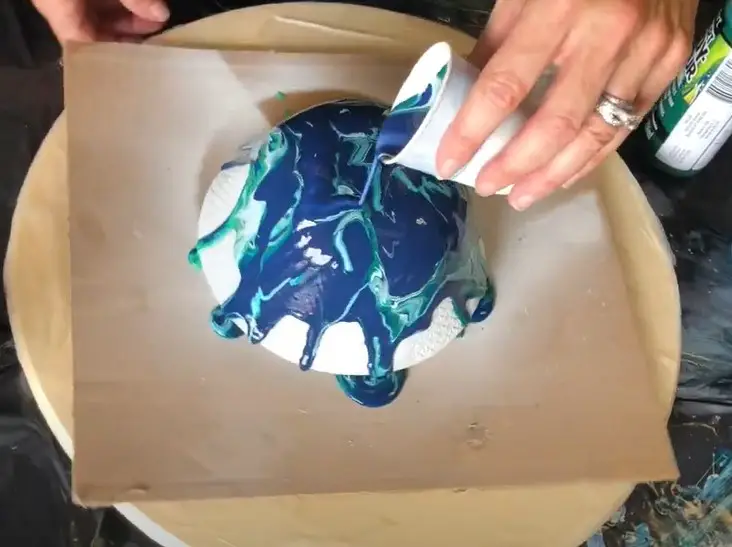
As I was pouring the paint, I gave the lazy Susan a soft little spin. That did spread the paint out a bit although it was a bit nerve-wracking wondering if the little tower of cups would hold up. I used a second cup of paint because it wasn’t covering all the way to the edges. This allowed me to cover the whole bowl.
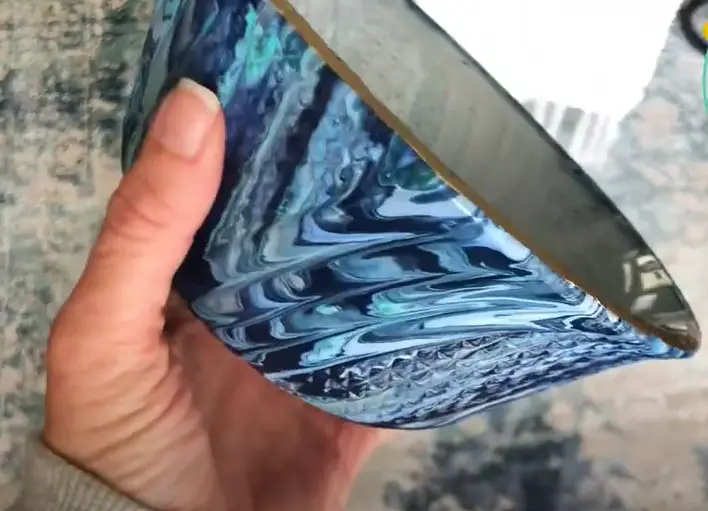
I had made another little cup tower on the ground and let the bowl dry with a fan on it overnight. In the morning when it was done, I was thrilled with it – it looked SO cool! One sad part was that the edges were a little messy from the drip downs, and I had accidentally touched the inside of the bowl. The great thing about glass though, is that you can just scrape off any drips on the inside.
To really finish it off, I went around the bowl’s edges with a gold paint pen and that looked great! I will likely use a high gloss sealer to give it a high shine (not shown in photo) and I think I will call this paint pour project a great success!


 What’s your happy place? Crafting? Cooking? Cocktails? Party planning? Yes please! I love it all, and I’ve tried a lot. Check out my how-to’s! What should we do next?


0 Comments