

Mercury glass is so pretty, so festive for the holidays, but sometimes so expensive. So in this post and video, I’m going to show you how you can make your own mercury glass out of any old glass jars you have laying around. It’s really simple, easy, and fast! It’s going to change your holiday game, and you’ll be making allllll the gorgeous candle holders and holiday decor using any and every leftover glass jar you find.
So you only need a couple of supplies:
- a glass jar like an old yogurt or pasta jar,
- Krylon spray in “Looking Glass“
- water in a spray bottle.
That’s it.
I’m starting with three glass jars. One was a little color jar I bought at Michaels for a dollar. One is an Oui yogurt pot and one is a jam jar. Start by fliping your glass jars over, and put them on a base that you don’t mind spraying on. Make sure you leave enough space between the jars so you can get to all the sides of them with your water and Krylon sprays.
First you are going to spritz the jars all over with water. Just spray them all around and let the water pool, you want to have the drips and water spots on the side. That’s actually really important to what you’re trying to do here. The bottom of the jars is not so important but the sides are so make sure you get all the way around. Once you have all the jars covered in water droplets, give your Krylon Looking Glass spray and good shake then lightly spritz it on all the jars. It may run a bit and that’s fine. Don’t make this layer too heavy. It will make natural bubbles and resist where the water and that’s what gives you that mercury glass look.

After you are finished, let the jars dry. The Krylon paint is almost transparent, so after the first layer you can still almost see it straight through the glass. Once they are dry and you can pick the jars up and take a look at them, you can decide if you are happy with the effect as it is. I liked the way they looked after the first layer of spray but I wanted to see what they would look like after a second treatment. You just follow the same process. First the water spray and then spritz all over with the Krylon Looking Glass.


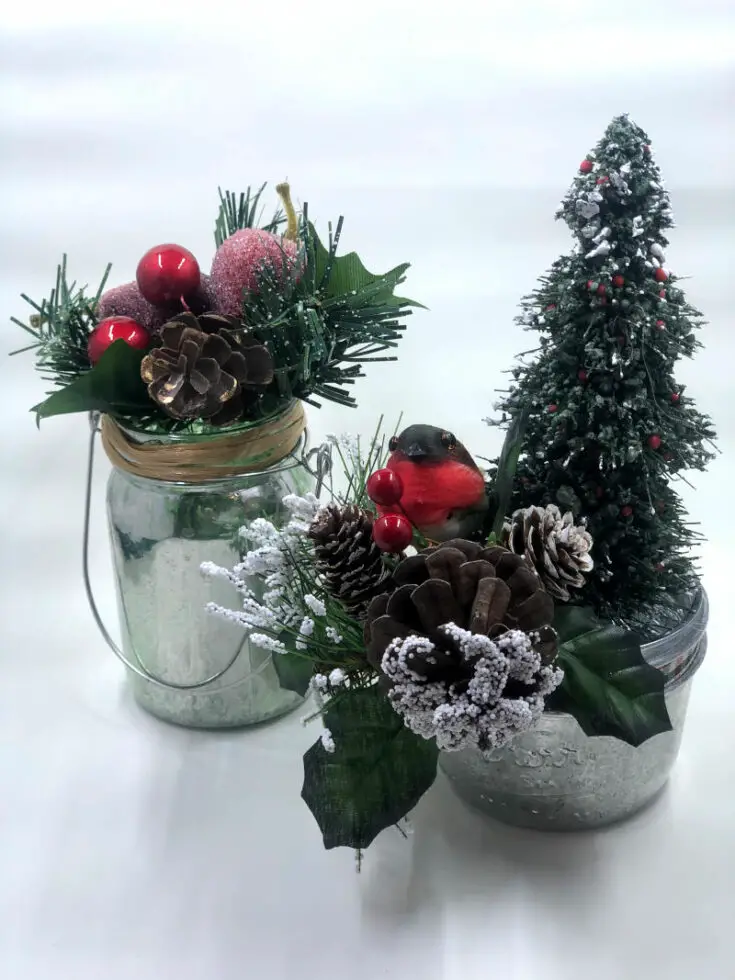
You can see that with the two layers, the effect is deeper. You could choose to put some additional silver on the top rim to finish it off. I didn’t, because I wanted them to look old and had a bit of life. The one that started out as green glass is especially pretty. I thought they turned out really cute and as you can see they are really versatile. Pair them with DIY fabric succulents or dress them up with your candles and festive decor for some extra Christmas cheer.

As always, don’t be shy! If you make your own mercury glass, I want to see it!
QUICK PRINT INSTRUCTIONS
DIY Mercury Glass
This is an easy-to-do craft with a big impact. Great for making your own mercury glass vases (at a fraction of the price) or making them as cute gifts for friends and family.
Materials
- Any leftover glass jar (ex. yogurt pot or salsa jars)
- Water spritzer
- Krylon Looking Glass Spray
- Cardboard base or old sheet to protect surfaces
- (Optional: ribbon or jute, decorative picks or candles)
Instructions
- Thoroughly clean jars
- Spritz all over with water
- Spray all over with Krylon Looking Glass Spray
- Let dry
- (Optional: decorate the jars with ribbon/jute to cover up lid thread area and/or insert decorative picks or candles into the jars.)
Optional: repeat process for deeper effect
More Craft Projects
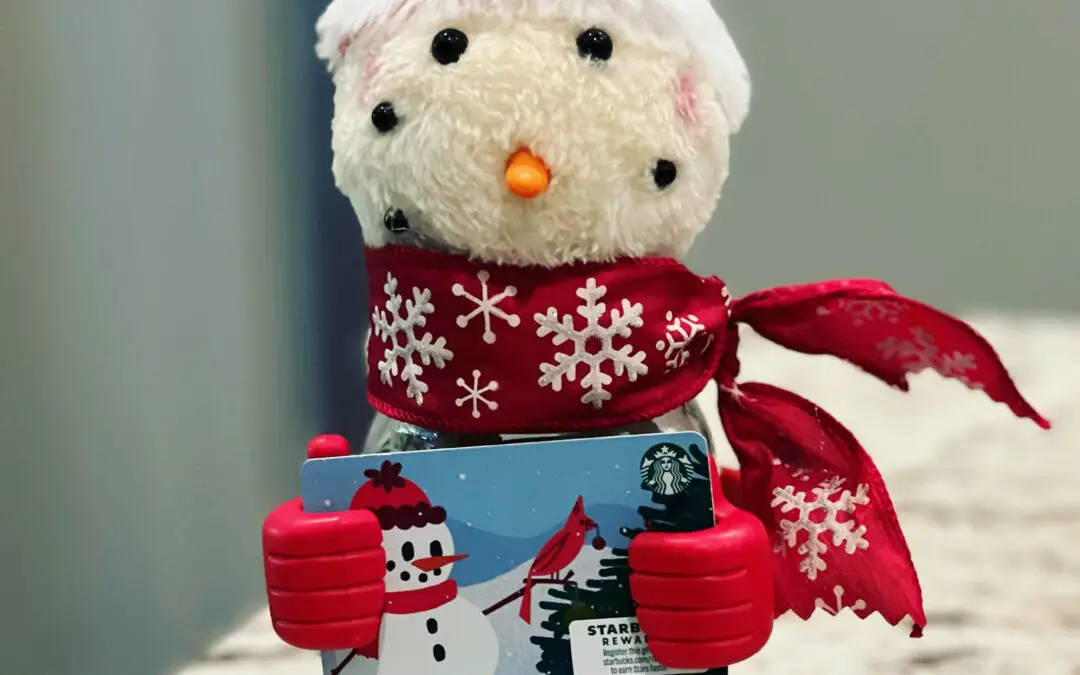
Easy to Make Gift Card Idea
Here’s the situation: the teenager had a gift exchange at high school and she wanted to keep it simple with a Starby’s gift card and some Sour Patch Kids. (Yawn) But unfortunately for her, she’s my kid, and we can’t roll with straight up boring gifts. We did get the...
Craft Room Ideas and Advice
Depending on how dedicated a crafter you are, these craft room ideas may help you plan and organize your perfect workspace.
Smart and Crafty Craft Storage Ideas
This post is co-written by my talented, artistic friend and architect, Laura Davis, Vice President and Principal of hpd architecture + interiors. As dedicated crafters, we know how important it is to have a designated space for all my creative supplies. Let's face...
 What’s your happy place? Crafting? Cooking? Cocktails? Party planning? Yes please! I love it all, and I’ve tried a lot. Check out my how-to’s! What should we do next?


0 Comments