My Simple Hack for Team Tassels
I am always at the fields. At least it seems that way.
My kid is hard-core into soccer so I spend a lot of time on the sidelines. If you know anything about Texas and Oklahoma weather, you’ll know that you can get all the seasons in one day. That can lead to mucky fields, fresh moved grass, dust and dirt…. You name it. So I fell in love with these Bogg Bags. They’re like Crocs for for your stuff. They’re brilliant because they can get wet, muddy, dusty, whatever and all you have to do is hose them down. It’s also designed to maintain its shape and won’t tip over while I’m driving from one place to the next. They’re brilliant!
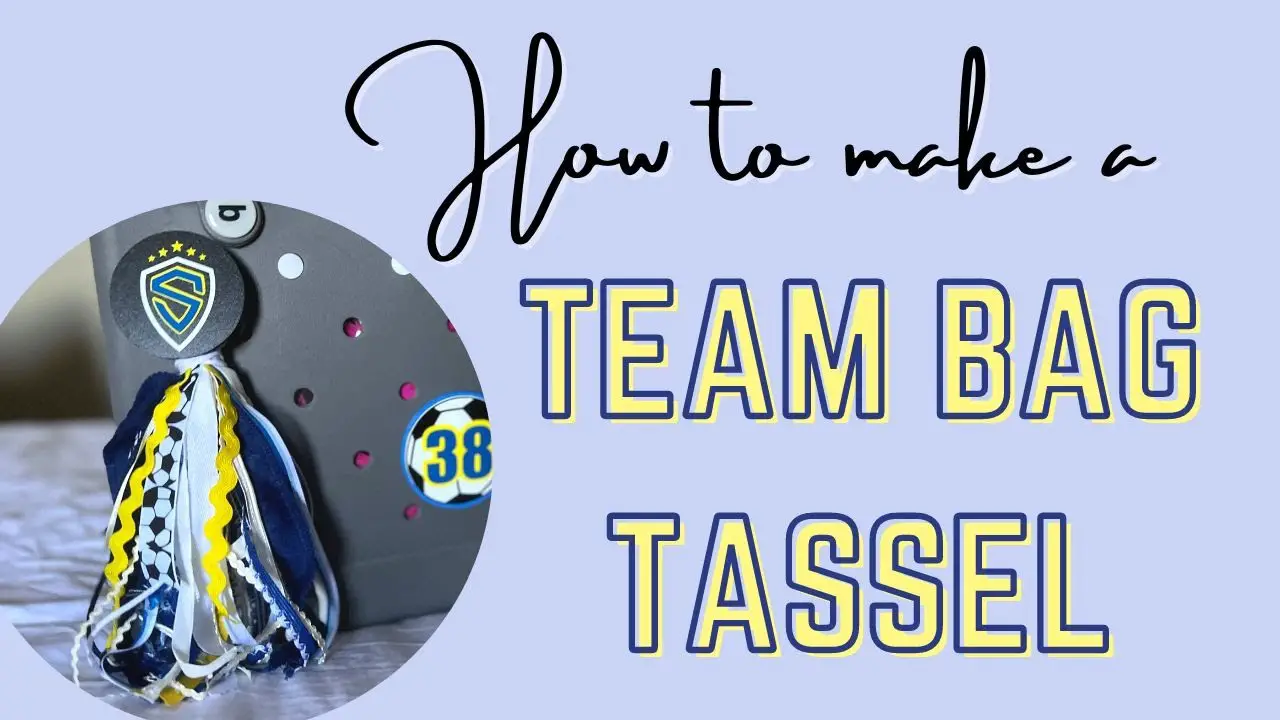
While I love a naked Bogg Bag, I love one with a tassel even more! I’ve seen a number of them on Etsy and on the gram, but I’m cursed with the, “Oh no I’m not paying that. I can make that,” syndrome. So that’s what I did.
This was so easy, I had to share. And it’s so cute, I may make more for my other bags!
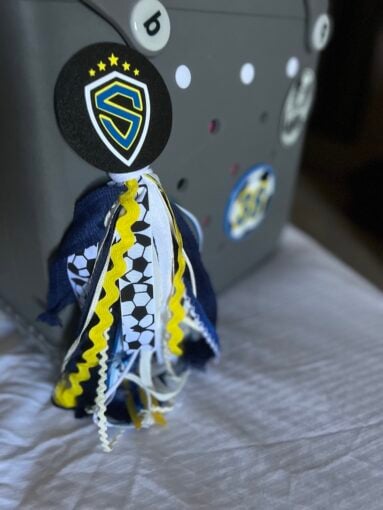
Are you ready for my craft hack? This is a good one.
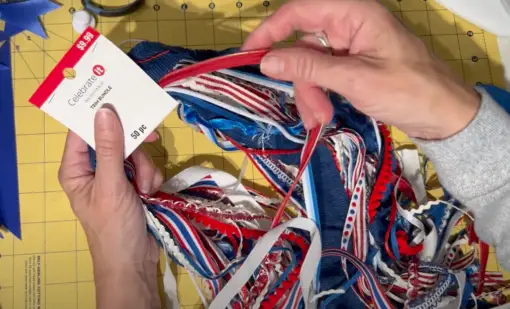
Step 1:
First, you’ll need to get your supplies.
You’ll want to purchase the Bogg Bit. I got mine from Etsy here. Delivery was quick, so that gives you time to source your ribbon scraps.
Go to Michael’s and grab some of these bundles of trim. If you don’t have these in your store, you can also buy fabric trim bundles from Amazon here. Those are your two easiest methods to make a purse tassel. If you can’t find what you want there, you can purchase the individual fabric trim strands from a fabric store such as JoAnn, but that’s more time intensive and costly.
You’ll find them in various colors or themes depending on the time of year. In this case, I was shopping around July 4th, so the bundles had a rather patriotic flourish. And while our team colors are blue, white, and yellow, I had a plan.
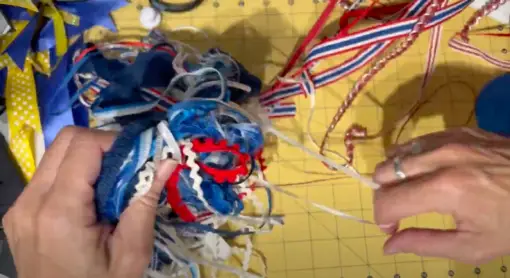
Step 2:
Deconstruction! Yep…start pulling the colors out that you don’t need, in my case all of the red. Don’t worry about being wasteful, there’ll be other uses for the ribbons you remove. I used a similar bundle a few months back to decorate small cake boxes for my Day of the Dead cakes.
The point of taking out excess ribbon helps solve two issues:
- Some of the colors might not work with your tassel “theme.” Since I was working with our team colors of blue, white, and yellow, I needed to get rid of all the red used in the Independence Day trim.
- Depending on your desired level of poof, you may find that the trim contains far more material than you need for the tassel.
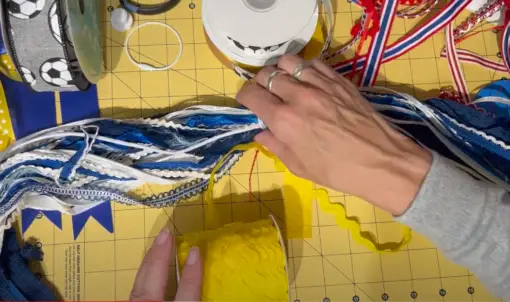
Step 3 (optional):
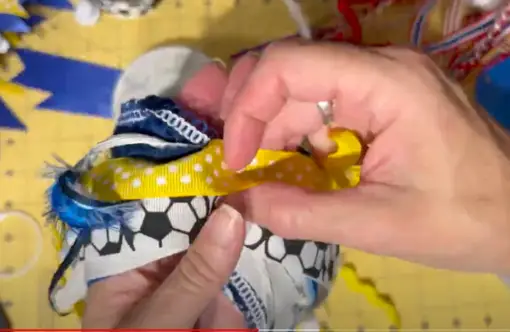
Because I wanted my tassel to reflect our team colors, I decided to add some yellow. After separating out all the red and detangling the trim a bit, I went through my supplies and selected yellow ribbon and some yellow ricrac as well as some of my favorite soccer ribbon.
Step 4:
I am an impatient measurer, so I “eyeballed” the length that I wanted the tassel to be by holding it up to the bag. Here’s the important thing though, you’re going to be folding the ribbons in half when you make the tassle so whatever length you want the tassel to drape down, you need to double that for the length of your ribbon pieces.
Yes, I know…. Measure twice, cut once but I already knew I wanted the length of my tassel to be about half as long as the current trim bundle, so I didn’t bother with a ruler. If you’re a careless cutter, follow my lead. If that makes your heart race, then by all means, measure away!
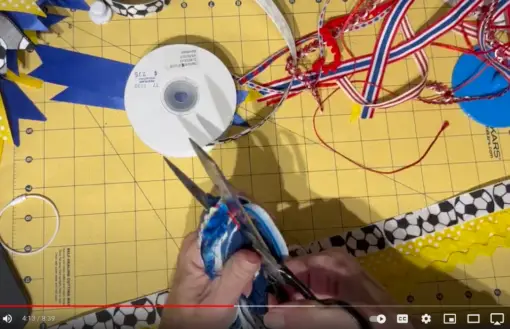
Ultimately, I gathered the ribbon that I wanted to add into the trim bundle, took note of the length that I needed, and cut my additions to that same length. I also finished off the edges of the ribbon that I was adding to the bundle. The little notches help to prevent fraying or unraveling.
Step 5:
After I finished preparing the add-in yellow ribbon and soccer ribbon, I cut the trim bundle. I have to tell you, it felt like cutting a braid off somebody’s head because it was so thick.
Then I wrapped the entire bundle of trim around my hand to ensure the pieces were relatively close in length, and this allowed me to see where I might want to add in the extra fabric trims.
I didn’t want clumps of any one color or the thicker pieces altogether, so I shuffled a few pieces around until I liked how it looks. I also placed some of the thicker sections of the soccer ribbon on the top and bottom. I thought the bigger width ribbon looked better, aesthetically, on the “outsides” of the tassel.
Step 6:
Once you’ve gathered the bundle and have all the strips in place, it’s time to loop it through the metal ring.
Once the bundle was hanging on the ring, I took one of the thin ribbons that I’d pulled out of the original bundle and wrapped it around the entire bundle that I had created, close to the top.
Remember, you’re making a tassel, so you’re essentially creating a knot or a knob of the bundle and wrapping the thin ribbon around it like string to secure it, leaving a bulb from which the rest of the ribbons flow and hang.
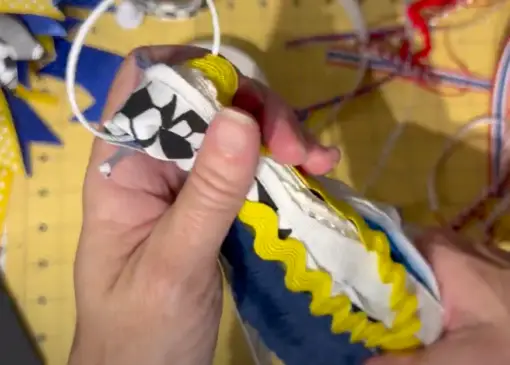
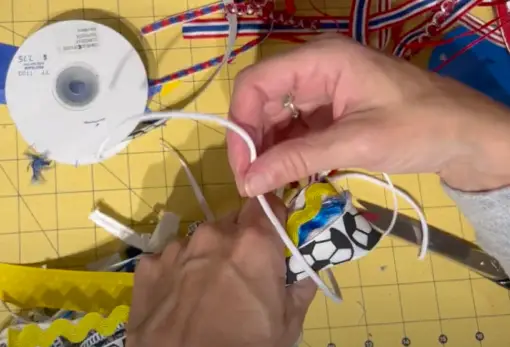
You’ll want to cinch that ribbon tightly at the knot you’ve created because you don’t any of the ribbons falling out.
At this stage, the tassel was basically finished. I did some additional trimming, and I deliberated whether one side looked better than the other, but quite frankly, I was happy with the how full it looked regardless of the direction I rotated it.
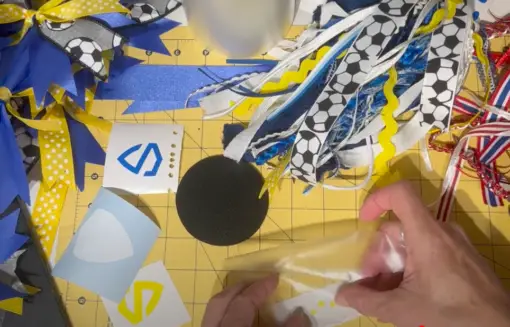
I could have stopped at this point, but…I’m me, and I have to go next level. I decided to add our team logo to the tassel.
I had some black discs from a previous project so I cut the team logo from vinyl to put on them. I had ordered these Bogg button things to glue the disk to. They’re like a Crocs Jibbett. I’ll put the link below in case you want to do the same. Note: you ONLY would use these with a Bogg Bag.
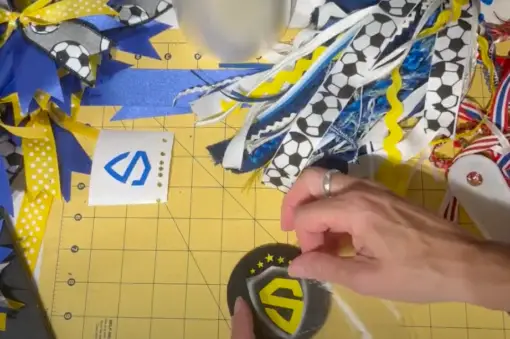
I used E6000 glue because, much like the tightening of the ribbon to tie off the bundle, I wanted to ensure that this tassel was not going to get separated from the jibbett.
Side note: You’ll want to be in a well-ventilated space when using E6000 glue; it packs a punch to the olfactory senses, and let’s face it, we need to keep all the brain cells we have left.
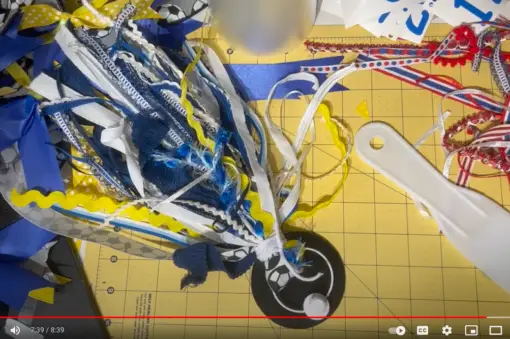
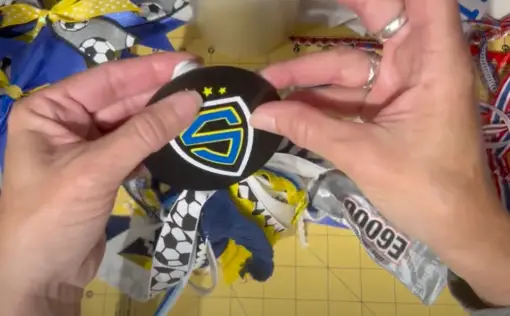
In the end, I thought the tassel looked really cute. Even if you don’t have a team to support, this is the perfect hack for making bag tassels!
 What’s your happy place? Crafting? Cooking? Cocktails? Party planning? Yes please! I love it all, and I’ve tried a lot. Check out my how-to’s! What should we do next?


0 Comments