Oh my heart. I love these snow globe ornaments with little miniature vignettes so much that I’ve become obsessed with making them. Maybe the stockpile of them that I bought when they went on sale last year has something to do with that? Or maybe it’s just because they are so stinking cute?! Either way, get ready friends and family. Guess what you’re getting for Christmas this year!
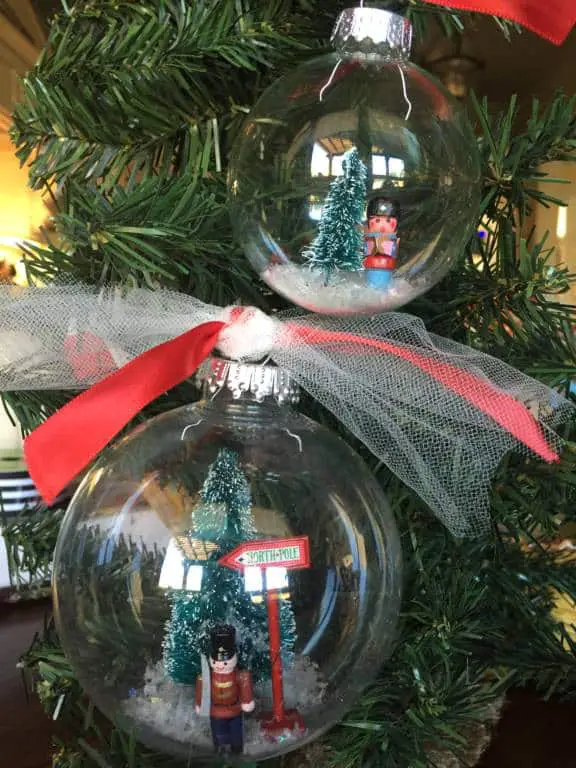
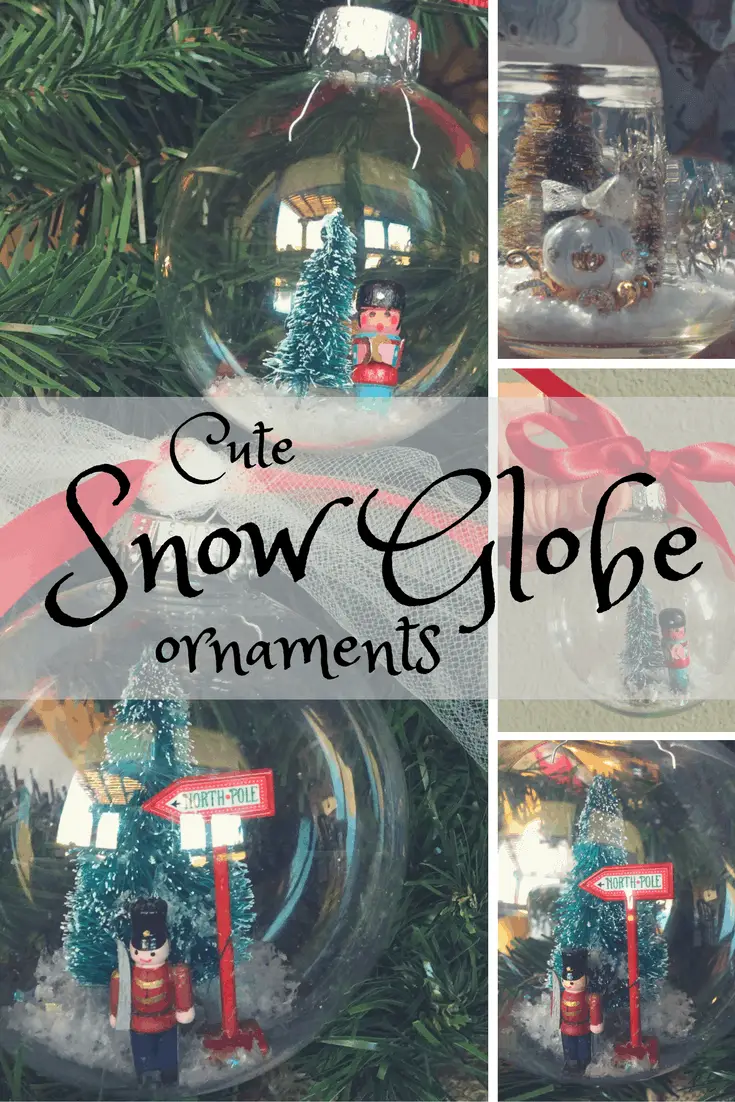
Here are three versions that I’ve made recently.
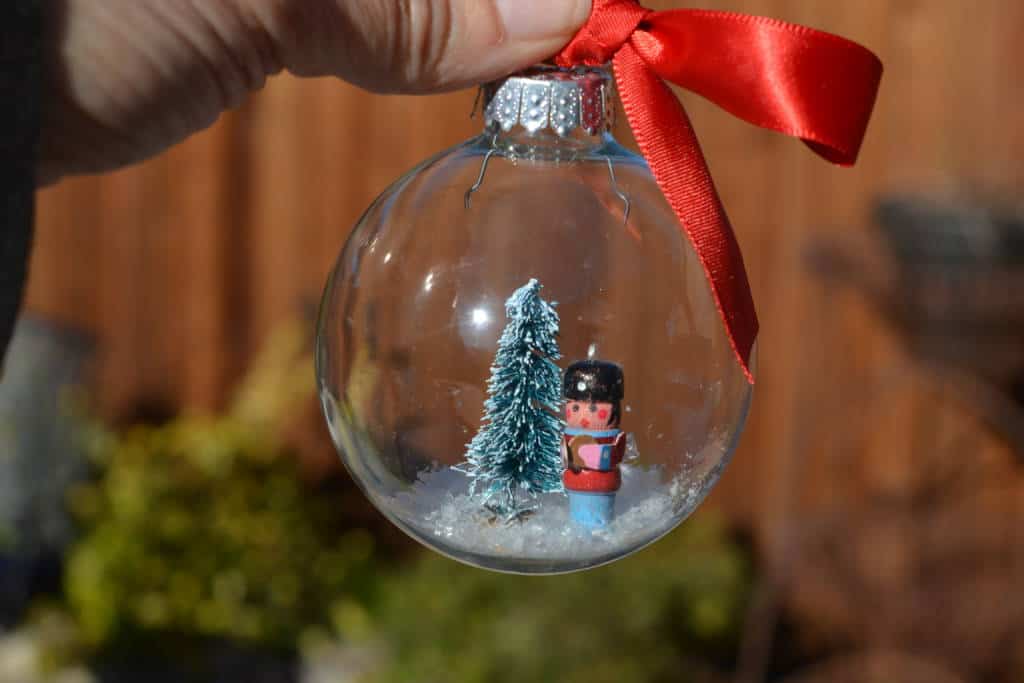
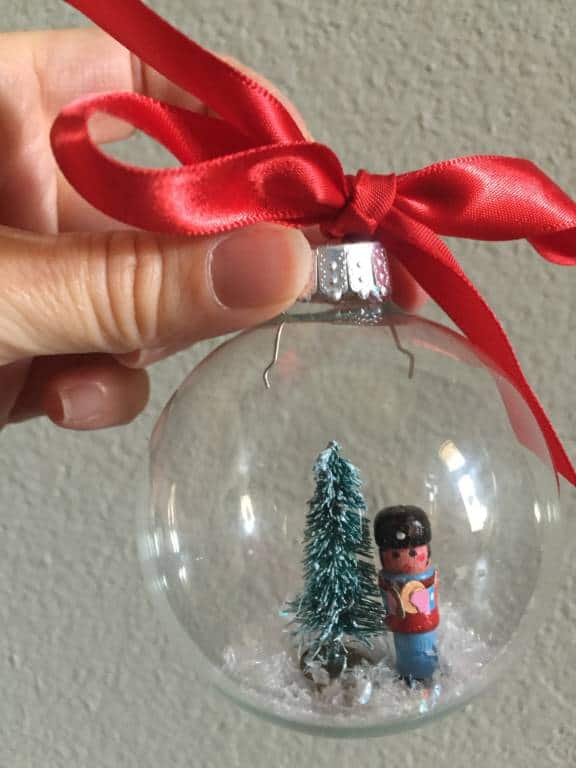
One in a 3 inch glass ball ornament.
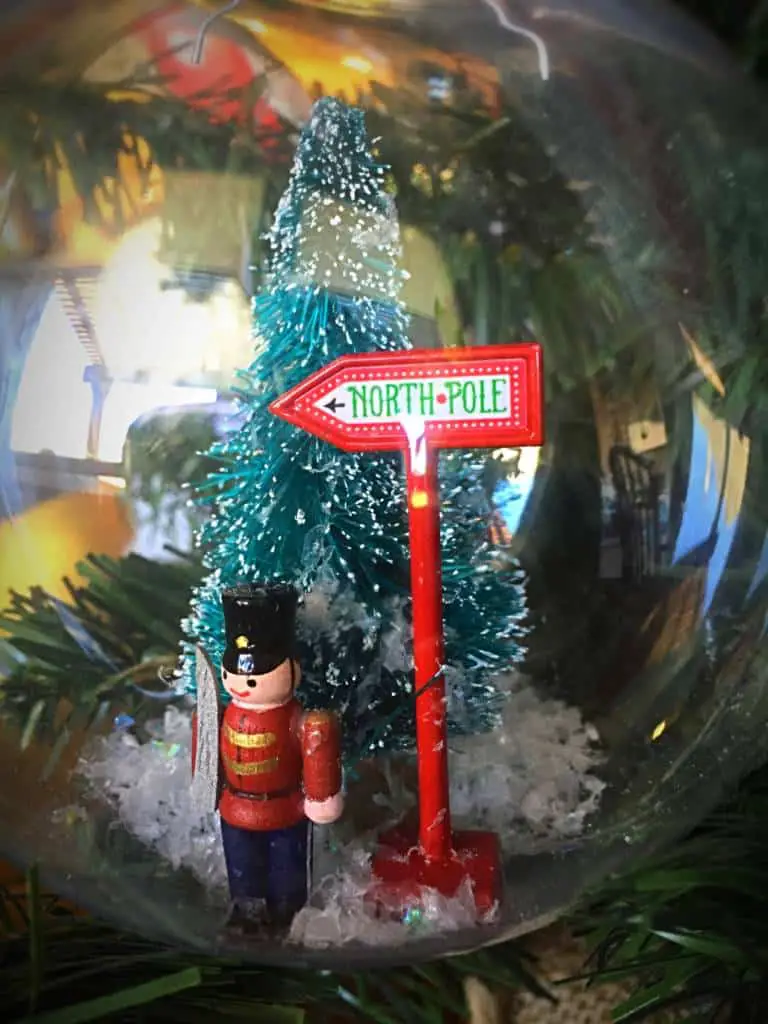
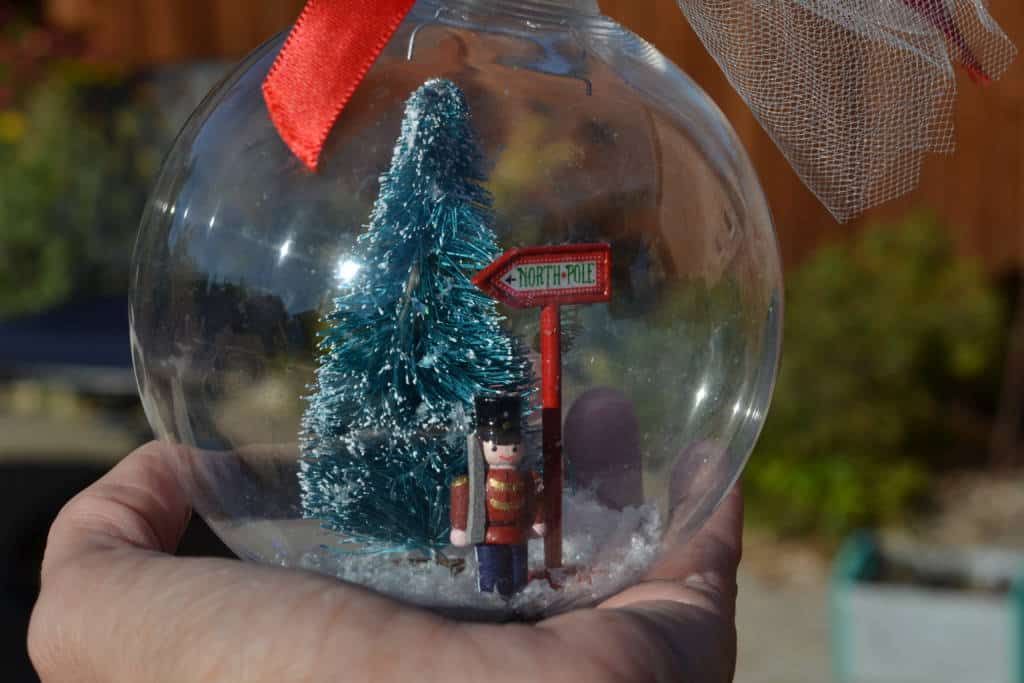
One in a 4 inch plastic ball ornament.
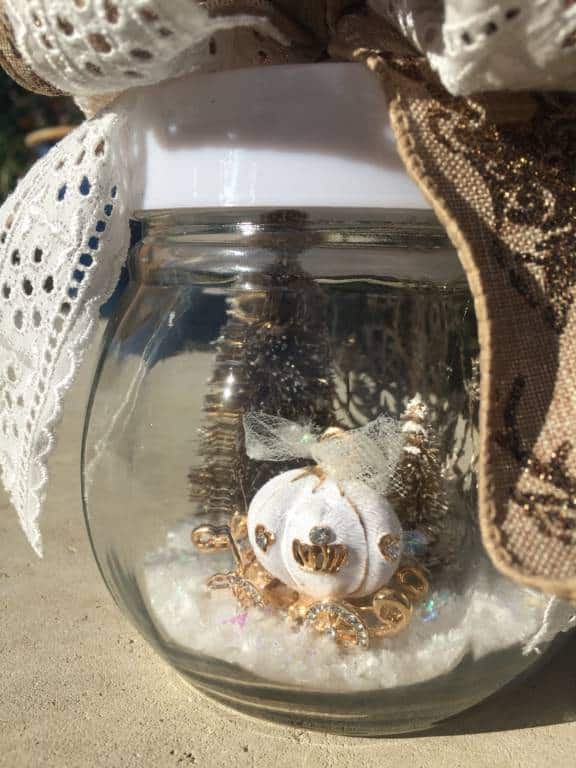
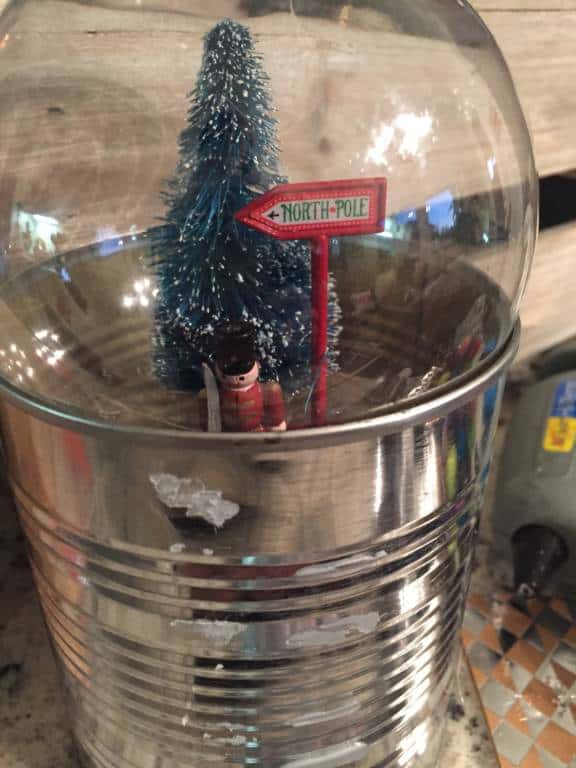
And one in a round jar from the dollar store.
Here’s what I used to make these. If you want to make them exactly the same, look for these items at your local Hobby Lobby or craft store.
Snow Globe Ornament Materials:
- E6000 adhesive
- Fake snow (This is from Decorators Warehouse. You can order some Beistle Sparkling Snow, 2-Ounce
“>here )
- Ribbons
- Tweezers
- (Helpful) Long bamboo cooking stick/skewer with a point on the end
- (Helpful) Empty tin can slightly smaller in width than your ornament
- Various miniatures (I’ll share sources for each below)
- Bottlebrush trees (sizes per ornament below)
When shopping for miniatures remember that whatever you buy must be small enough to fit through the opening at the top of the ornament. There are lots of adorable miniatures, but sadly, they won’t all be able to fit. I suspect this is my gateway project to future miniature builds, but for now… let’s talk about how to make the snow globe ornaments I’ve put together here.
If you’re using a jar, then it’s easy to place your miniatures inside and see if you like the composition.
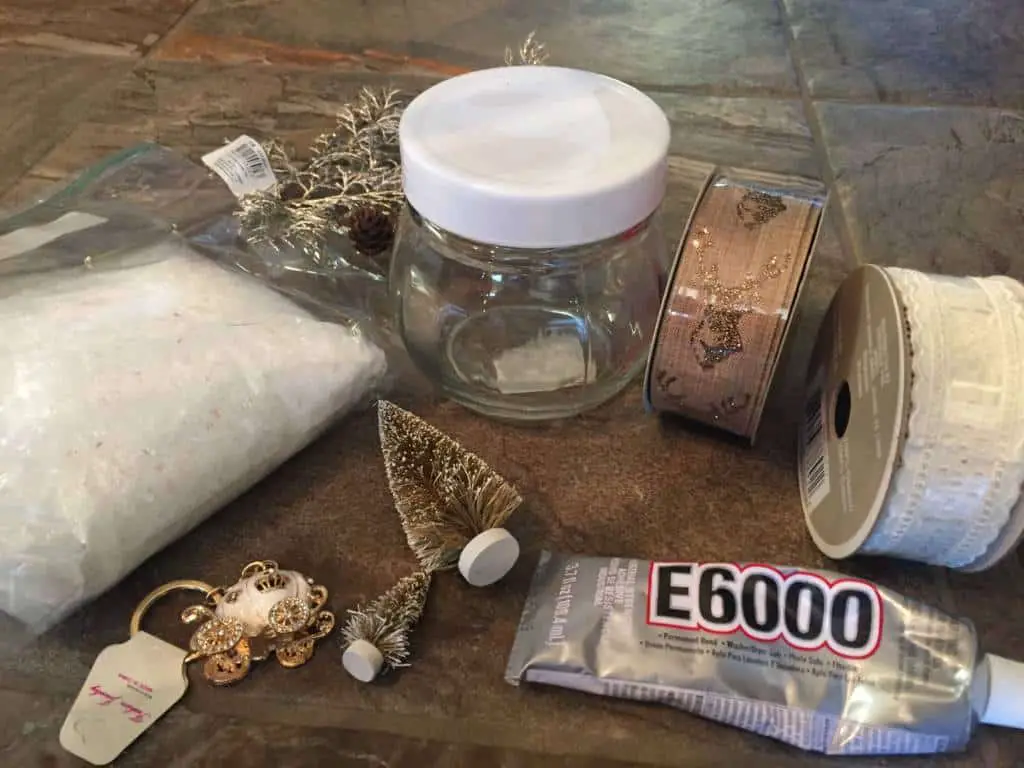
For this fairy tale version, I actually started with a metallic holiday pick I found at JoAnn. I trimmed off one leaf and used my E6000 to glue it as a sparkly backdrop. I kept a similar color palette for this one, choosing two different sized tan bottle brush trees. I also used a rhinestone carriage key chain that I had ordered from Wish (if you don’t have that app, you need it!). I removed the chain from the charm and tied a tulle bow to it’s top. Once I liked the arrangement, I glued everything down with E6000. When dry, I sprinkled snow in to cover the bottom of the jar. For the top, I made a bow (link to youtube video) using two types of ribbon. One is eyelet, and the other has glittered stags on it. Both I already had but I think the eyelet is from JoAnn and the stag from Michaels 2015.
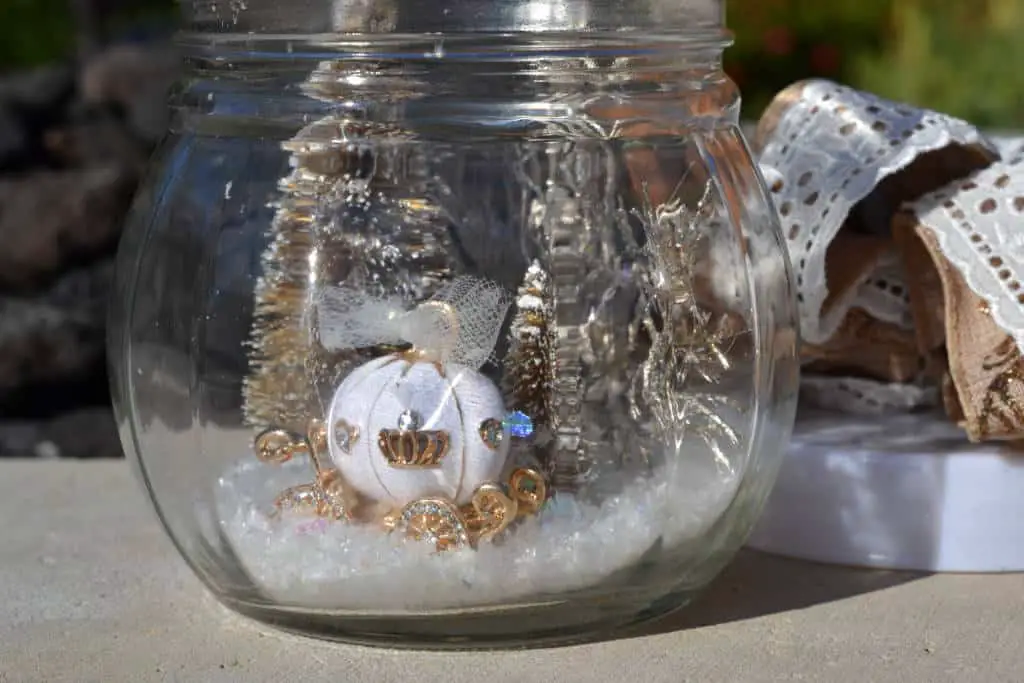
I ADORE how this one turned out, but it doesn’t get much light inside. I am considering getting a presentation stick on light to put on the lid to brighten it up.
Now that you have the jist of it, let’s move onto the more complicated ones. 🙂
We’ll start small. The 3 inch ornament is glass, so do this over carpet or lay down a towel so you don’t drop it while you’re working with it. Gently pull the metal top off other ornament and set aside.
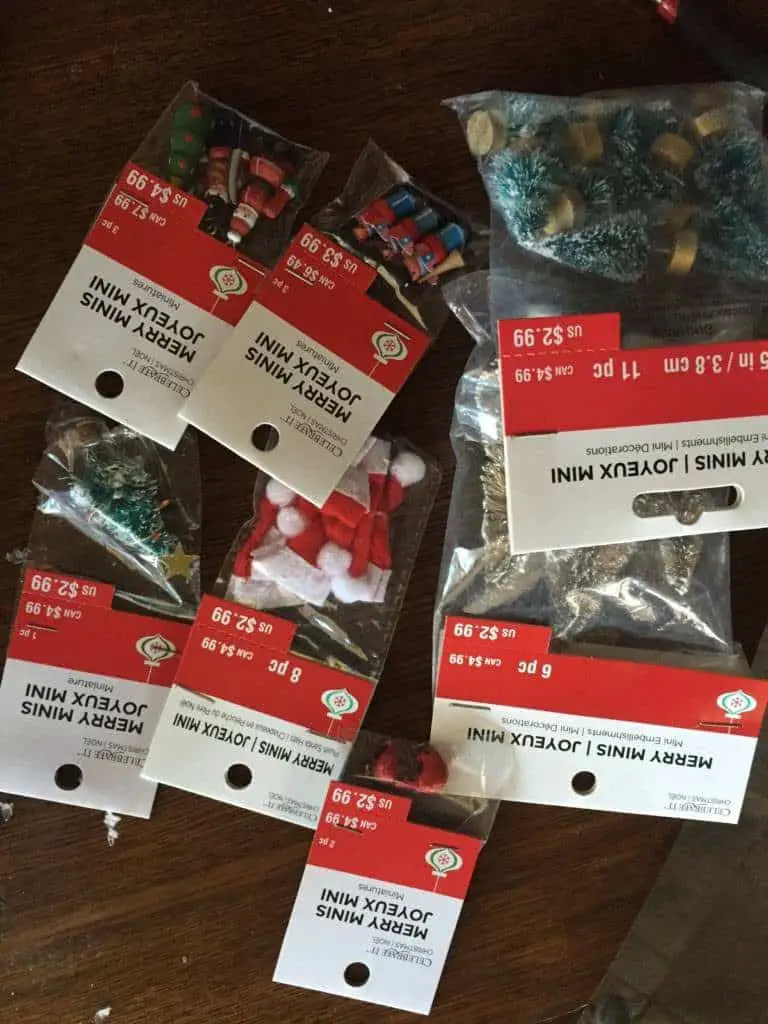
Choose a small bottle brush tree. For this one, I used the 1.5 inch Merry Minis trees from Michaels. Put a small dab of E6000 on the bottom of it and grab the top with your tweazers. Carefully stick the tree to the inside of the bottom of the ornament. It’s okay to move it slightly. You won’t see any glue trail when you’re done because you’ll sprinkle snow on top. Once you have it where you want it, I let mine sit overnight to firm up. This is where you tin can will come in handy. You want your ornament to stand up or else the tree will slide into a position you don’t want. You’ll need to prop it upright. I found that an empty tin can works great. Just set it inside, or find a mug that will fit.
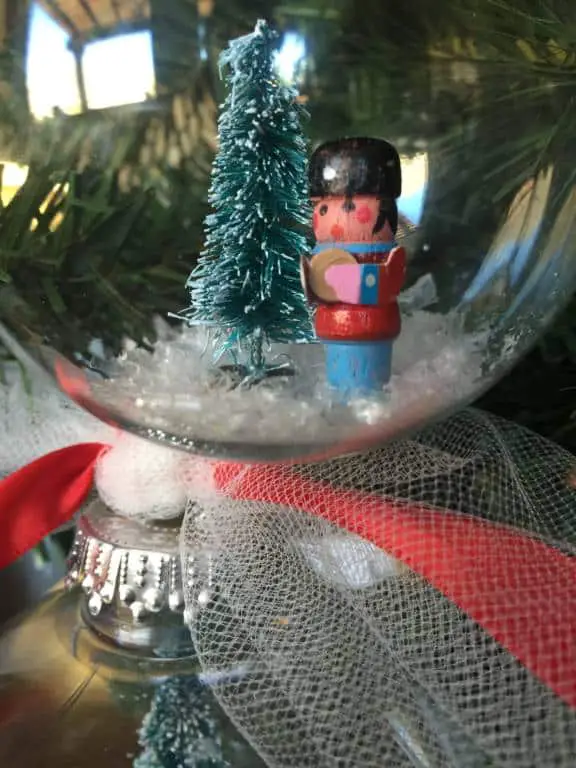
Once it’s dry, then I do the same thing with the little soldier. These are also from Michaels Merry Mini’s. Because he’s even shorter, you’ll have to really pinch the tweezers tight at the top so he doesn’t slip out. Stick him near the tree and let him dry.
Now sprinkle several pinches of fake snow into your globe and put the ornament top back on.
ISN’T IT SO CUTE?!
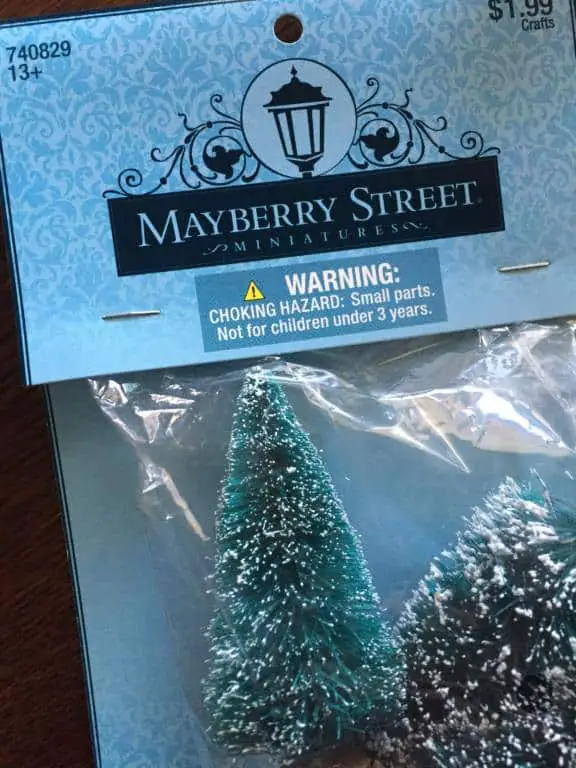
I couldn’t stop, so next I went onto my 4 inch ornament. It’s plastic so I wasn’t nearly as worried about my fumble fingers. I followed the same steps as above, except for this one I used a larger bottle brush tree. These are from the Mayberry Street Miniatures from Hobby Lobby and they are 3.5 inches tall.
Next I used a toy soldier from Michaels, removed the eye hook from the top, and glued it down inside the ornament with E6000. I will admit, I dropped this guy inside by accident and he rolled around a bit. This is where your long cooking stick comes in handy. I was able to upright him and push him into place with the tip of the stick. Because this ornament was bigger, I felt like it could use an additional element. I let the little soldier dry a bit, and then glued down a cute North Pole sign ( this is from JoAnn). I love this one because it’s metal! It’s also tall and skinny and wanted to lean, so this is where the tin can really came in handy. I was able to angle the ornament so the sign dried upright. The next day, I sprinkled in some snow and put the ornament top back on.
I have this whole box of mini’s so I can’t wait to see what else I can make! I have some spray snow so I may mist them on the outside lightly and see how that looks. Have you made miniature snow globe ornaments? What would you put inside yours?

 What’s your happy place? Crafting? Cooking? Cocktails? Party planning? Yes please! I love it all, and I’ve tried a lot. Check out my how-to’s! What should we do next?


So cute. I’ve been wanting to make a few of these.
These are adorable! Can’t wait to make them:)
These are adorable!