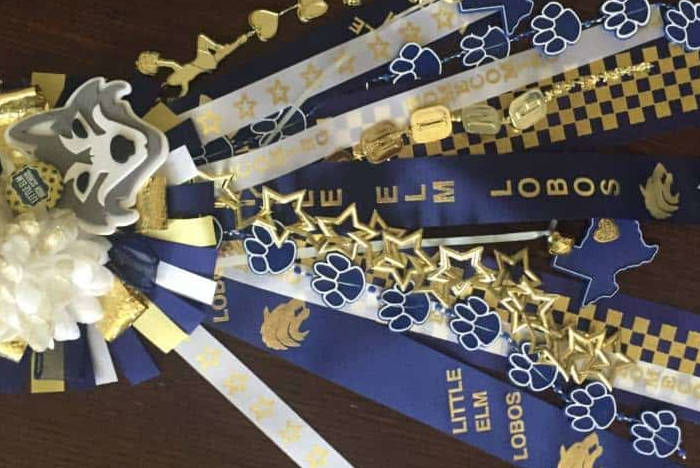
Sponsored Post: OZARKA® Brand 100% Natural Spring Water, a brand with more than 100 years of Texas heritage, has always played an integral role in the fabric of Texas communities and high school football is no different. This season, OZARKA® will be celebrating the three main facets of Texas high school football – community pride, homecoming and tailgating: I’ve partnered with OZARKA to bring homecoming to life and share my tips and tricks for how to make the best homecoming mums around. You can thank them for the smart tutorials on Mum making that you’re about to receive! Check out these amazing mums to get you inspired!
Ozarka 100% Spring Water Celebrates A Texas Tradition: The Homecoming Mum
Are you ready? Let’s get started with Texas mum-making!
Look here to see where I get my homecoming mum supplies and here for a quick tutorial on making mini-mums.
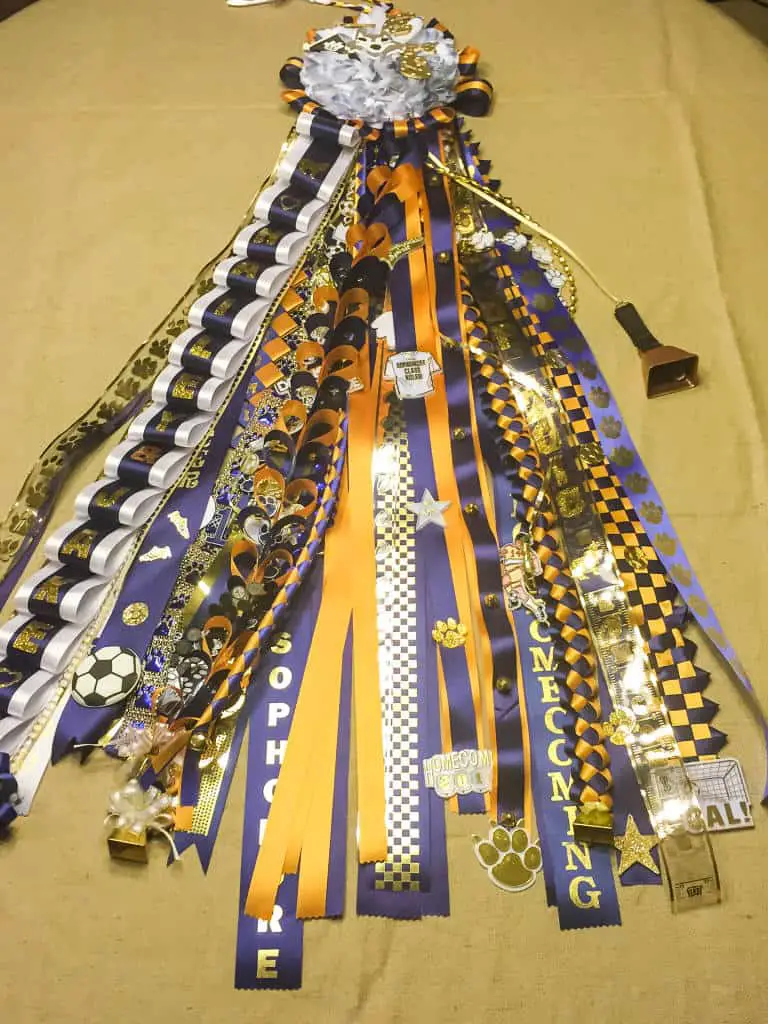
Today, we are all about TEXAS MUMS y’all and they are sooooooo my thing! This Texas HOCO tradition is in a whole other league that my Northern friends just can’t begin to comprehend. I’m told that Texas upped the ante on mums in the 70’s, and in true Texas-style, they’ve been getting bigger and bigger each year since. There’s really nothing comparable to Friday night lights in Texas – especially down the road in the famed Dragon Stadium for Southlake Carroll High School football. Getting tickets is as tough as an NCAA game, and when you mix in Homecoming, well, you’ve got the ingredients to make history – or at least blow up the Internet.
Where I grew up in southeastern Ohio, Homecoming was a very big deal. We had the parade, the crowning of the queen, the football game, the dance, like most high schools do – but I suspect the hype does not compare to our local experience. I remember the excitement of my senior year being on the homecoming court and stepping out in my heels to walk across the football field with my tough-looking escort:
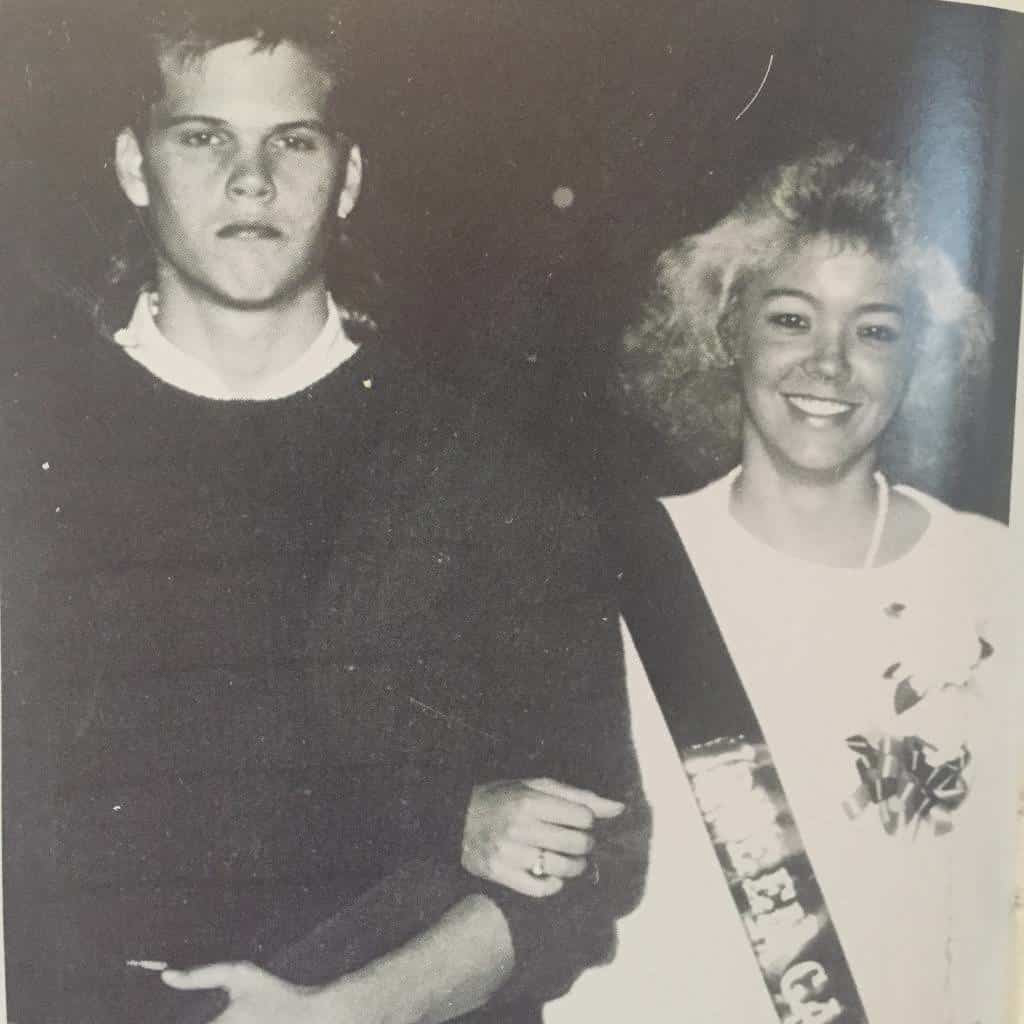
Obviously, one of us was really thrilled to be a part of it all, lol! Seriously though, it was an honor and experience I’ll always cherish – and I don’t think he had too many years of therapy from it. (Another classic 80’s photo at the end) But hey… get past that hair for a minute and check out my corsage. Kinda puny compared to today’s standards, don’t you think? That’s how Ohio did Homecoming mums in the late 80’s. I can hear you Texas gals whispering, “Well, bless your heart.” I know it was pathetic by comparison to the mums we see in our great state today.
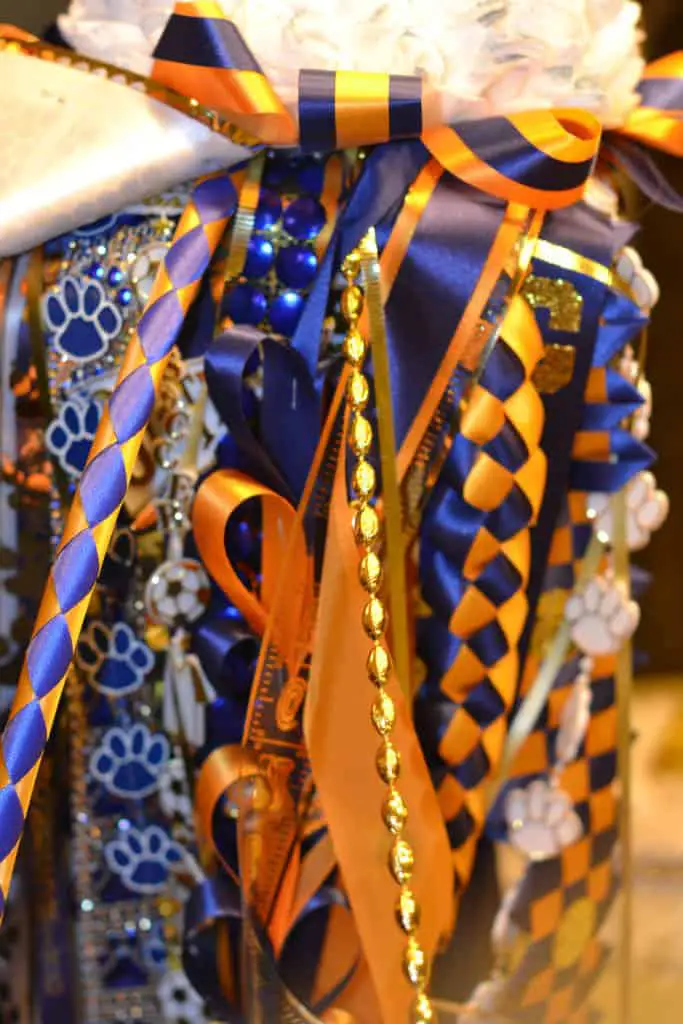
Yeah, I’m still feeling slighted.
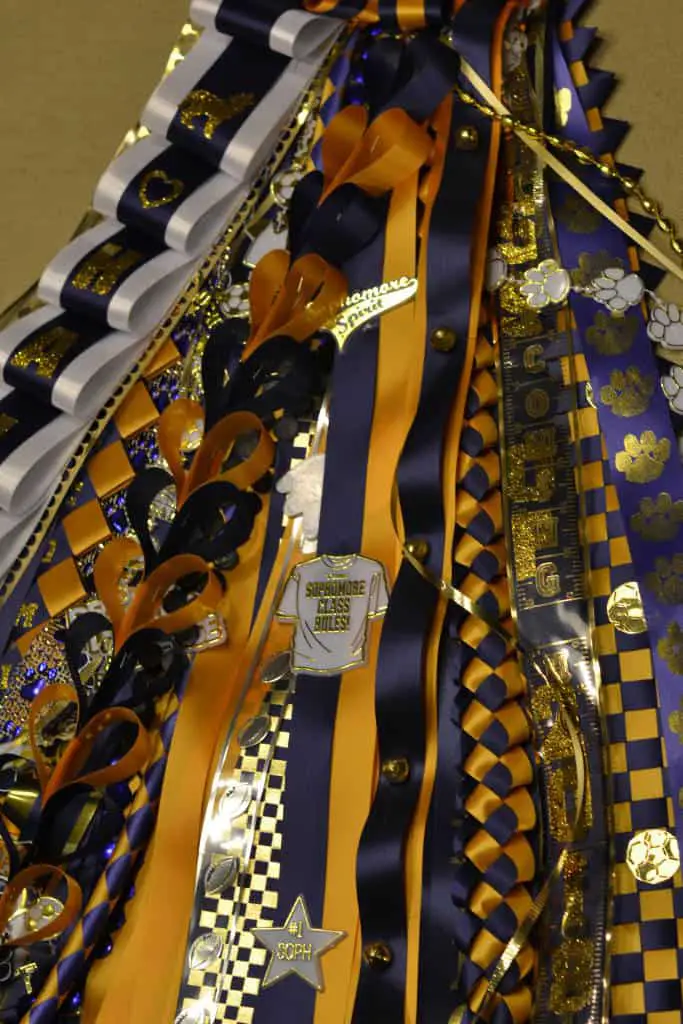
I guess that’s why we become parents, so we can have do-overs? Now that I have a 7 year old, I feel it’s my obligation to be fully educated in the mum department and therefore I am planning ahead. She’s already had small, purchased homecoming mums – so starting early is NBD in these parts. However, these massive ribbon necklaces would dwarf her tiny 50” tall self, therefore we aren’t hardcore about it yet.
YET. But my friend Anna… well… this.

I’d call her somewhat of an expert since SHE MADE THESE. It would be silly of me not to learn from the master mum maker that she is. And much more economical since they run $350 and up if you actually pay someone to make them for you.
Because I am a maker, and makers gotta make, make, make… I sat down with Anna and asked her, just what exactly is the secret to making these traditional Homecoming mums? Below you’ll find her tips, and 4 videos for making fancy ribbon braids that will make your mum go from ho-hum to “mumstastic!” (That’s a word, I swear.)
Let’s start with shopping smart:
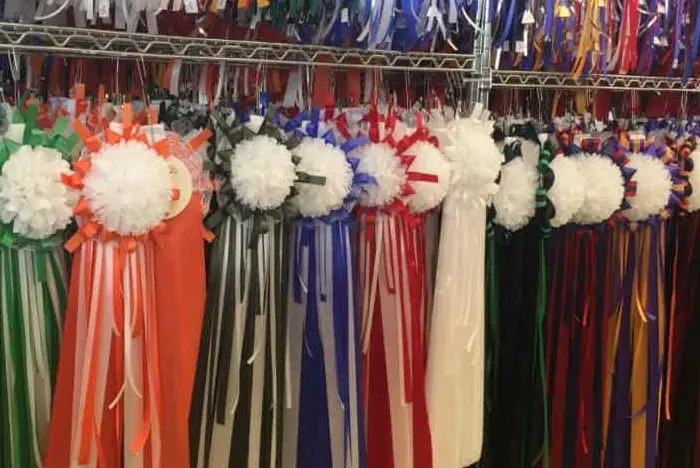
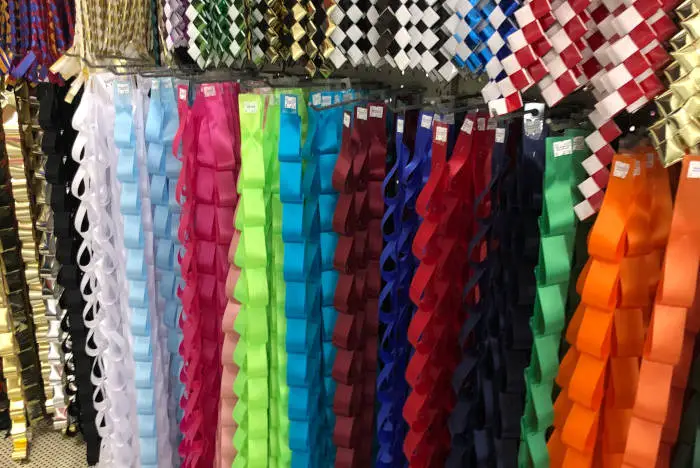
- In addition to the local craft stores that sell supplies, there are MUM stores that sell ONLY mum materials and where you can stock up on supplies in bulk. Go there.
- You’ll absolutely need a long reach craft stapler. They will allow you to fasten ribbon in places a normal stapler wouldn’t and give your mum a professional look. Be advised, they use smaller staples (so get those too).
- Look for plastic charms, large center flowers, bells, specialty ribbons, and the super complicated braids to buy by-the-foot.
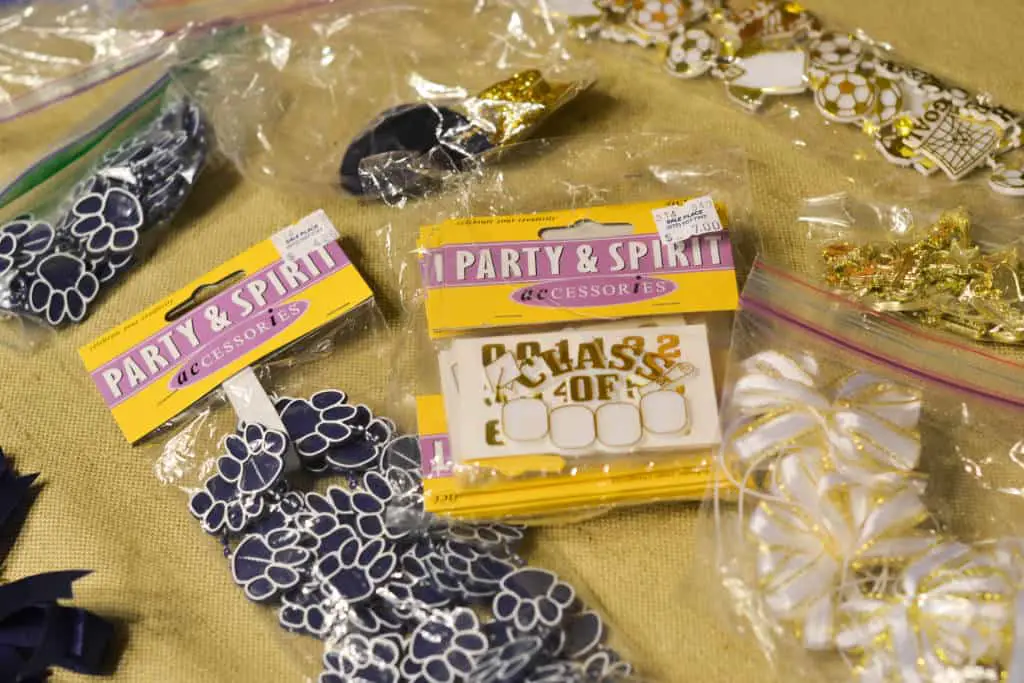
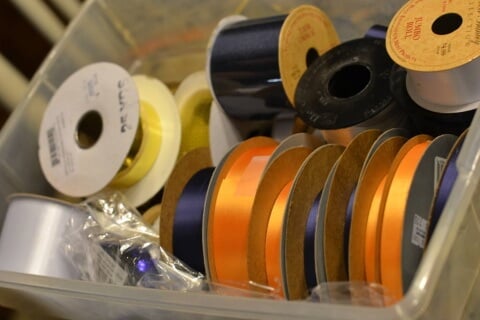
- All that can get a bit overwhelming to maintain, so she organizes her treasures like this:
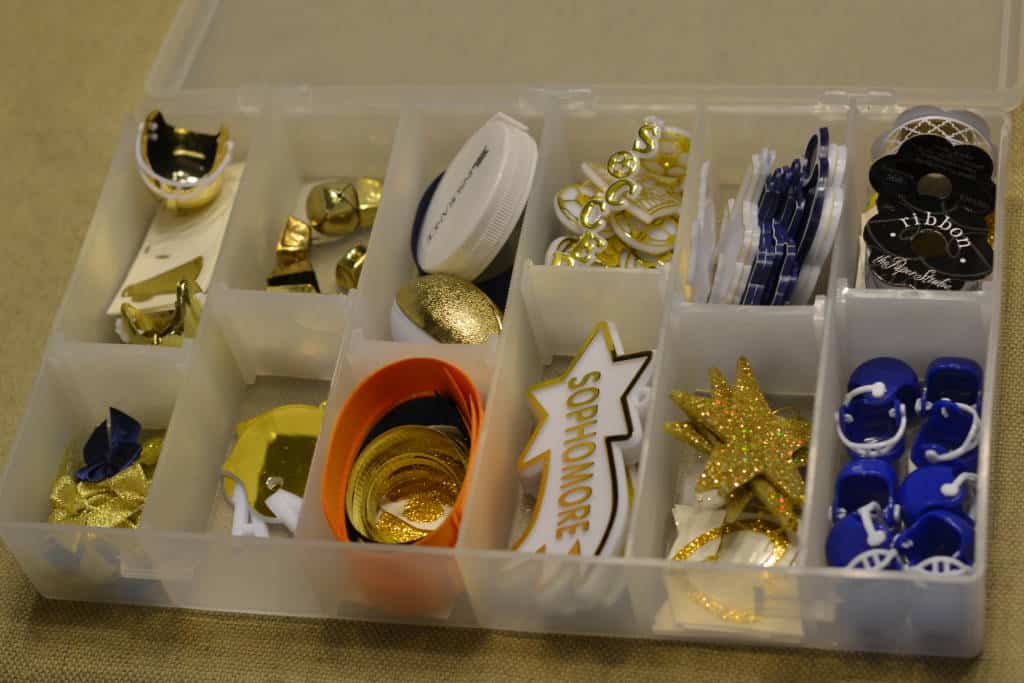
- Buy your supplies in doubles and include several grades (Freshman – Senior) because you will have to make the boy and girl mum versions if/when your girl has a date – and you may not know what grade he is in until the last minute. (Boy moms, you can stop reading here. You get a pass since this is a girl mom thing!) The typical boy garter is 18-24 inches (adjust this to his height) Girl mums are supposed to be 3 feet in length. Remember, you’ll have FOUR years of making mums per daughter so… buy in bulk and save! And don’t think that if your girl has no date, she needs no mum. She’ll still need a mum but you’ll put her name on the ribbons.
- Senior mums are the only ones that are all white with silver. All the other grades are school colors with white highlights so you’ll be shopping for three colors of ribbons.
- Get ribbons in various widths, some see through, some strands of beaded ribbons. Variety is what makes these shine!
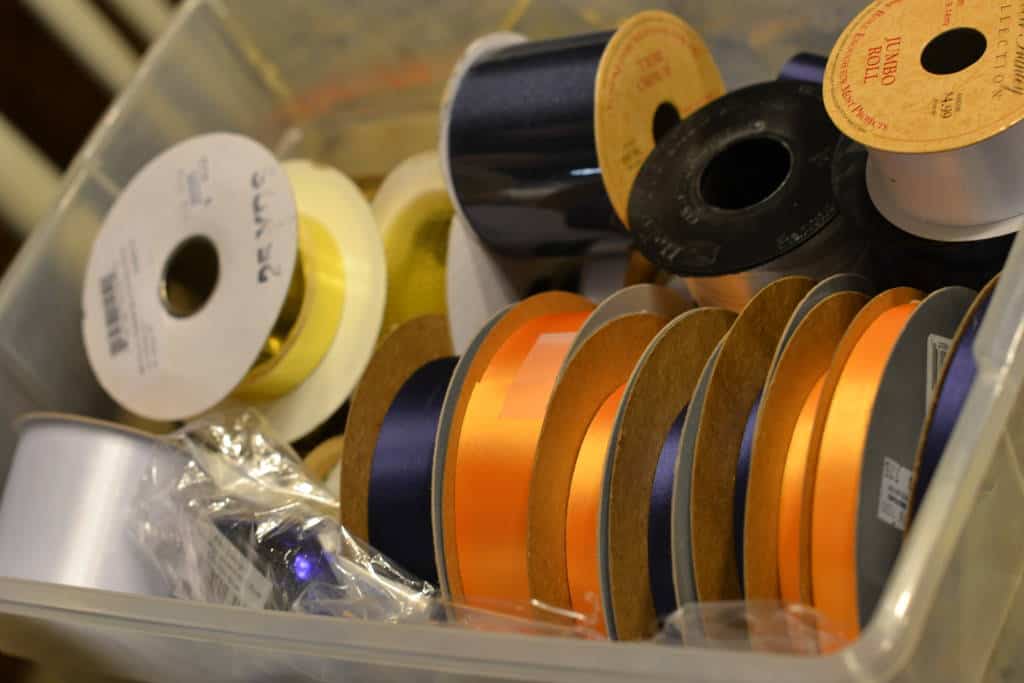
The first ribbon Anna taught me was the Loop Ribbon, which is a really easy way to start. First, measure your pieces, adjusting for the the size loop that you want. This will vary depending on your personal preference. Use a wide ribbon for the background, and a contrasting ribbon for the top.
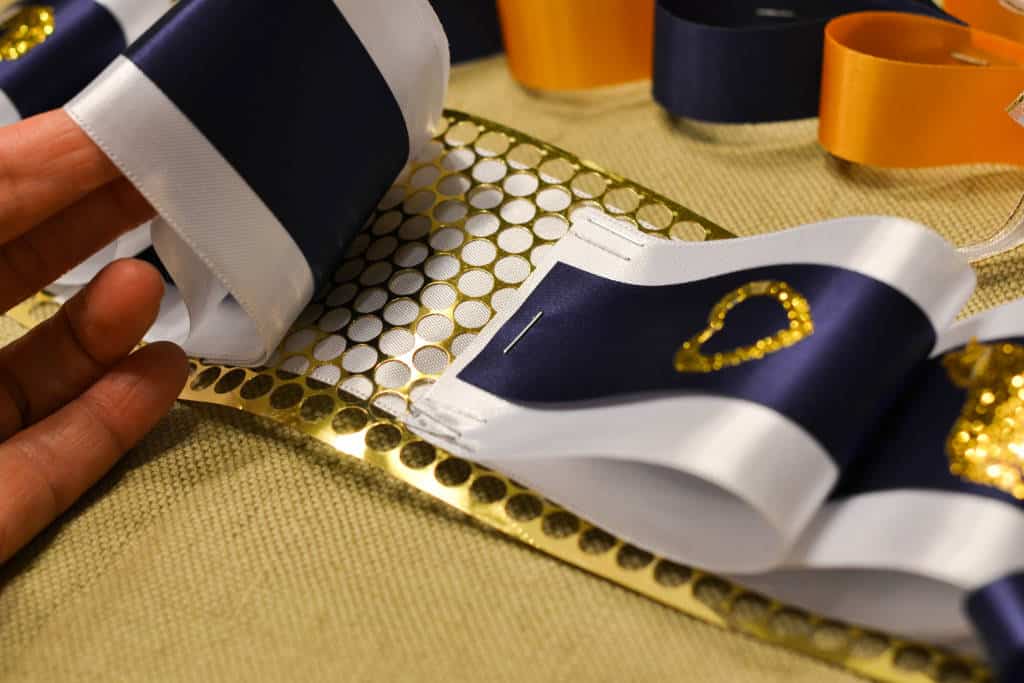
You’ll be attaching both to a base ribbon. However, if your base ribbon has holes in it like this one, you’ll need to add a stabilizer ribbon to it.
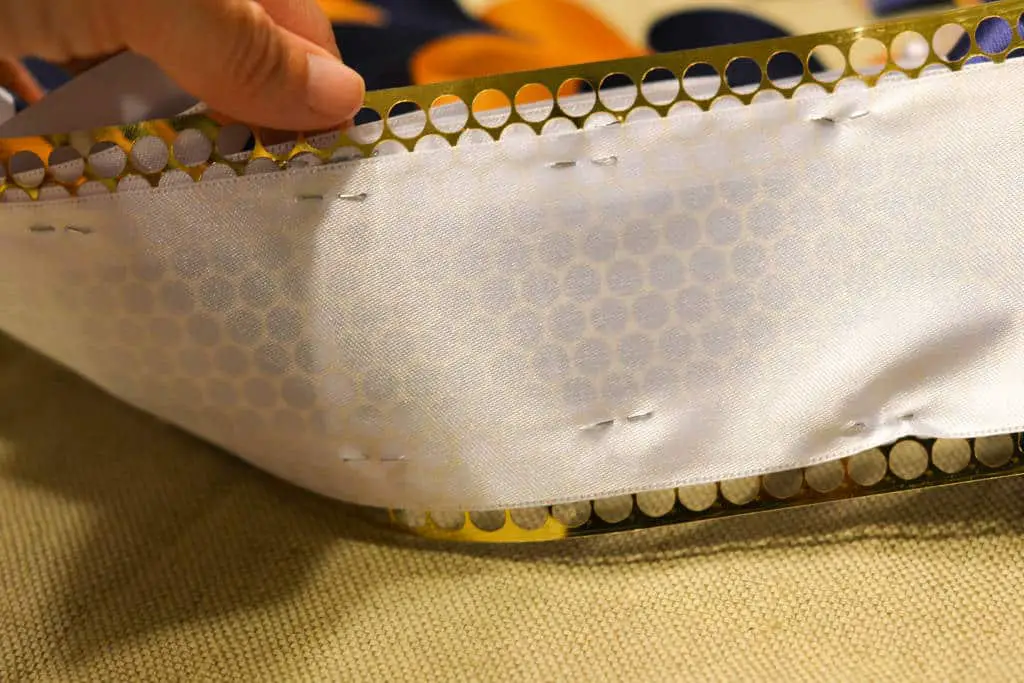
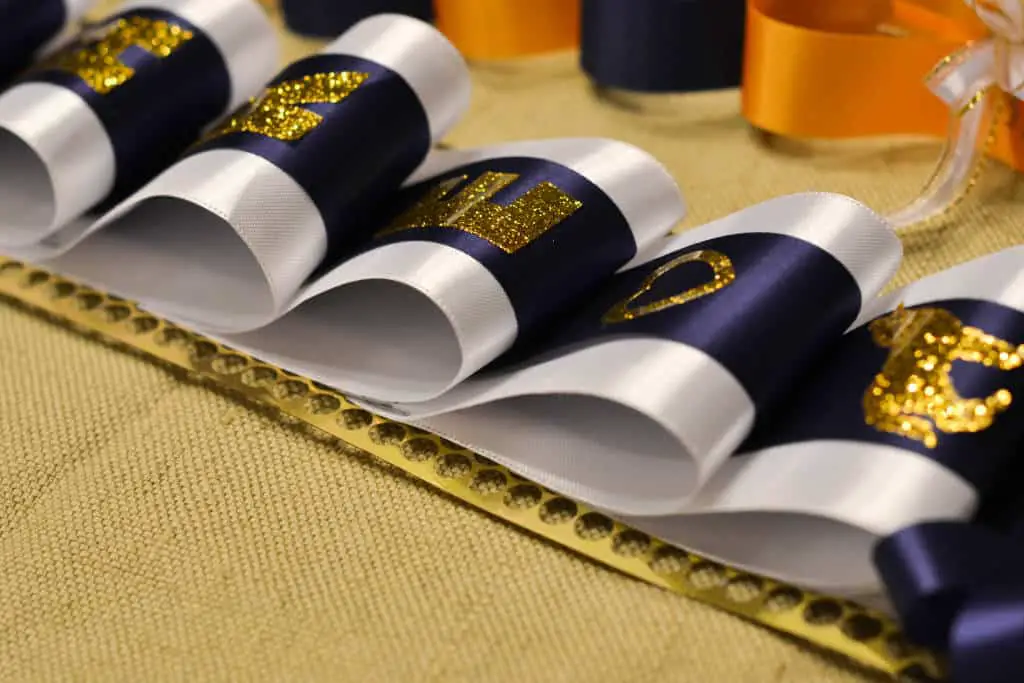
Once you figure out the sizes you like for the loops, measure and cut them all to the same size. Staple the stacked loops to the base. Cover the length of the base ribbon. Add glitter letters to the loops when you’re done.
Now that we’re warmed up, I’ve got videos to show you the step-by-step for the more complicated ribbons. Next up is this chain of hearts.
This next one LOOKS really hard, but it’s not too difficult. The diamond back definitely adds some wow to your mum.
The key to having a good mum is a variety of different styles of ribbons so you’ll want to check out this next one called the military braid. You’ll need 4 yards of each color of ribbon to make your 36” braid.
Last, but never the least, the Texas chain. You’ll need 3 equal sized ribbons. For a 36″ braid, they’ll need to be 36 inches each. Your contrasting color (in this video, blue) will need to be 5 yards.
Now that you have these bomb-diggity braids, it’s time to put it all together.
You’ll need three circular cardboard backs: one for the flower, one for the ribbons, one for back piece to cover the staples. Don’t forget that last one because you REALLY have to cover all those staples up because they will scratch and snag clothes.
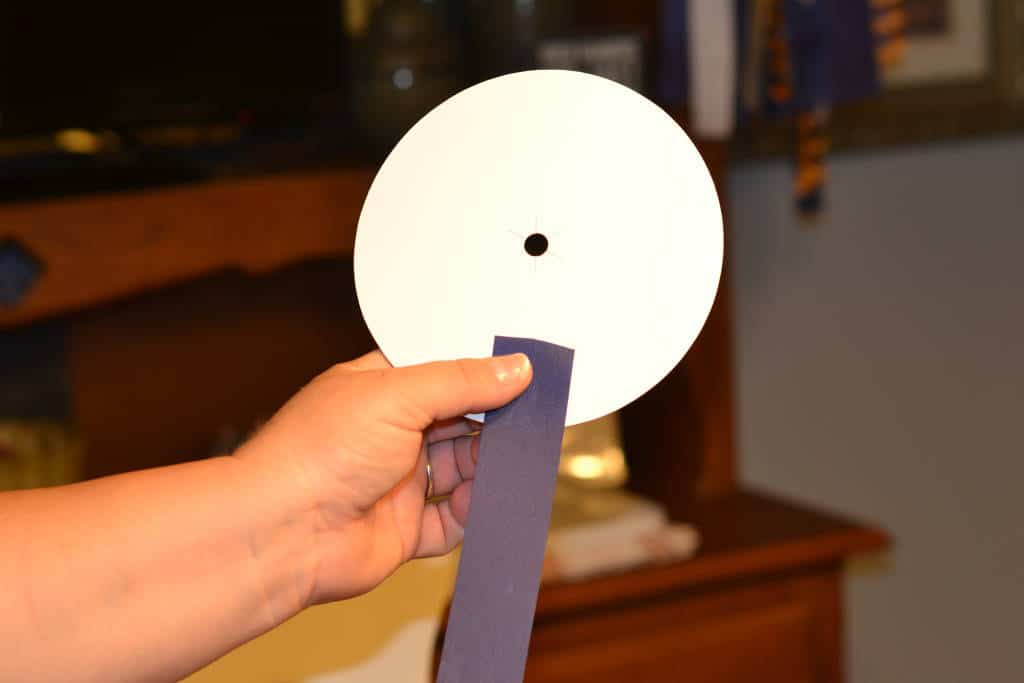
Grab your ribbon back and start stapling some plain ribbons to make a backdrop for your pretty braids and specialty ribbons. Layer your ribbons, alternating with flat pieces. Four or five will should do. Then add a few medium and skinny ones. Make sure they are all stapled securely.
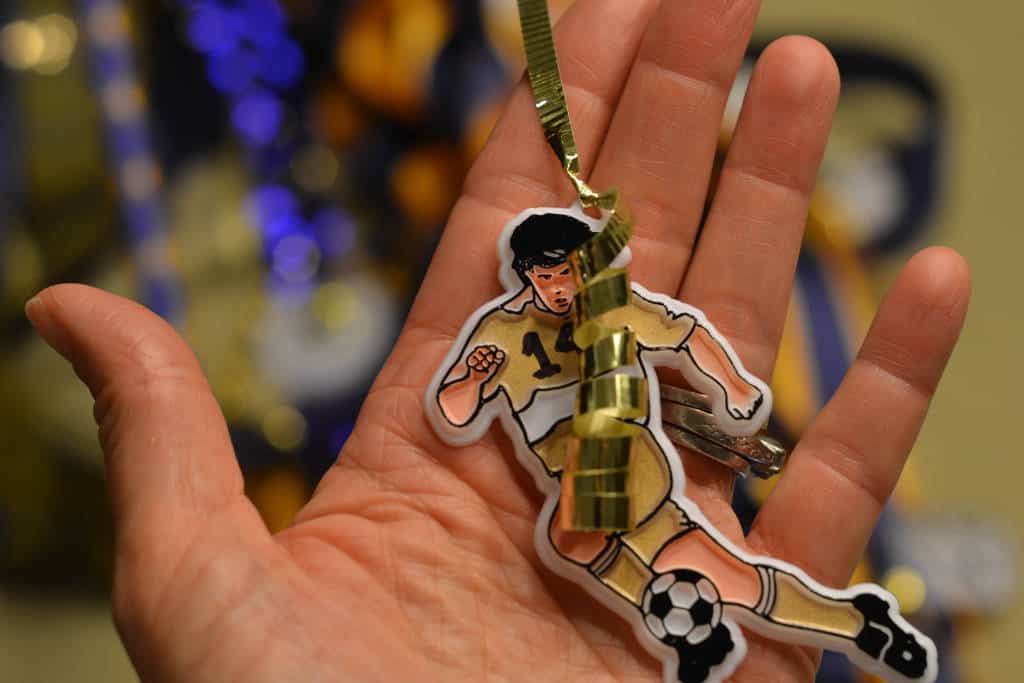
Now start adding your specialty pieces and bulkier braids with staples. Some of your decorative pieces may have to be hot glued in order to stay secure. Keep in mind that clear pieces look best over a dark ribbon background. Save the ribbons that you don’t want squished to go on the front, which means you’ll add those last. Tie your trinkets with curly ribbon and staple those in place randomly.
Once the ribbon disk is full, start making your ribboned flower petals for around the mum. Make loops and points similar to the loop ribbon we did earlier. When you’ve covered edges with ribbon petals, you’re ready to add the giant mum on to it’s circular back.
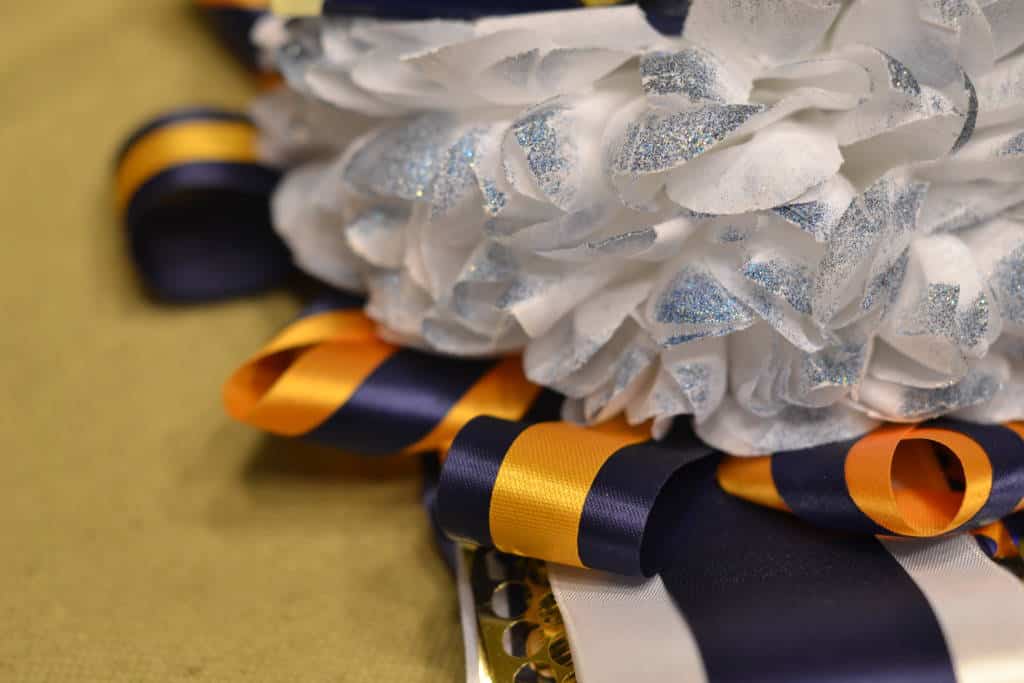
Hint: It’s really pretty if you spray the mum petals with glitter. See the difference between glittered petals and plain?
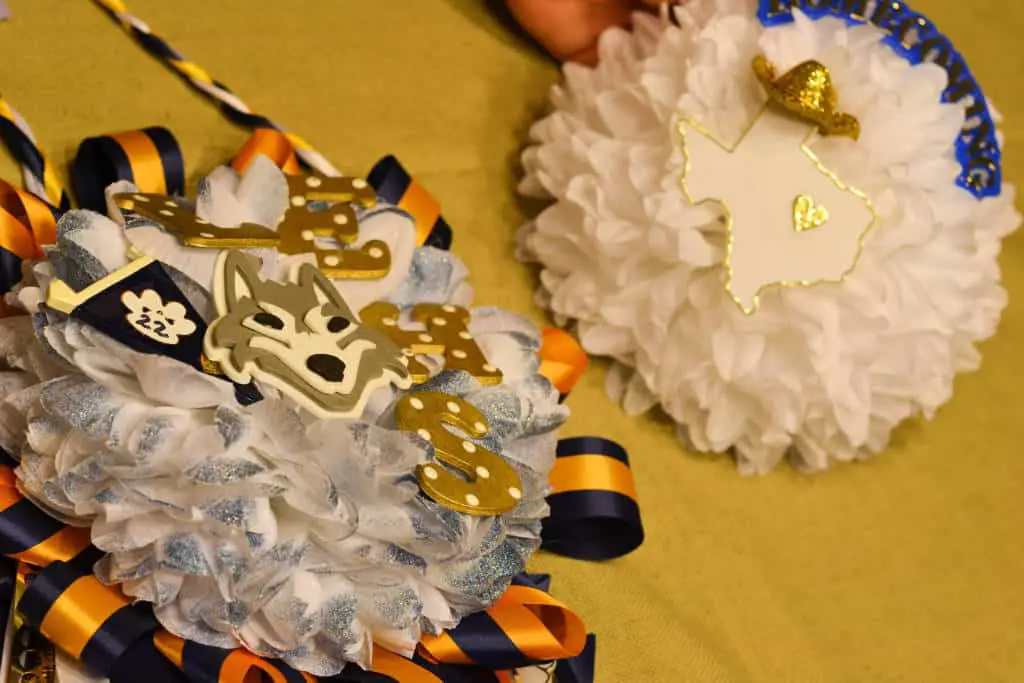
Now you need to hot glue the flower on like there’s no tomorrow and squish it down to make sure it sticks everywhere!
You’re about in the home stretch, but this is a REALLY important part that sometimes people forget because they’re so close to the finish. Make your necklace! You’ll need to staple AND glue it to the ribbon board because it will bear all the weight of this huge masterpiece!
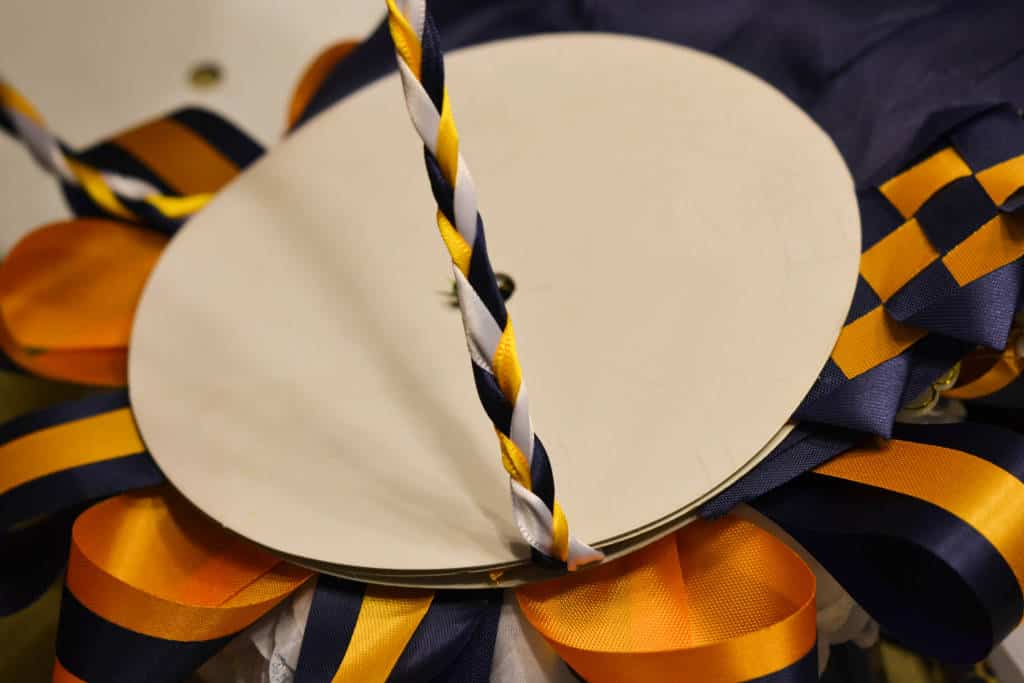
Make a sandwich with your flower board, ribbon board in the middle, and putting the clean board against the back and glue it all together REALLY REALLY WELL.
Find your girl and try it on!
That’s a lot of work and I know you’re nervous about it staying together. Don’t worry, if you mum starts to fall apart, most schools have designated mum repair stations. And if you’re in Dragon stadium, it’s likely near the OZARKA® water booth because for the second consecutive year, OZARKA® is proud to support the Southlake Carroll High School football program as the official spring water of Dragon Stadium.
OZARKA® Brand 100% Natural Spring Water has been part of Texas for more than 100 years and is sourced only from carefully selected springs in Texas and contains naturally occurring minerals for a refreshing, crisp, and clean taste. And gosh knows you’ll need plenty of water to replenish all the sweat you’ll make from carrying that mum around!
 What’s your happy place? Crafting? Cooking? Cocktails? Party planning? Yes please! I love it all, and I’ve tried a lot. Check out my how-to’s! What should we do next?


What’s the best way to store a mum long-term? My daughter isn’t ready to part with her mums yet, we tried (she’s in college now).
I would hang it on a hanger in your guest room closet with some dry cleaning plastic over the top.
how do you make the flower petals that go around the disc and the main mum?
Can you make a candy ribbon braid?
what length do you cut 7/8 inch ribbon, and 5/8 inch ribbon, for the diamond back
You don’t cut it until you’re done braiding it.
I am a boy mom, do I make the mum for my son’s date? Does her mom make his garter?
You make the mum for his date. 🙂
hey i’m a Sophomore in Texas, and the guys are supposed to make them so i just wanted to let you know that this really helped me out
I am going to be making my daughter’s senior mum and of course she wants a huge one. What would you suggest for the backing? I have made her other ones but those were easy. But since she is wanting one of the big ones I just didn’t know what to use for the back to glue everything to….
I would get a few of those round cardboard disks. You’ll need to glue and staple to one layer, then cover it on the back with another disk so the backside of the staples don’t scratch her. You may need one more for the necklace part – I think it depends on how heavy you make it. Good luck!
I’ve looked for the same kind of long reach craft stapler like in the videos. Do you have any suggestions on where to find one? Thanks!
This isn’t my stapler, but I think she got it either at Michaels or that Mum supply store mentioned in the post.
What type of ribbon did Anna use for the different braids?
Hi Pedro, she used a variety of ribbons, but mostly the type you would wrap a present with. NOT curling ribbon, and not a heavy expensive fabric ribbon either, more of a satin finished lighter weight ribbon. Hope that helps?
I’ve tried the diamond braid for mums at 5/8″ X 7 1/4″ long and it’s to big…..it doesn’t work…..
Ooooh. GTK.