My latest Craft Exchange project was a bit of a Hail Mary. When I sat down to my sewing machine to make a kitchen boa, I realized that something was terribly wrong with my machine since it wouldn’t actually stitch… so all those carefully cut pieces were set to the side.
Flower Fairy Inspiration
A panic trip to the craft store provided some DIY flower fairy inspiration. Or should I say, the clearance bin at the entrance gave me a great idea on how to use up some of my ribbon scraps AND create a cute craft DIY in a short amount of time. I was cramming on deadline — as I do! With the girls coming over in 24 hours, I needed a fun, cute craft that looked like I spent a long time on it when it actually only took a few minutes.
I guess you could say, instead of a crafting fairy godmother, I had a flower fairy godmother on my shoulder, lol. And wouldn’t you know it, I had so much fun making these Flower Fairies that I decided to keep going and make one for myself that was Fall themed. I love the way they turned out!
What You Will Need
- Peg people/dolls
- Artificial linen flowers
- Dremel tool (optional)
- Glue
- Scissors
- Wire or pipe cleaners
- Wire cutters
- Paint
- Miniature spool (optional)
- Charms (or something for the fairy to hold)
- Ribbon (several options available)
- Fine point sharpie
- Chalk
- Q-tips
- Pony beads
- Wings (leaves from the flowers will also work)
How To Do Put Your Flower Fairies Together:
I started the process with some little wooden peg people and got to use my Dremel tool for the first time.
Now, don’t come at me about my nascent Dremel skills. I probably did something incorrectly, but it was fun to use a new toy, and I love learning new skills through experience. My only advice is to be careful!
Anyway, the first task is to drill a hole where you’ll put arms the fairy’s arms. Be sure to drill all the way through to the other end if you plan to do what I did, which is to run some wire through the holes.
Also, don’t forget to wipe off the excess dust and shards of wood left behind.
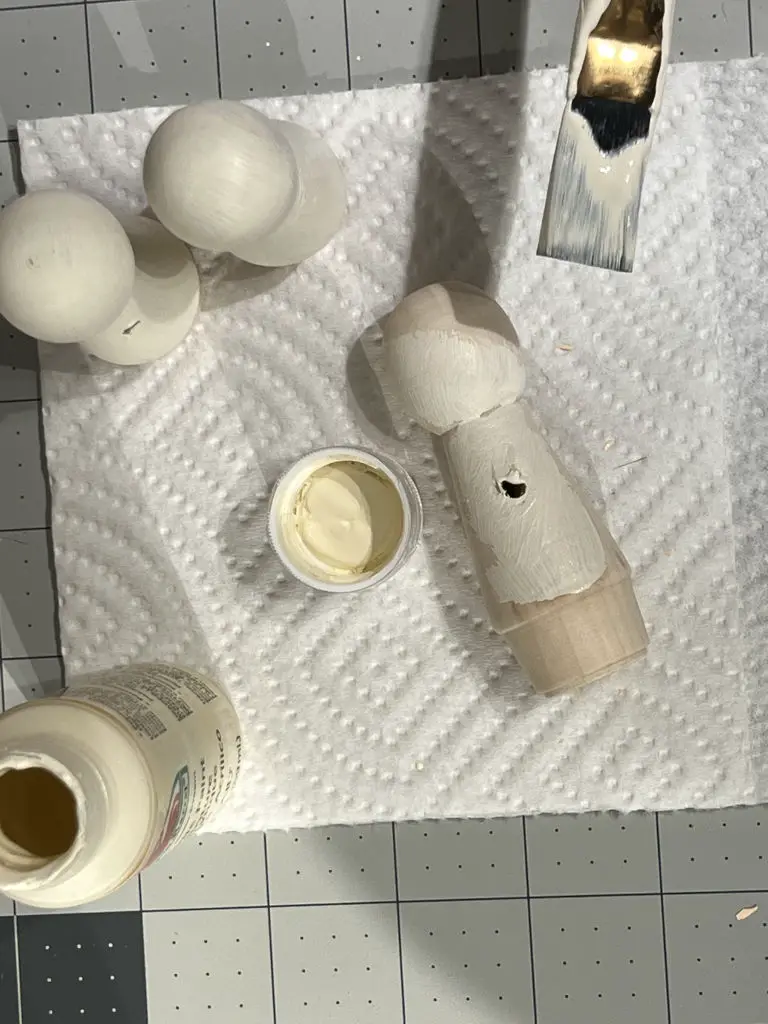
Since most of the fairy will be covered by flowers anyway, the color isn’t a significant factor. It’s also not a big concern if you leave behind some brush strokes.
I wanted my fairies to have BIG skirts so that meant they needed to be taller. To add some height, I also glued a wooden spool to their bottom. I’d probably recommend a bigger base than the spool to make them less likely to fall over, but this is what I had on hand.
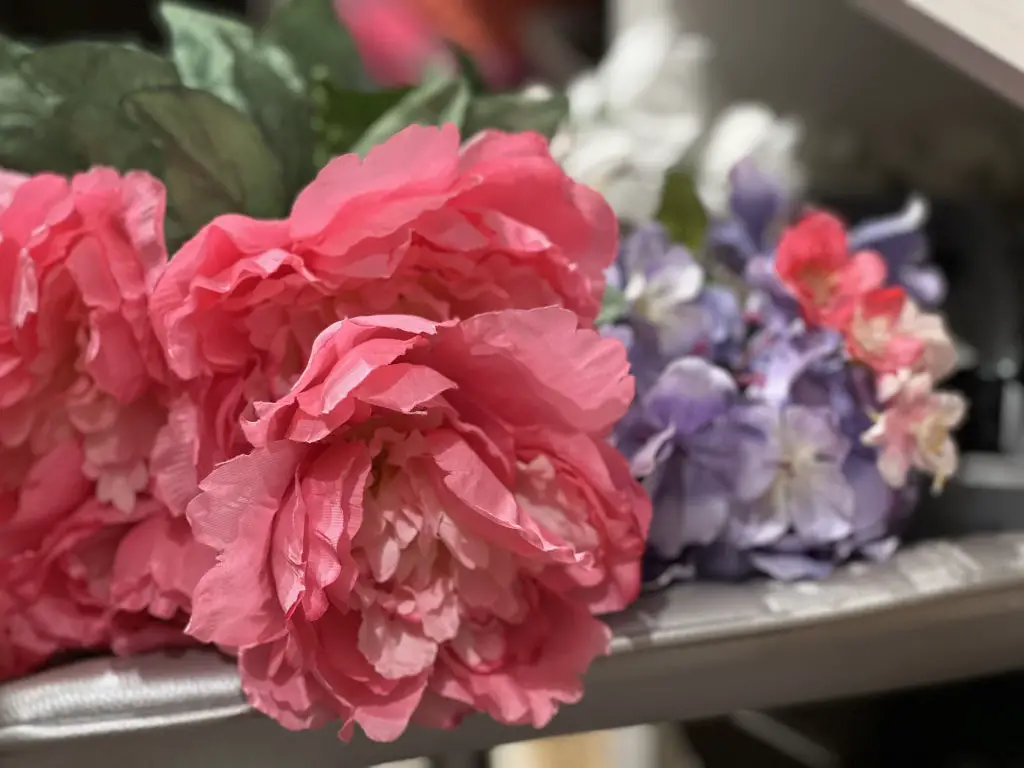
For me, sometimes the deconstruction of one craft to create something new is the best part of crafting, and in this case, you’re going to have so much fun pulling apart these flowers to find the new combinations you like most.
My approach at this stage was to pull out the plastic bits and to cut the petals apart, but not entirely!
I discovered that some of the petals looked better left intact or connected, and by keeping some of these petals grouped, I saved myself time by not having to glue every, single isolated or severed petal to the fairy. I didn’t think that type of tedium would create a more attractive product, so why do it?
I also learned that by keeping some the petals together, I could stagger and layer them to create a fuller skirt.
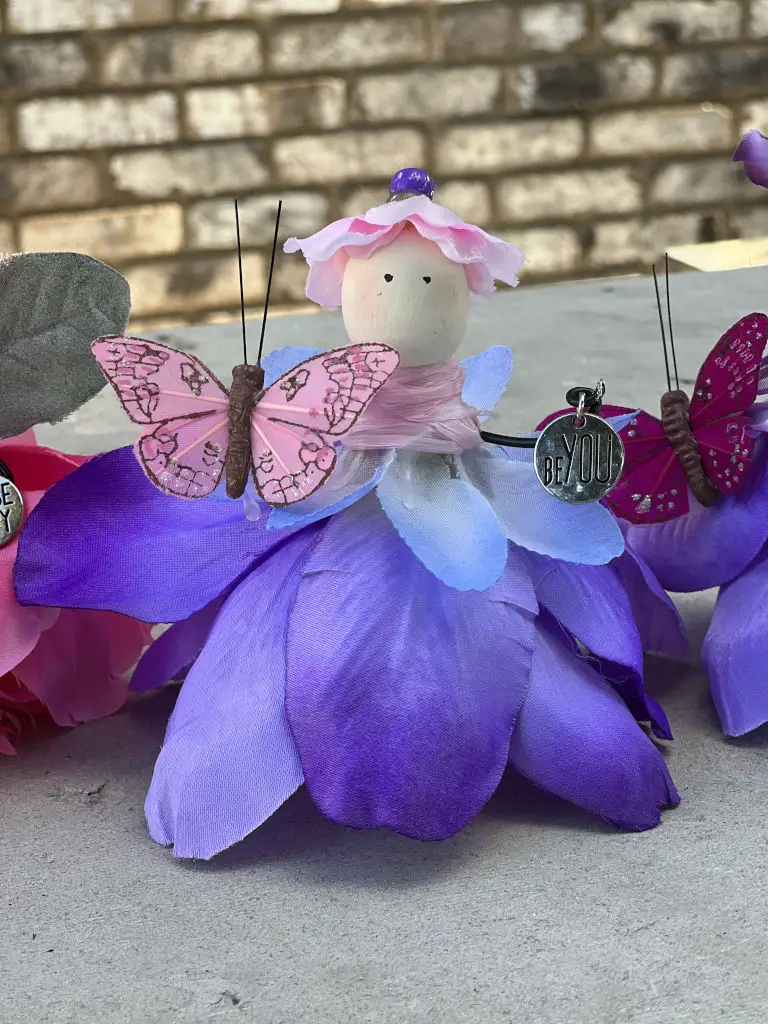
I realized that by arranging them at the bottom of the fairy, they gave the appearance of a petticoat, so I arranged them to underneath the larger portions were higher on her “waist.”
As you’re working with the material, be mindful of the direction your petals are bent. Some might slope inward while others bend upward. I thought it worked best to be consistent with their direction.
To clarify, I don’t think it matters which direction you choose—just that you probably want them facing either up or down.
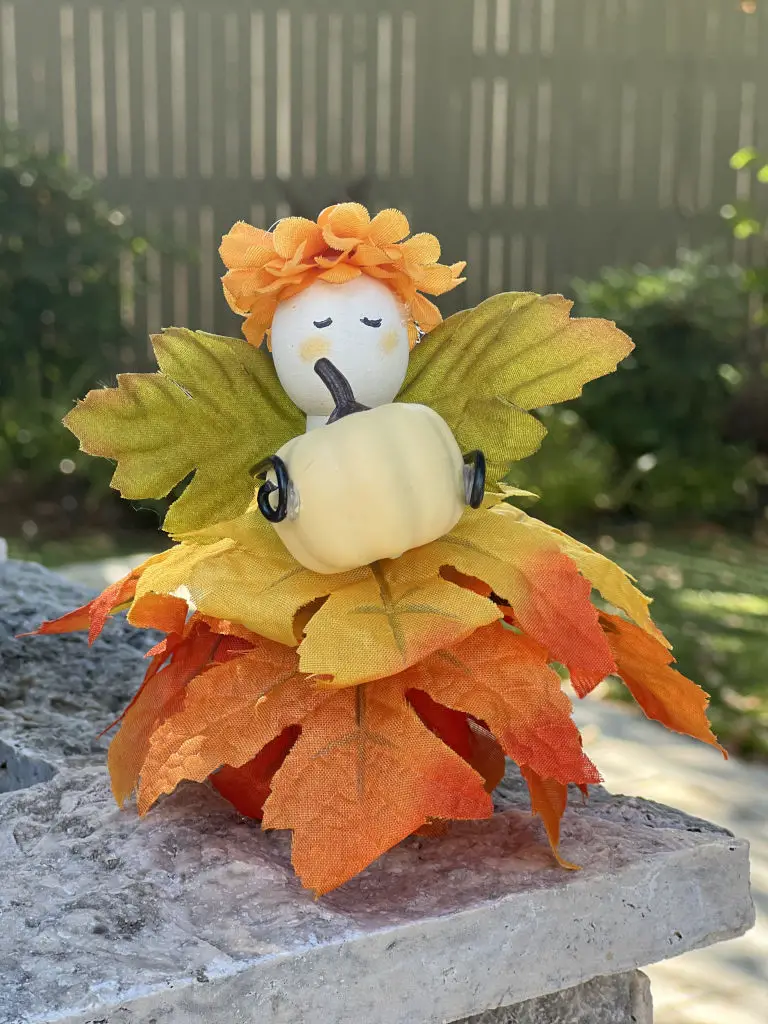
Ultimately, you’re going to run the wire through the hole that you created in the dowel.
In thinking back about this part of the process, I realize some people might not have a drill or might not want to bore a hole through the peg. If that’s the case, you could definitely glue pipe cleaners to the side of your fairy and use those as arms.
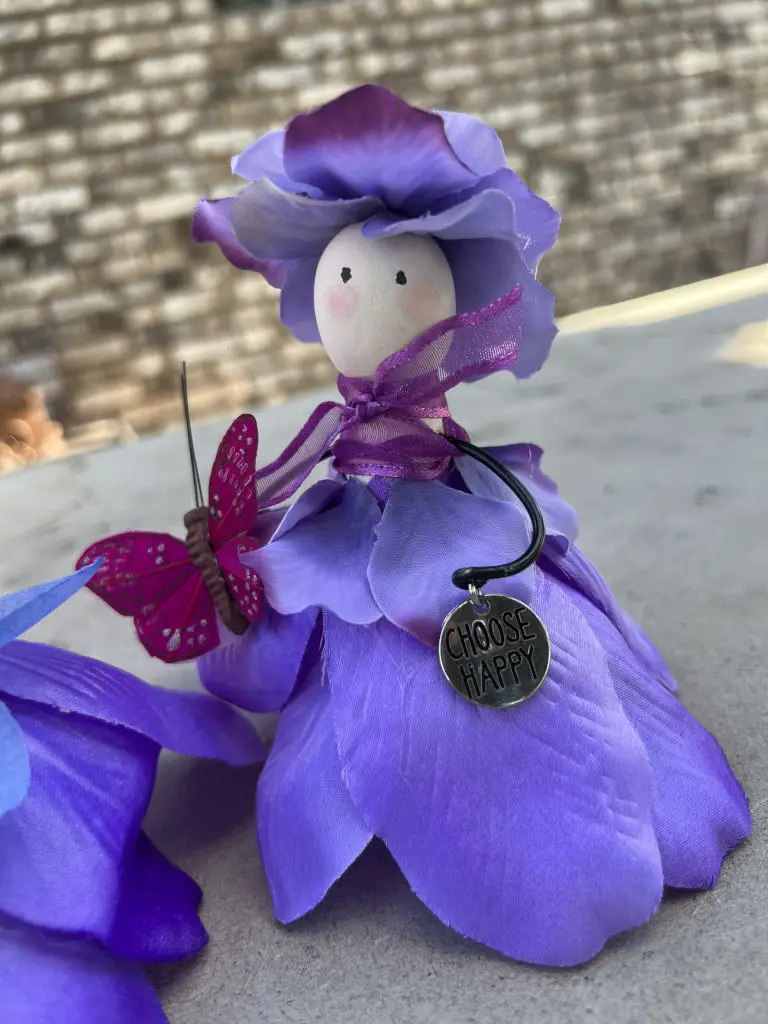
I wanted to add some dimension and aesthetic, and I thought the best way to accomplish this would be to have my fairies appear to be gracefully holding something.
I found some uplifting metal charms and miniature butterflies at Michaels and looped the ends of the wire arms through and around these items.
I also used some glue on this step, in addition to bending the wire around them. And when the charm didn’t sit on her flower skirt the way I intended it to, I glued that sucker down too!
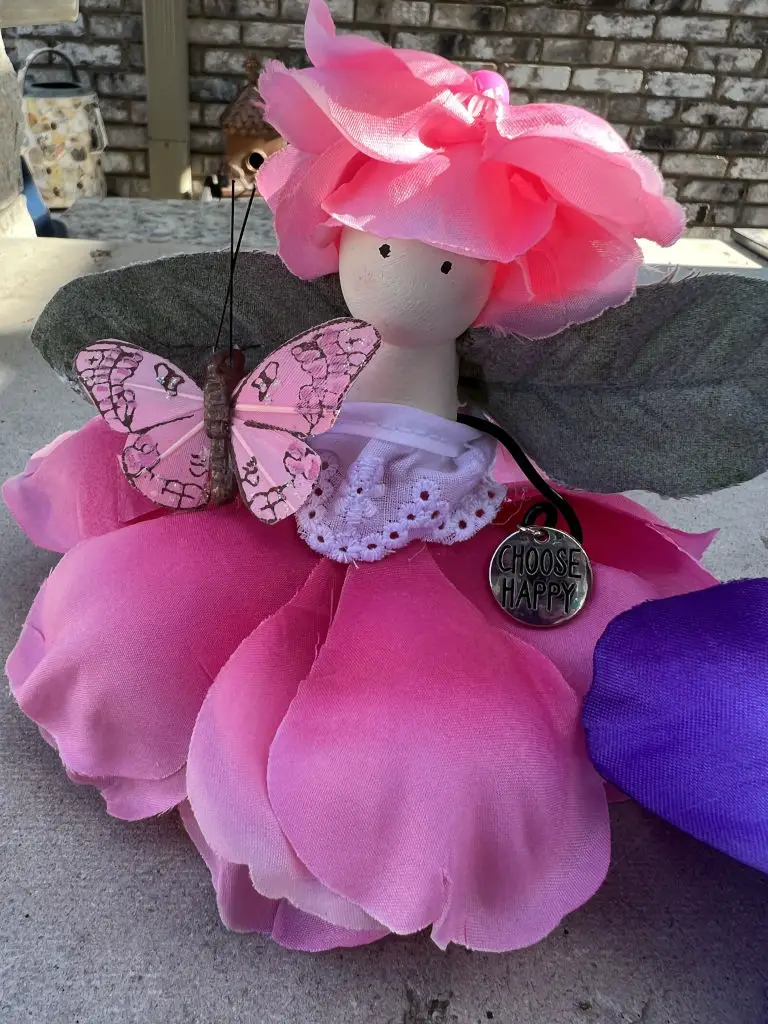
I found out the hard way that it’s easier to put this fabric onto the peg before you glue the objects to the petals.
Since I wasn’t using hair, I wanted the fairies to have a hat. (You could totally add hair, in fact, I think it would be adorable!) For the hat, I chose a smaller flower in a smaller size. Since it had a plastic bit left from where I pulled it off the stem, I covered it with a pony bead.
After that, it’s just a matter of putting glue on the inside of the flower and securing it to the fairy’s head. In terms of a process, I thought it worked best to get the hat in position before attempting to create the face.
I used a Sharpie marker to draw a couple of eyes. I selected a finer point to reduce the likelihood that the eyes might be too large for the face. Yes, I was totally afraid I’d mess up the whole doll at this point, but remember, you can always paint over a mistake and try again!
She also needed a little color to her cheeks so I picked out a pink chalk, and using a Q-tip, I gave her a faint little cheek blush. I didn’t add other facial features such as nose and mouth, but if you’re talented in those areas, draw those on too! (I’m DEFINTELY not!)
She’s sweet as she is, but one more step to really make sure she’s fairy-like, I added some wings. I used some “lamb’s ear” leaves that I had leftover from another floral bunch and glued those to her back.
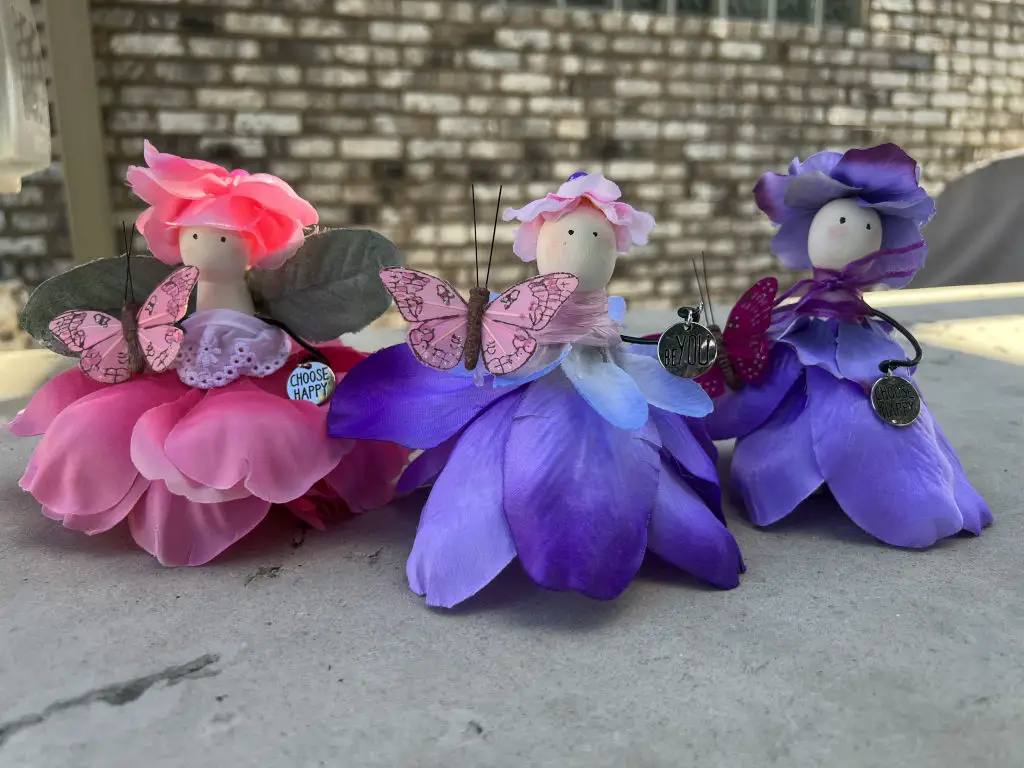
You can’t stop with one fairy, you have to have at least three, right? I mean, you’ve seen Sleeping Beauty… Actually, I made these for my craft exchange so I ended up making about 7 of them. Each one was unique and I loved that they all had different colors, personalities, and charms.
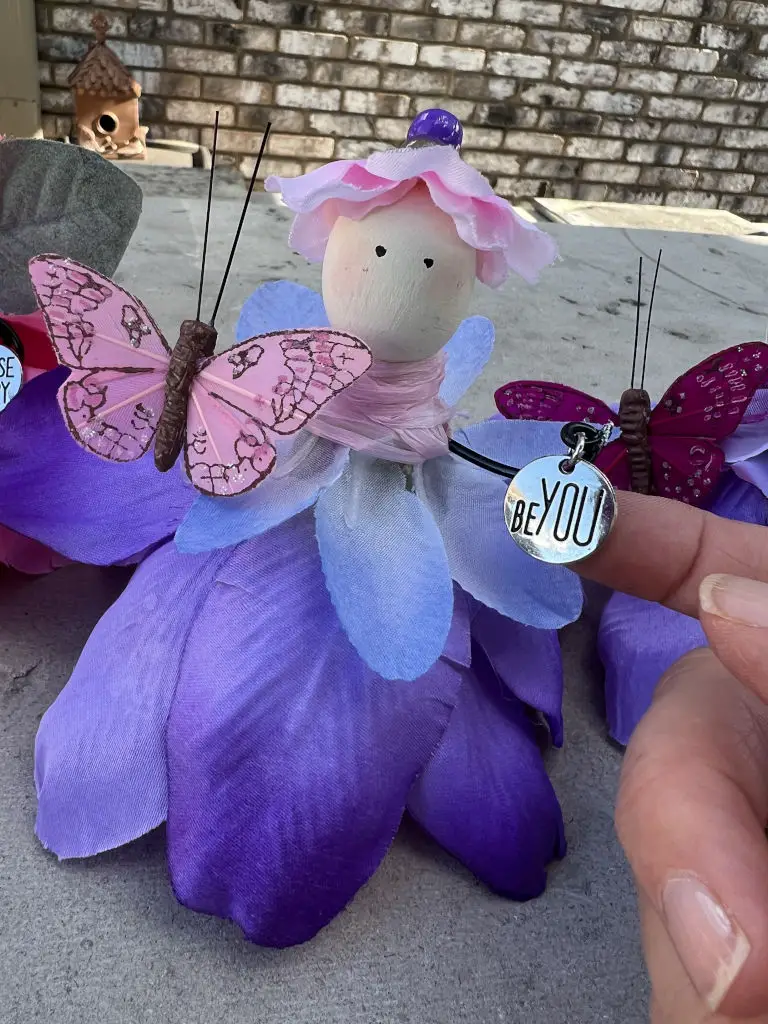
These fairies were so fun to create, and I think they’re adorable. I know you’ll enjoy making them as much as I did!

 What’s your happy place? Crafting? Cooking? Cocktails? Party planning? Yes please! I love it all, and I’ve tried a lot. Check out my how-to’s! What should we do next?


0 Comments