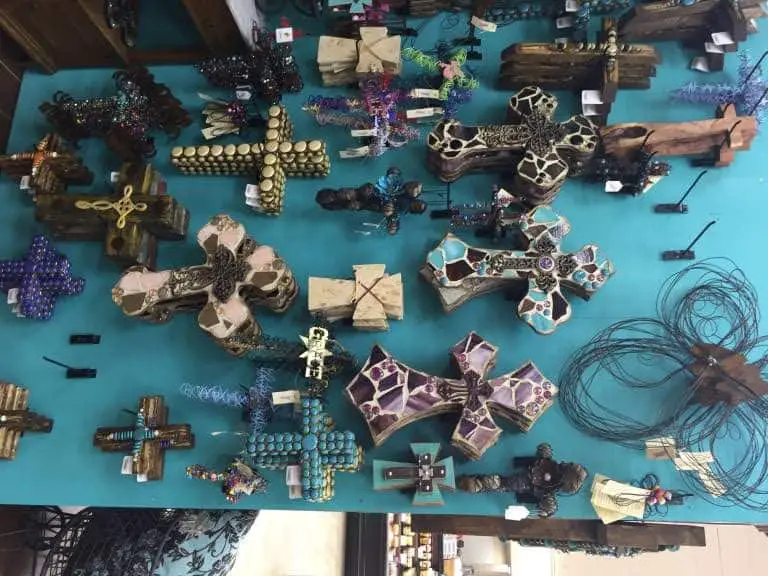
I keep seeing mosaic crosses everywhere – from boutiques to Buc-ees.
Every time I see them, I just tsk-tsk and smh at the price. It’s an easy project you can do with relatively inexpensive materials, AND customize it to make it personal to you.
Being a crafter at heart, I hoard things that might be useful in a project later. Like… broken plates. I have a bag of broken china and it somehow eases the pain of the break knowing I can repurpose it for something I love.
The mosiac crosses made by myself and The Princess for my previous, How to Make a Mosaic Cross, post just used hot glue, beads and glass rocks, a wooden cross and a tiny bit of paint. This time I thought I’d try a version using mosaic tile grout. (The blue background is making the center cross look more blue, but it’s actually a very similar color to the plate pieces.)
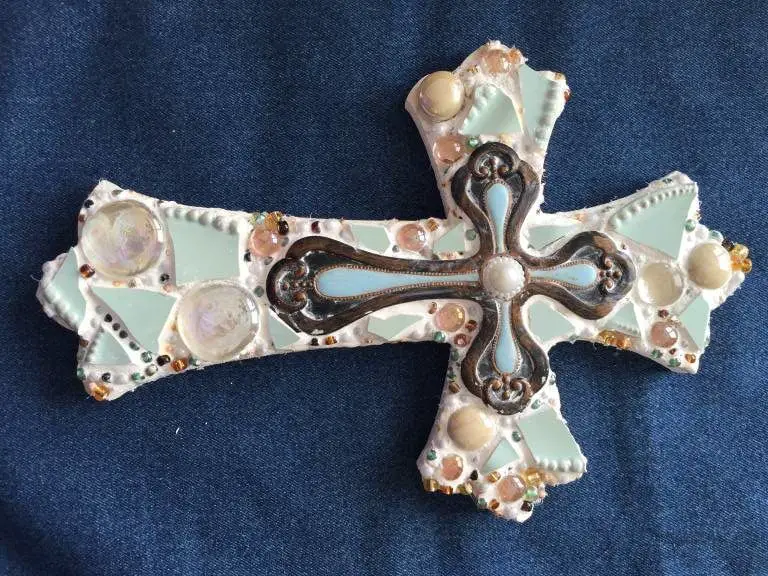
Here’s what I used – but use whatever you like! Costume jewelry, bottle caps, broken bracelets, orphaned earrings, lol… the secret to this project is to use many different sizes of beads and materials so you can cover every inch of the cross. I tend to keep with a color palette, but I’ve seen some in stores that have every color in the rainbow and they’re gorgeous too!
- Wooden crosses from Hobby Lobby (prices vary, these were $7.99 or less). There are plenty of wood shapes and letters to choose from if crosses aren’t your thing.
- Small ornament crosses from Hobby Lobby (these were on sale the week I got them for about $1.50 each)
- White paint – I had this already. Actually, this was the cupcake’s. I could have used a fun chalk paint, but it’s not seen much so I used the cheap washable school paint.
- Hot glue – had this already
- Hammer – had this
- Broken plates – sadly, I have a collection of these
- Leftover glass bubble rocks (you can get these from the Dollar Store!)
- Leftover glass beads (originally purchased from JoAnn)
- Mosaic grout from Hobby Lobby. You can also tint your grout like we did making our mosaic mirror letters if there’s a different color you like.
Here’s what you do:
- Paint both sides of your cross and let dry.
- Put your broken plate into a zip lock bag. Lay a towel down on your floor or concrete driveway. Put the baggie on the towel and gently tap on the broken dish with your hammer to create smaller pieces. It’s not a bad idea to wear sunglasses when you do this, in case you get over zealous and hammer your plate pieces right out of the bag! Make big and small pieces.
- Get all your materials out and lay them on top of your cross to see where you’d like the pieces to be. I generally try to put a large feature piece in the middle of the cross.
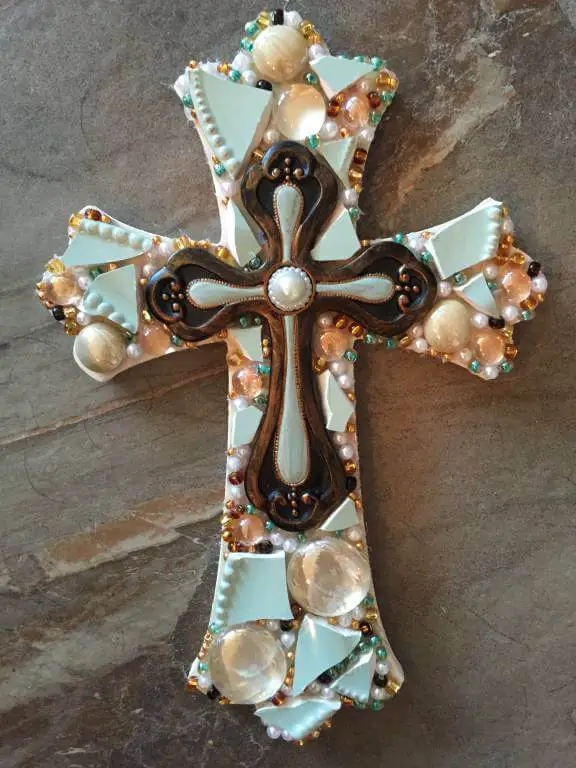
- Hot glue the pieces in place.
- Rub grout all over the cross, squishing it into all the nooks and crannies.
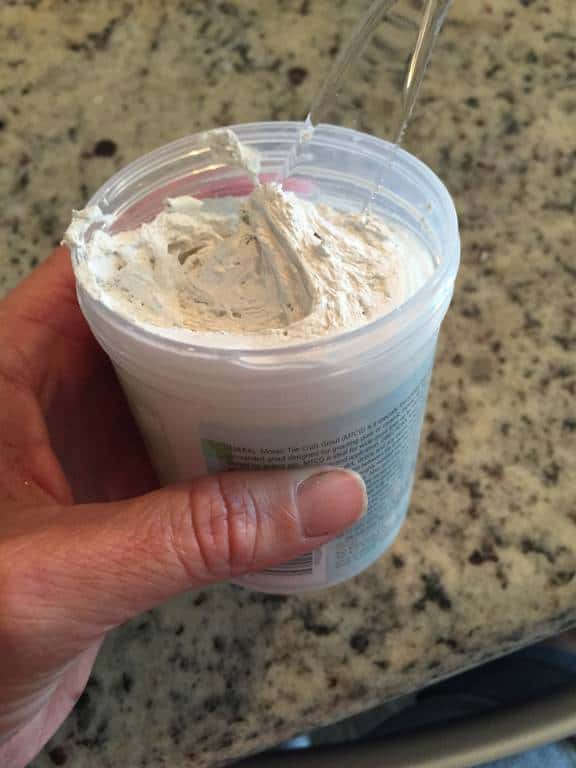
- Follow the instructions on the grout for drying time. I dried for about 20 minutes.
- Take a damp cloth and wipe off the top of all your beads so you can see them again. (Yes. My dog is wearing a Hawaiian shirt and lei and my yard is a caked earth yard crash in progress.)
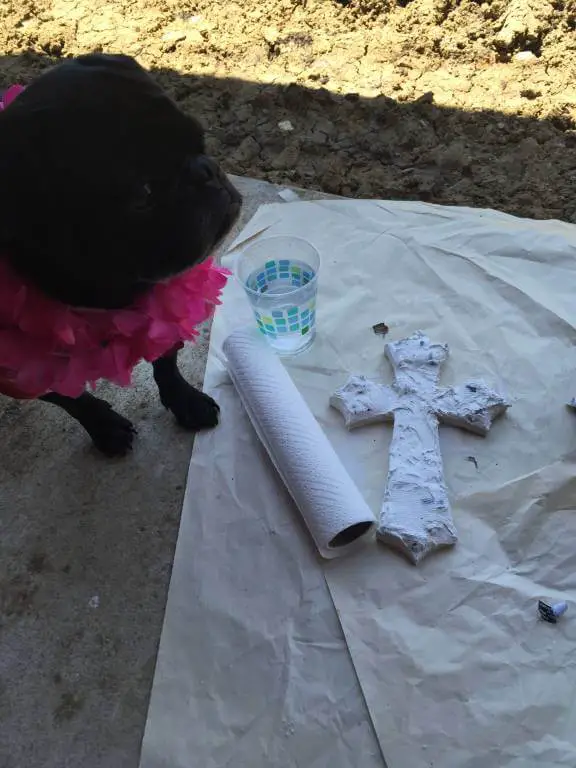
- Let dry completely.
- Shine up your beads again.
- If you’re going to hang this outside, be sure to seal your grout. I got a small bottle of this from Hobby Lobby as well.
VERSION 2: After I made the first cross, I decided that I liked it so much better before I covered up with little pieces with the grout, (I was devastated actually) that maybe I should try it a different way and push the small pieces into the grout on top. Here’s how this one turned out.
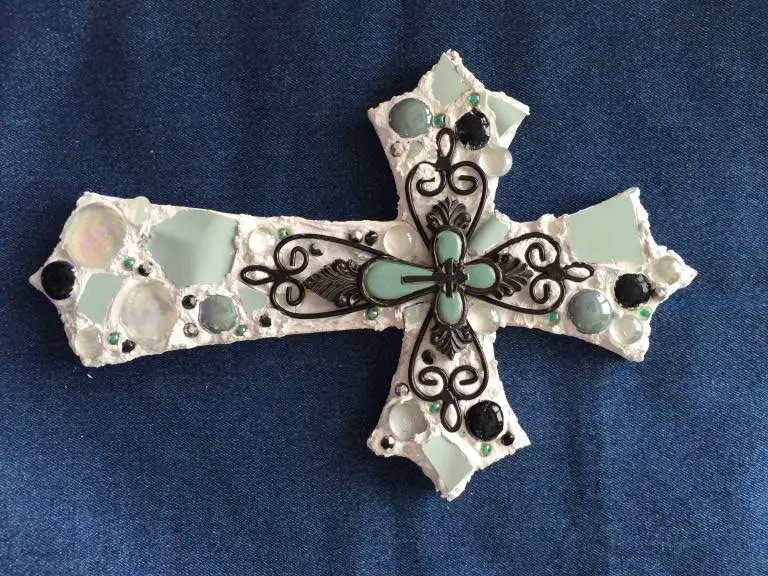
Here’s how I did version 2.
Follow steps 1 – 3 above.
4) Instead of hot gluing the material in place, this time I put a layer of grout all over the cross to use as “glue.”
5) Push the large pieces of beads and rocks into the grout.
6) Let dry for 20 minutes.
7) Add another layer of grout all over the cross and big beads.
8) Push the smaller pieces into the grout.
9) Let dry for 20 minutes.
Follow steps 7 – 10 from above.
Which do you like?
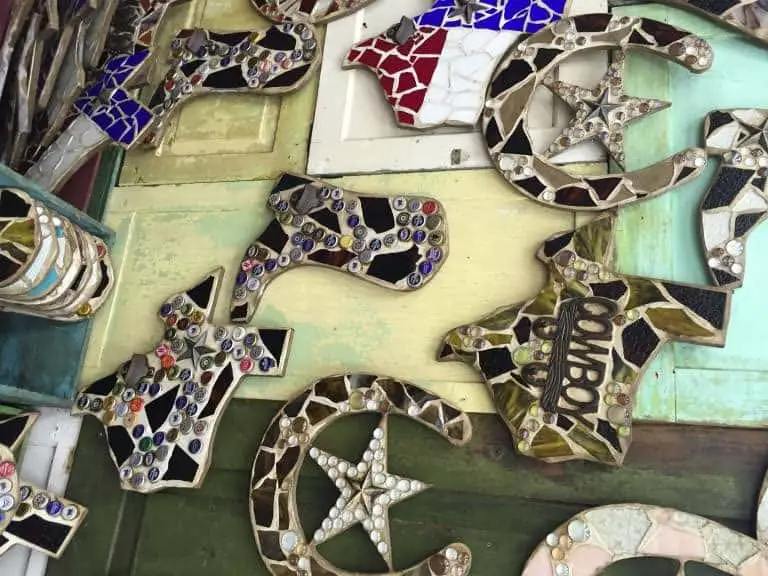
I have no idea what I’m going to do with all these crosses, but I do enjoy making them! And I love that my broken plates have new purpose! The next time I make these, I think I’ll get funky and specialty bottle caps and rhinestone jewelry like these we saw at Buc-ee’s.

 What’s your happy place? Crafting? Cooking? Cocktails? Party planning? Yes please! I love it all, and I’ve tried a lot. Check out my how-to’s! What should we do next?


My mom has been doing this for 14 year! Its awesome to see someone else had the same idea. she makes boxes out of wood and tiles it. I have 2 crosses I need to grout right now in my kitchen.
I bet they are beautiful!
Hello, i thought that grout will not stick to the wood and you need to use some sort of cement before you put the decoration. Please let me know, I am new to this … Thank you very much. Your crosses are beautiful!
Yuliya
Hi Yuliya! I made a couple of these and the grout did stick to the wood, although better on one than the other. I’m not sure why? I did use glue to affix the stones prior to the grout.
Great project ideas– How do you finish the edges of the crosses with grout? Do you tape it off and just grout the top and do you use sanded or non-sanded grout in your process?
Thanks!
Hi Amy, I wish I could say my edges are super clean and smooth. I just wiped it with my fingers to get smooth edges! I used craft store grout so I’m embarrassed to say, I’m not sure if it’s sanded or not! If and when I do these again, I would look for a colored grout from a home improvement store.