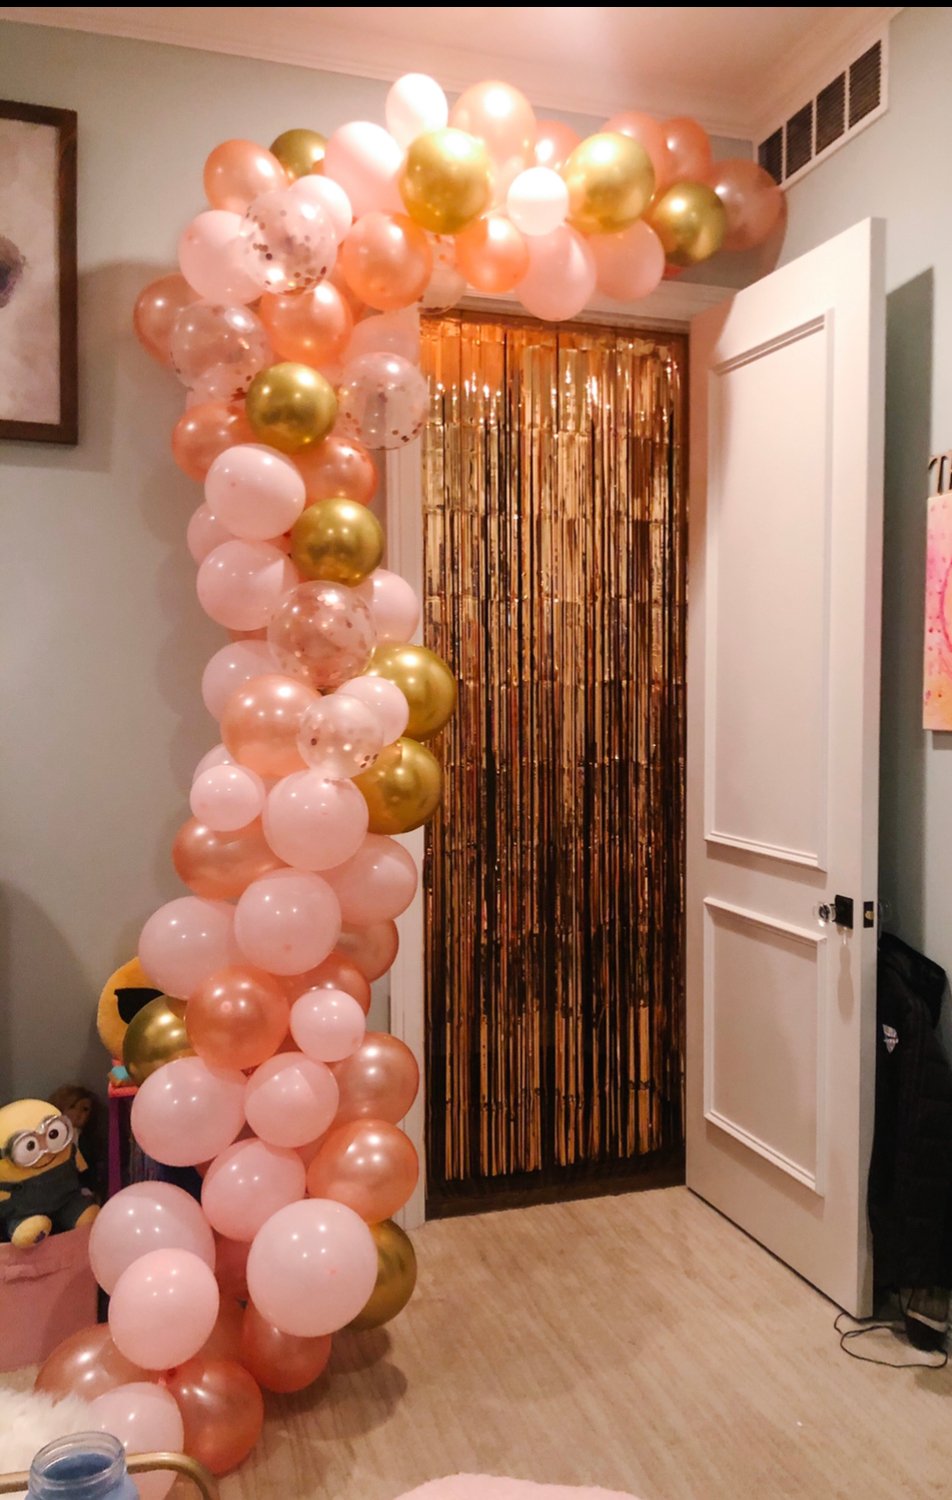
Whatever you are celebrating, whether it is a birthday, a wedding or a graduation, is it even a party without a balloon arch these days? Nope! Don’t stress about ordering a ready-made arch though – you can totally make one yourself! The one you see below took me about two hours to put together and hang — and it was my very first time making one. I did learn some tricks along the way so read on or watch the video to see how to make your party balloon arch.
Things you will need:
Balloons and Party Door Fringes
To make the same arch that I did you will need the Rose Gold Balloon Garland Kit and the Rose Gold Door Curtain but don’t stop for birthdays. I can imagine using a dramatic black, orange and purple arch for Halloween, varsity colors for a graduation party or even an orange and bronze combo for Thanksgiving, silver and gold for weddings and anniversaries, and so on. Really, the balloon is your key to colorful elebrations,. Check out the other combinations below:
Assorted Colors Balloon Arch Garland Kits
Assorted Colors Party Curtain
You will also need:
Electric Balloon Pump (NOT helium)
Balloon “glow” to Make the Latex Stay Shiny
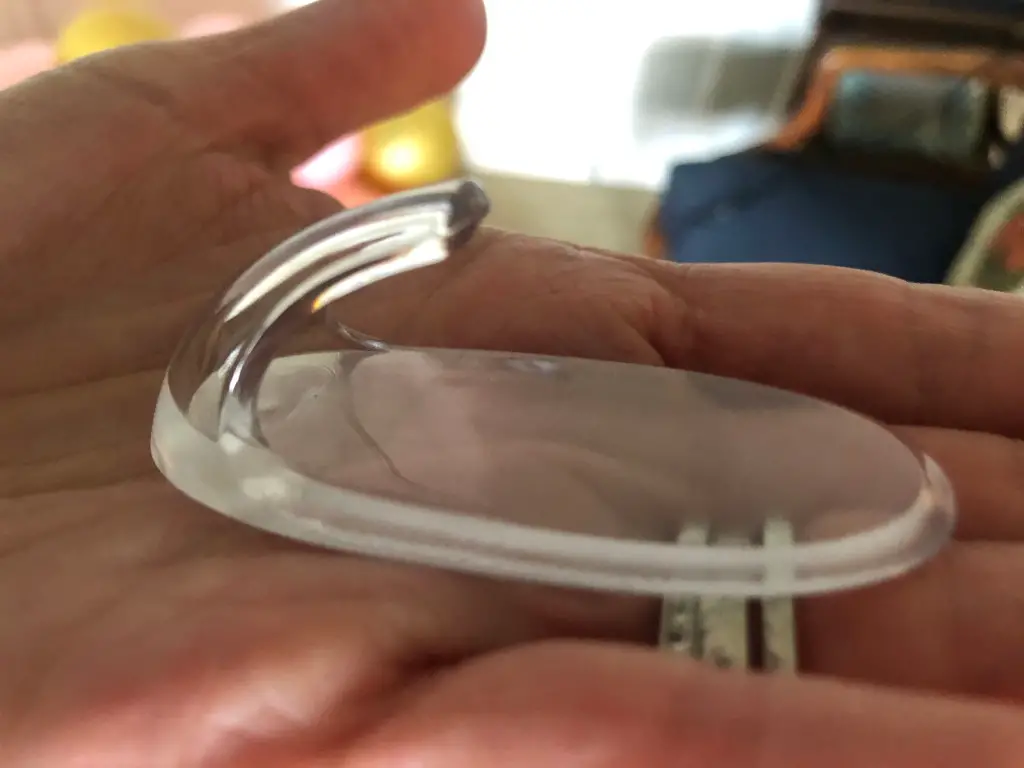
Command Strips
(these are affiliate links)
If you’re busy like me and time gets away from you, a couple of days before your daughter’s 13th birthday you think… hmm a balloon arch would be great! Where do I even go about ordering one of those? And how much lead time do they need?
With that my inner-crafter kicked in. How hard could it be to make one myself – especially with the balloon arch kits that are available online? Challenge accepted!
And so I was all in on making my first balloon arch – with no backup plan. I actually ordered all the supplies the week of her birthday and I sneakily put it together in the game room the night before her birthday while she was sleeping. It took about two hours altogether to make and hang, and when she woke in the morning, TAH DAH! There it was draped across her door.
Much as she loved it, it was maybe a bit too attention-grabbing for a 13-year-old doing virtual classes so she moved her desk for the day. Ugh, but she really did like it.
Here we are a month later, and that arch is still fully blown up and looking fabulous. I say that so you don’t make the same mistake as I did and leave your balloon arch to the last minute. You can totally get this made earlier and set it up out of sight and then move it into place when the time is right.
Overall, this was not a big investment as far a decoration goes and I’ll be reusing some of the supplies again – in particular the electric balloon pump. You absolutely 100% want to get one of these – it’s a game-changer. This one I got was about $25 and was worth it even if I never made another arch again. It’s that helpful.
What to do when you receive your balloon arch kit?
My kit included 100+ balloons and I used all of them, but if you’re making a smaller arch, you’d use fewer. The very first thing you should do, is separate the balloons by size and color because there’s a bit of sanity in the chaos as you create the arch.
Now, the secret to creating your garland is the plastic strip that comes inside the kit. It has holes all along the length of it, and you are going to put balloons in the holes. So that’s the easiest part of it – blow up the balloons using the pump and thread them onto the strip. The kit I had contained a strip with just a single row of balloons, so I could have alternated colors or create patterns, but I went at it at random. I used the big balloons on the strip and filled in with the smaller balloons after it was hung. it’s a very simple process. The trickiest part was sneaking it into my daughter’s room when she was sleeping because inflated, the arch makes a lot of noise.

What balloon arch kit to buy?
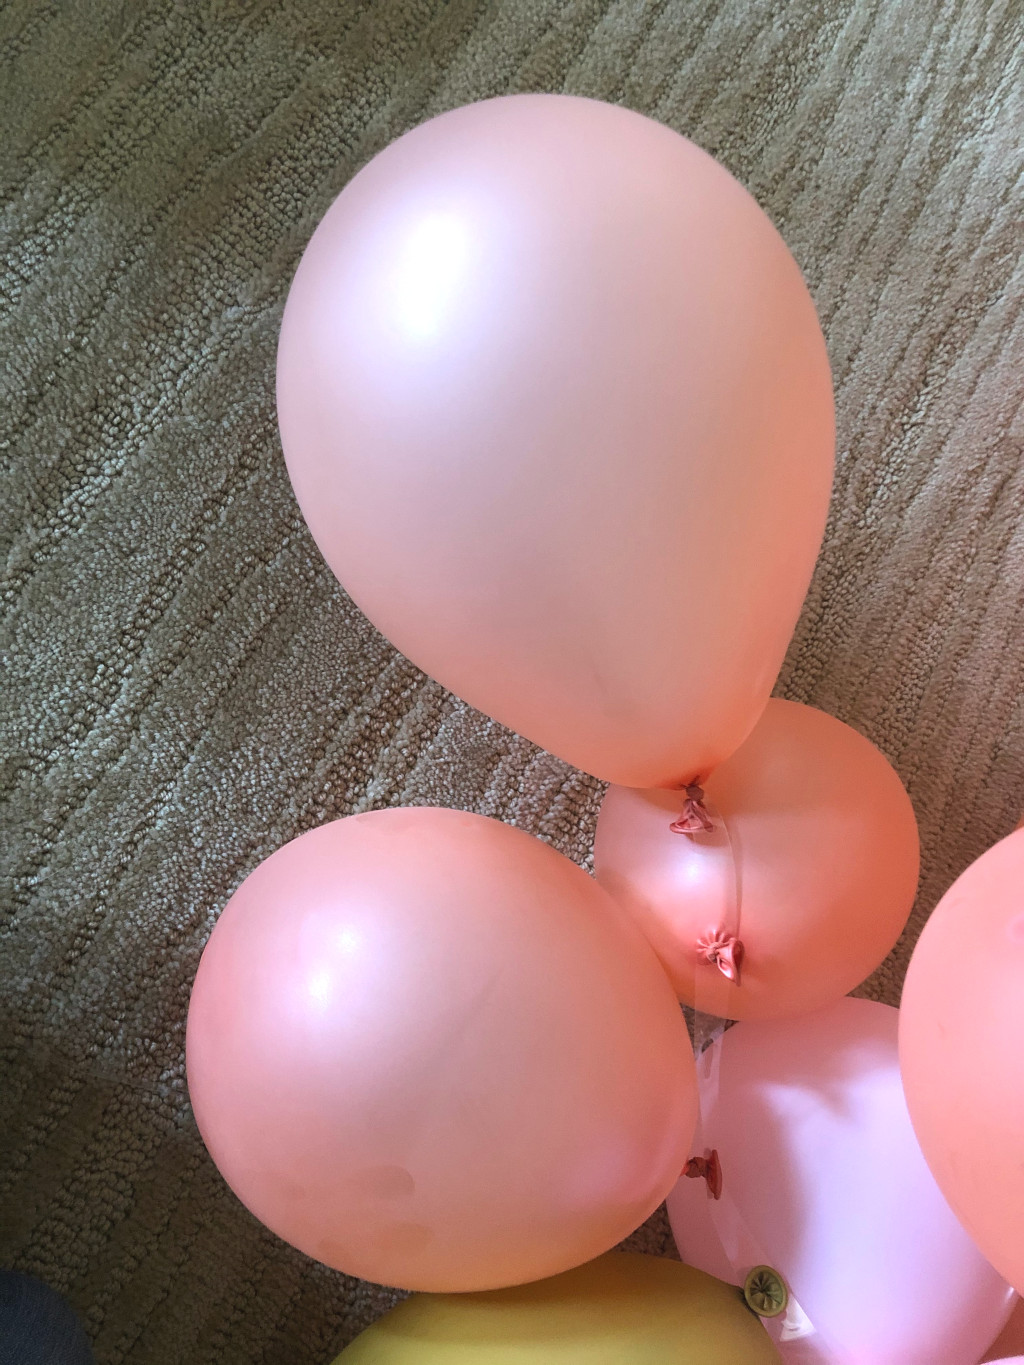
As I said above, there are countless events that you could dress up with a balloon arch or garland. It has to be one of the most dramatic but cost-effective decoration items out there. Look for a kit in the right colors that includes the glue dots, the plastic strip and the balloons. The glue dots are important because after you have blown up all the balloons and inserted them in the strip, the arch won’t look totally full. You’ll use the glue dots to stick the balloons together and firm up the arch.
How to attach the balloon arch to the wall?
My kit did not contain anything to hang the garland on the wall. It’s also pretty big so by itself, the balloon arch won’t fit up against the wall because it’s got a lot of width to it. I used ribbon that was the same color as the balloons to make a longer loop and hang it on the wall. That made it so much easier to hang and to remove. I used command strips for the wall hook. That way if I got it in the wrong spot I could remove it easily and move it over.

Me and our trusty ladded hung the arch. The hanging part took a bit of time to find out the best way to drape the arch and place the hooks. In all, the project took about two hours from the oh my gosh how am I going to do this moment, to standing back and admiring my handiwork.
One trick I learned is not to blow the balloons up too far. You don’t want them filled to bursting but to have a rounder shape which helps them nestle together better and gives them a little more pliability so you can cluster them if you want to.
As it happens on this first balloon arch project, I didn’t attempt to get too fancy. I was not sure how long it was going to take so I didn’t try for a pattern or clustering effect at all. I think it still turned out very well, but next time I may go for more special effects.
Now that I’ll be ballooning all the big holidays at our house, I’ll be buying the balloon glow spray to keep the latex from oxidizing.
When the party is over and the balloons have lost their air, you could potentially reuse the plastic strip, definitely reuse the electric balloon pump and even the command strips.

If you decide to make your own balloon arch, I want pictures! And if you take the balloon arch challenge too, and get into it and have questions, I got you! TEXT ME on 214.609.1648.


 What’s your happy place? Crafting? Cooking? Cocktails? Party planning? Yes please! I love it all, and I’ve tried a lot. Check out my how-to’s! What should we do next?


0 Comments