Not everyone can create a gallery wall like a pro! I’ll never forget the day I went to my sister-in-law’s to see her brand new house. She was still fuming at the “help” my Mother-in-Law had provided earlier to get it set up and decorated. There was probably a 7-inch line of nail holes dotting her wall where my MIL had tried to hang a picture in the perfect spot and just couldn’t get it right.
Oh gosh, I laughed so hard – because it wasn’t MY house, but no lie, hanging pictures can be a challenge at times, especially if you’re going for the gallery wall of photos that’s so on-trend these days.
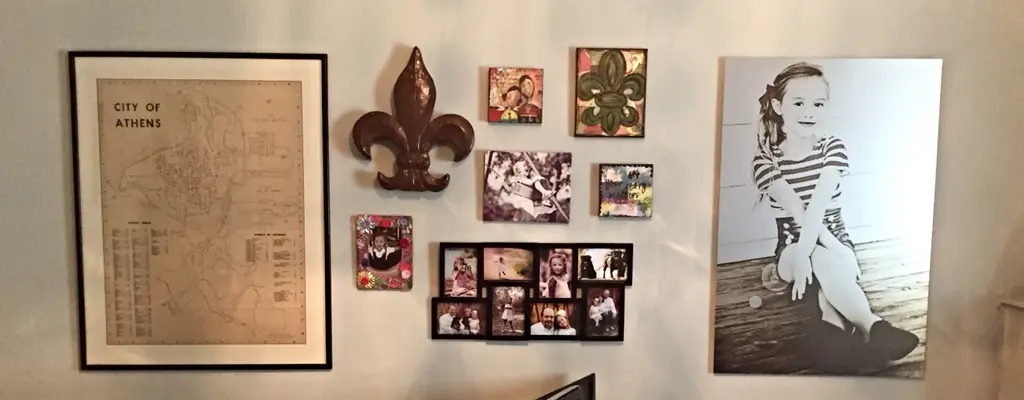
Have no fear of the nail-hole. I’m here to give you my secrets on how to layout a gallery wall perfectly – and you can do it on your own. Wall gallery or solo picture, it makes no difference, this is how I save my sanity and hang pictures perfectly the first time.
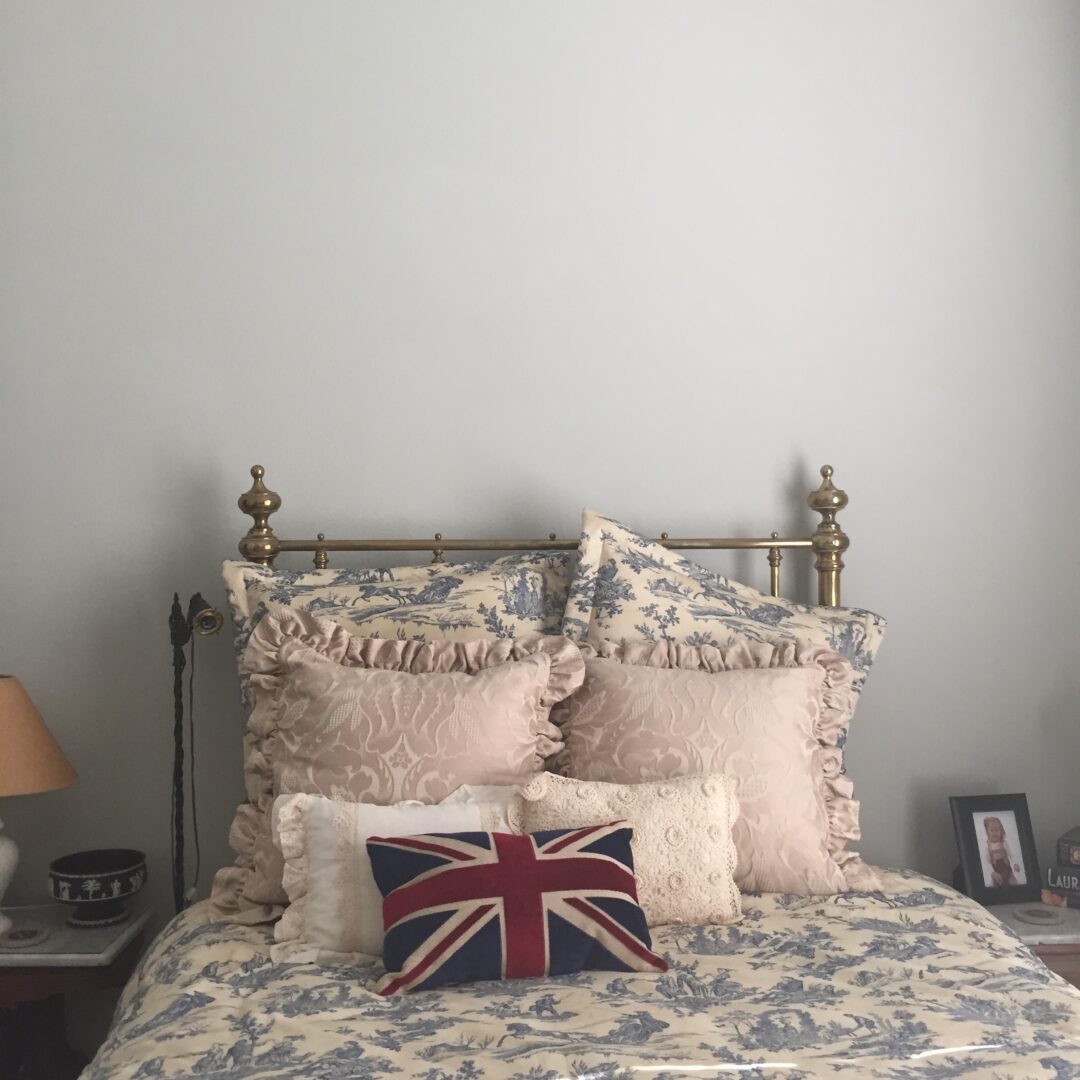
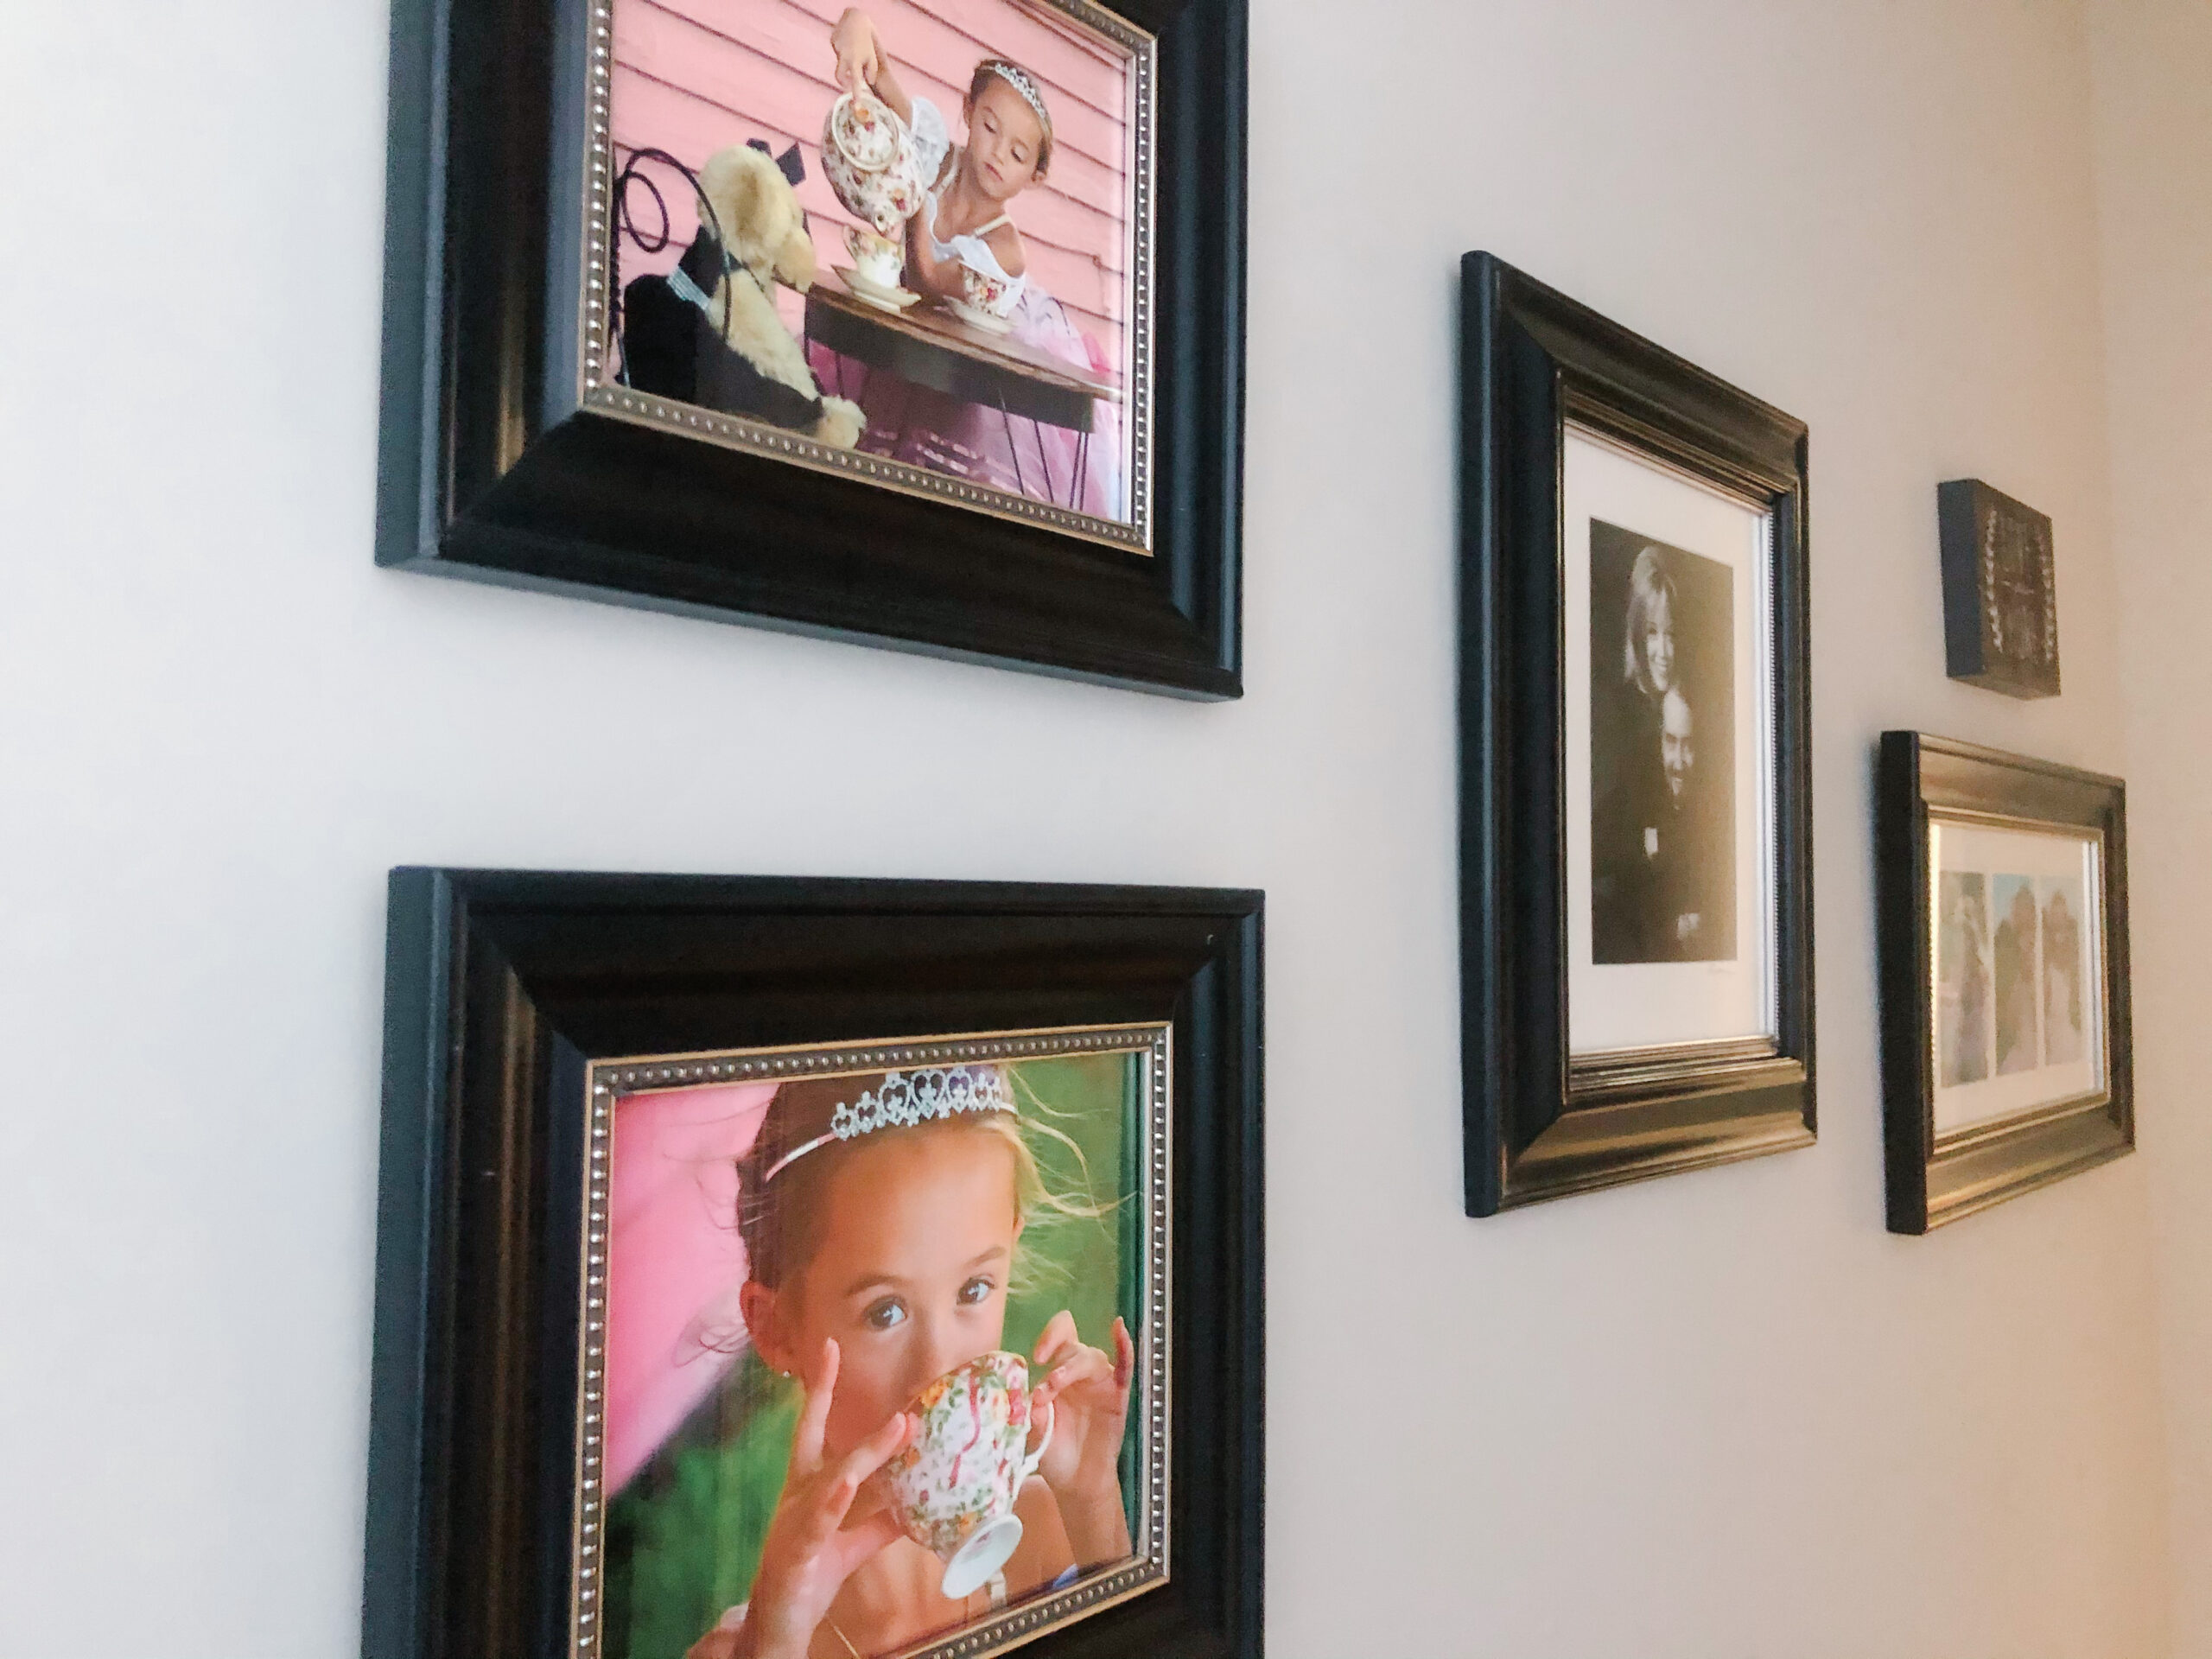
The blank wall. My starting point. For conversation purposes, this is not a full gallery wall, but it is the method I use anytime I’m hanging any photo. And yes, I know that this one is too small for the space where it’s hanging – but I’ll be adding to it when I find exactly what I need. For now, here’s the best angle that I can show you my method.
- Find some paper and make a pattern of the picture you want to hang. You can tape pieces together, whatever you need to do, but make the pattern the same size as your picture. If you’re hanging more than one picture together, then make a pattern for each one you plan on hanging.
- If your picture has wire on the back, flip your picture over and measure how far down the taught wire will be from the top and sides of the picture. Mark that spot on your pattern. If your picture doesn’t have wire on the back, but a recessed area or hooks for the nail instead, it’s even easier. Lay the pattern on top of the picture with all the edges lined up, and with your pencil, lightly draw where the hooks are.
- Using your tape again, tear off a piece and stick it to your pants or shirt. Just enough to get some of the stick off. I don’t like risking my paint job – ever. This makes it just that much less sticky that you can use it like a post-it note.
- Using your prepared tape and pattern, affix your pattern to the wall where you think you might want your picture to go. If you’re hanging several together, then you may want to lay them out on the carpet first to see if you like the shapes together, and then put them all up on the wall.
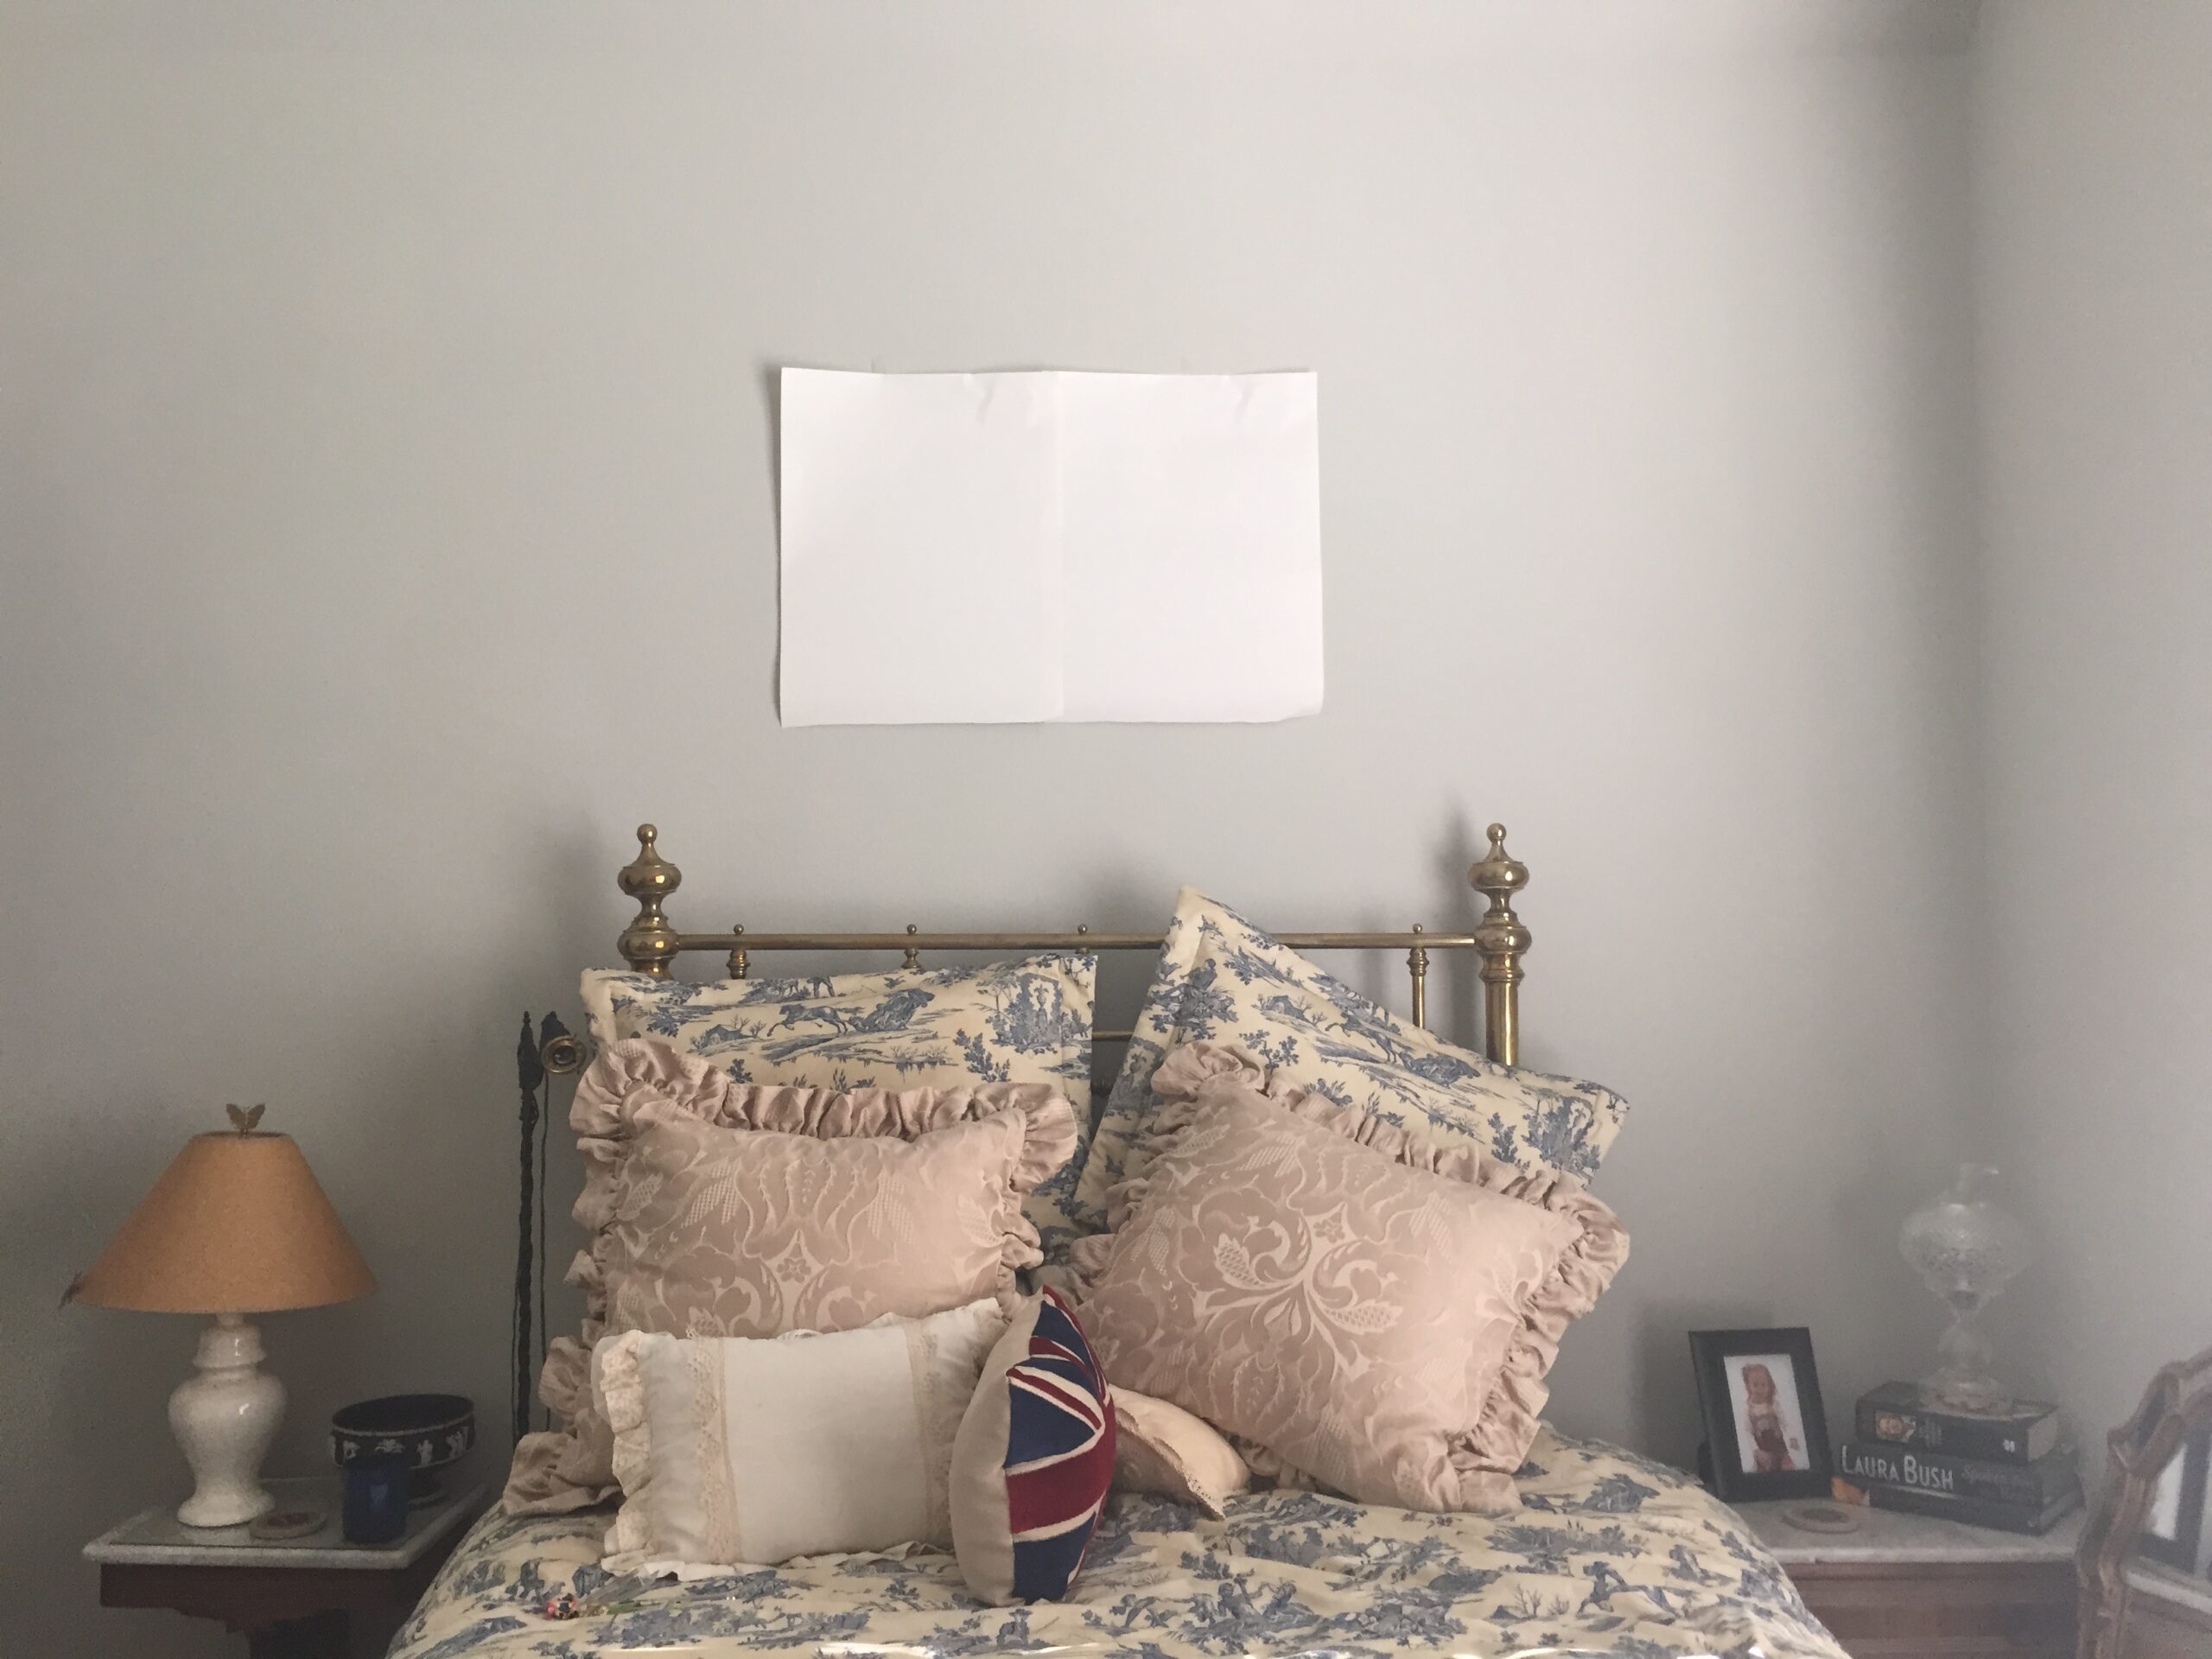
- Stand back. How do they look visually? Are they centered on the wall? Or centered over furniture? I generally will just eyeball my placement. Most people try and hang photos at eyeball height but honestly, I don’t overthink it. If they look good where they are, then I move on to step 6. Or… I text a friend to verify it’s in a good spot.
- If you just can’t get the lines of your frames consistent, it’s time to pull out your iPhone. Yep, it has a built-in measure that will act as a level so you have no excuse to get those picutres perfect.
- It’s time to hammer. Grab your nail(s) and hammer and line them up with the marks you drew in step 2 and pound them right through the paper.
- Tear the paper away.
- Hang your pictures on the nails.
- Pat self on back.
Note: If you are hanging a really heavy mirror or framed painting, you’ll likely need some picture hangers with hooks, and a stud finder to make sure you’re putting the weight into a stud and not just your
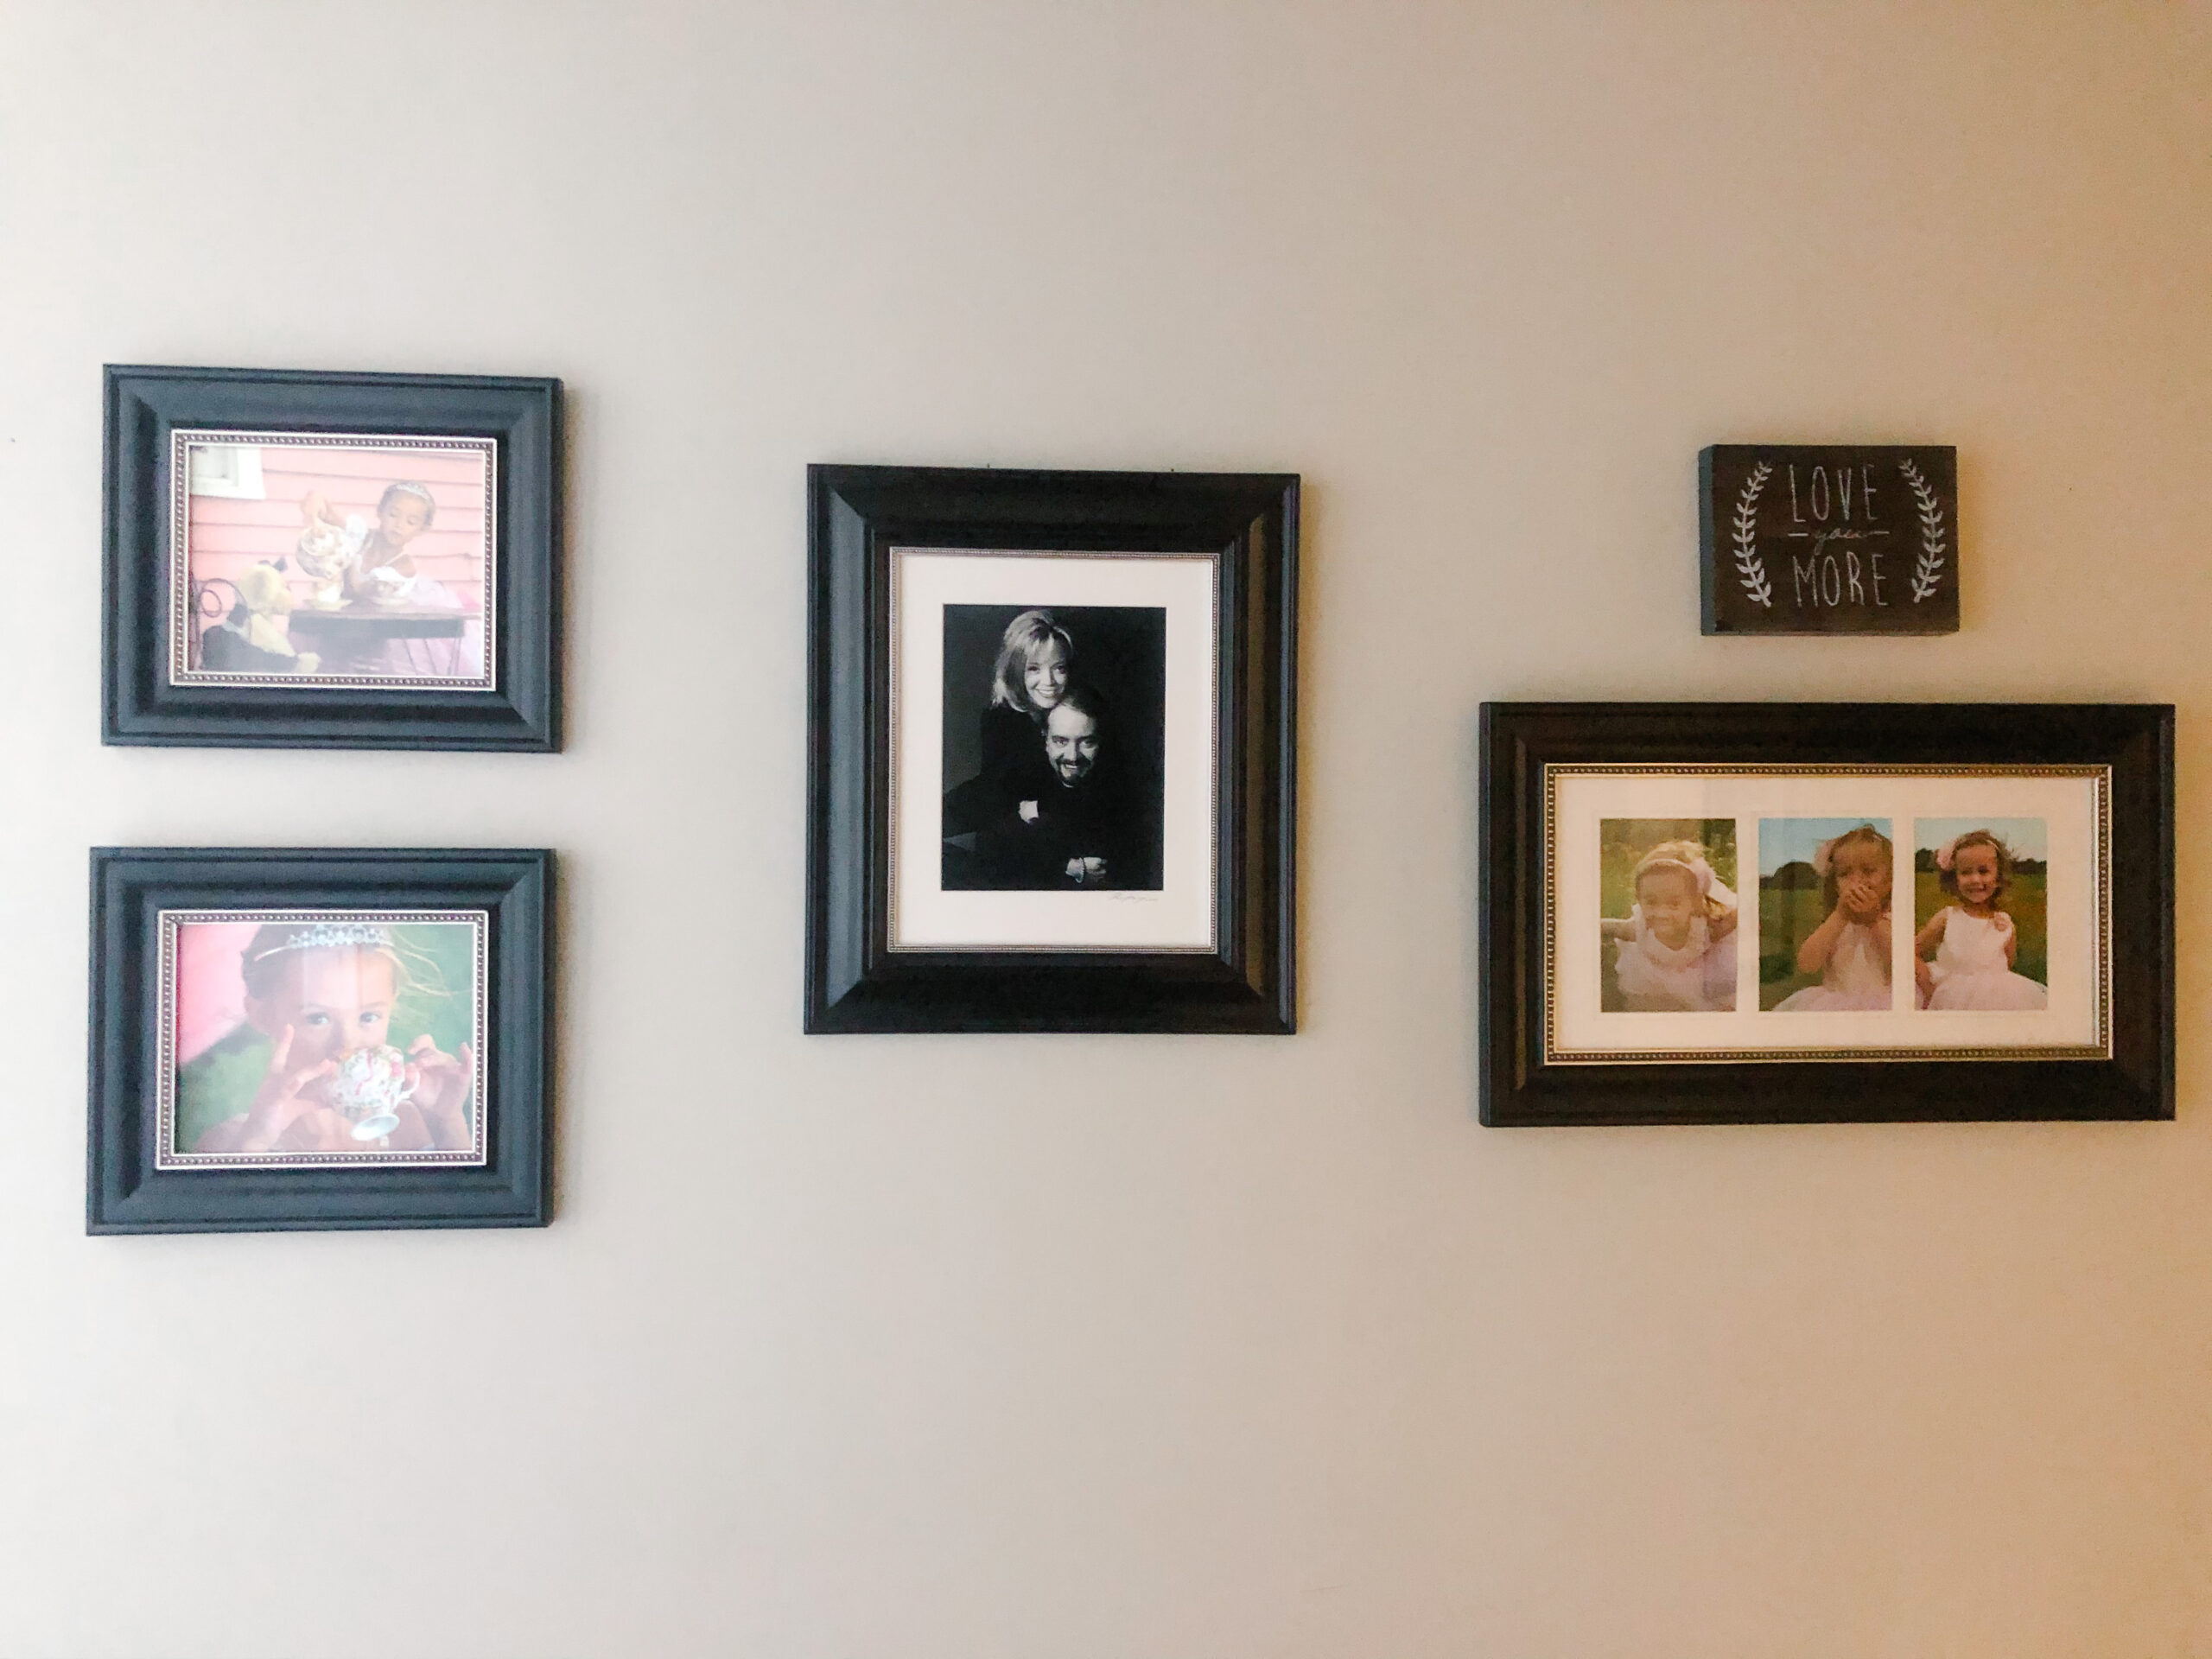

 What’s your happy place? Crafting? Cooking? Cocktails? Party planning? Yes please! I love it all, and I’ve tried a lot. Check out my how-to’s! What should we do next?


0 Comments