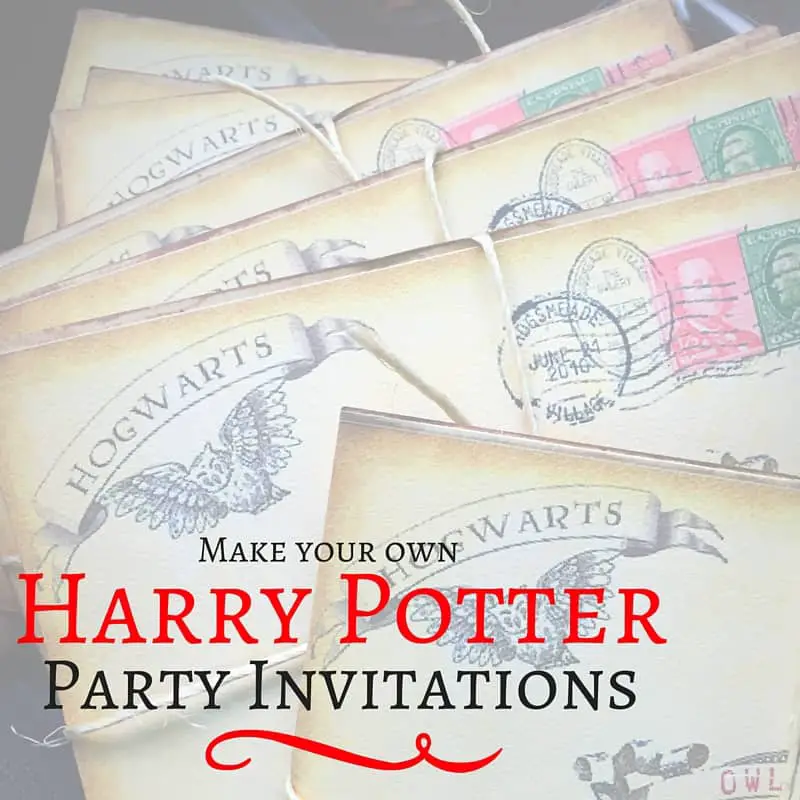
All the Cupcake needed to add the finishing touch to her Harry Potter party were the perfect Harry Potter party invitations. Look at the Owl Post design below and tell me that they are not genius. I’d like to take all the credit for them but I only built upon what I could find on our beloved interwebs. There’s so much available, you’ll easily be able to put your own invitations together, or follow my lead. I have links and examples for our invitations below.
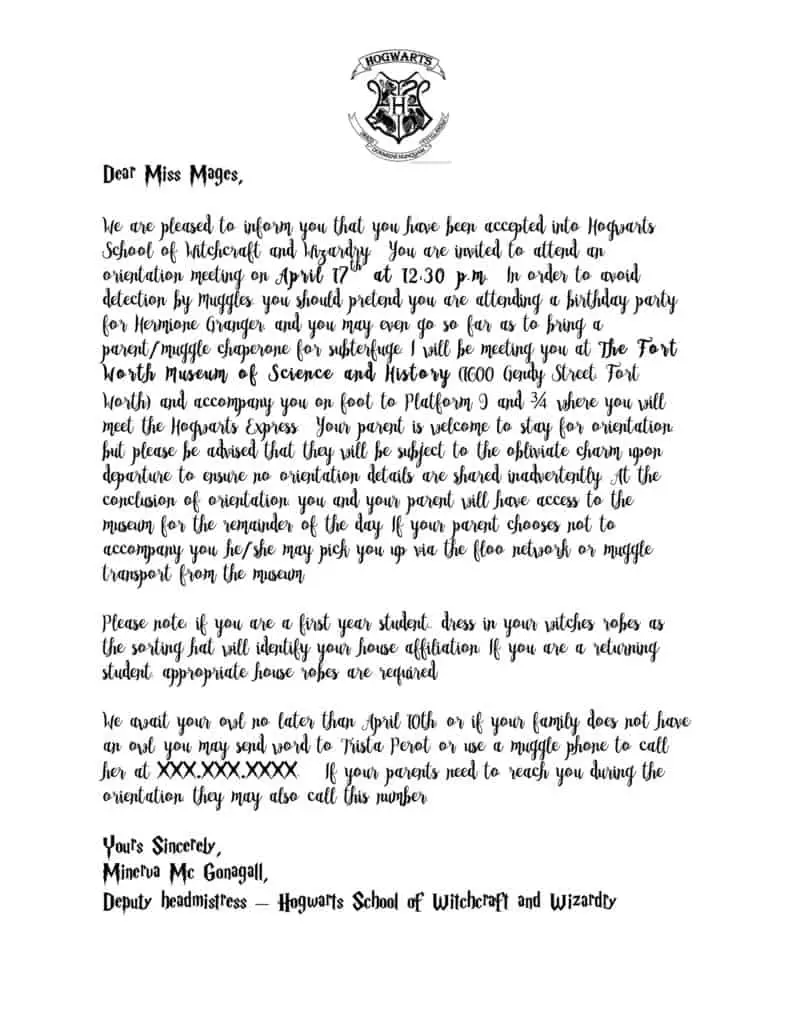
I started by taking parts of a few awesome letters that I found online, modifying them with our party details. Here is our version.
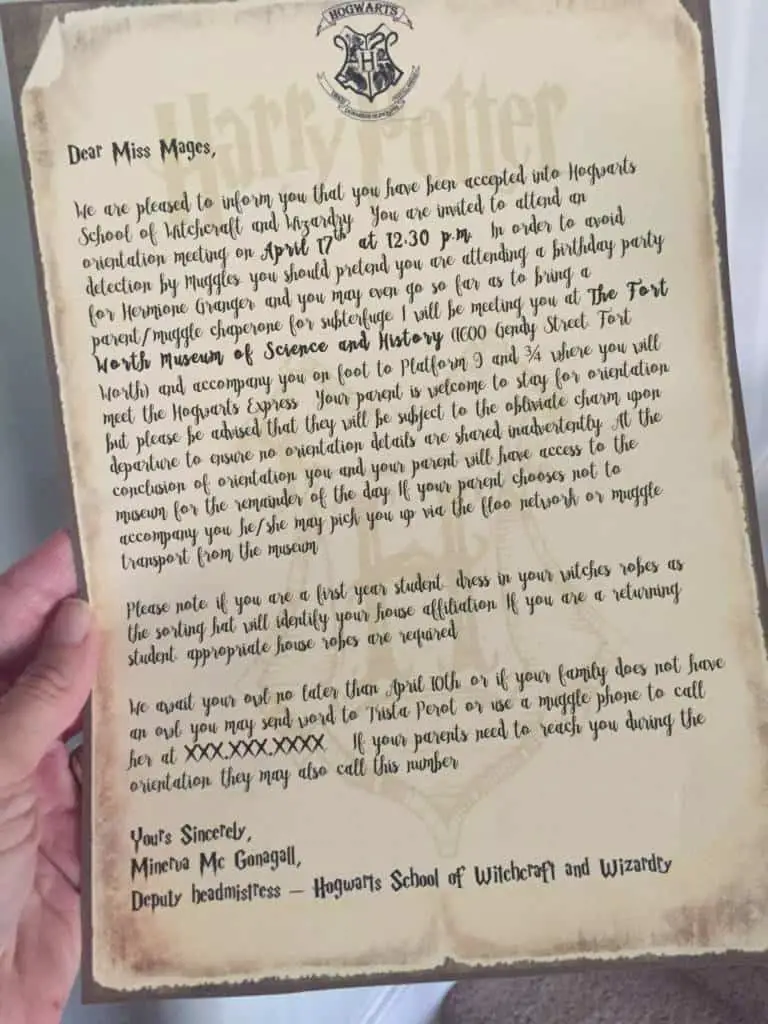
Then I found a fun “aged” looking paper with a Hogwart’s crest on it that you can download right here!. I printed it on parchment colored paper, and then printed my Hogwarts orientation letter on top of it and trimmed the edges. I wish I could give credit to the person who originally posted it because it worked out so perfectly, but I can’t find what website it was from! I used a Mac font that I had, and mixed it with the free Harry P font from DaFont. (Download it here.)
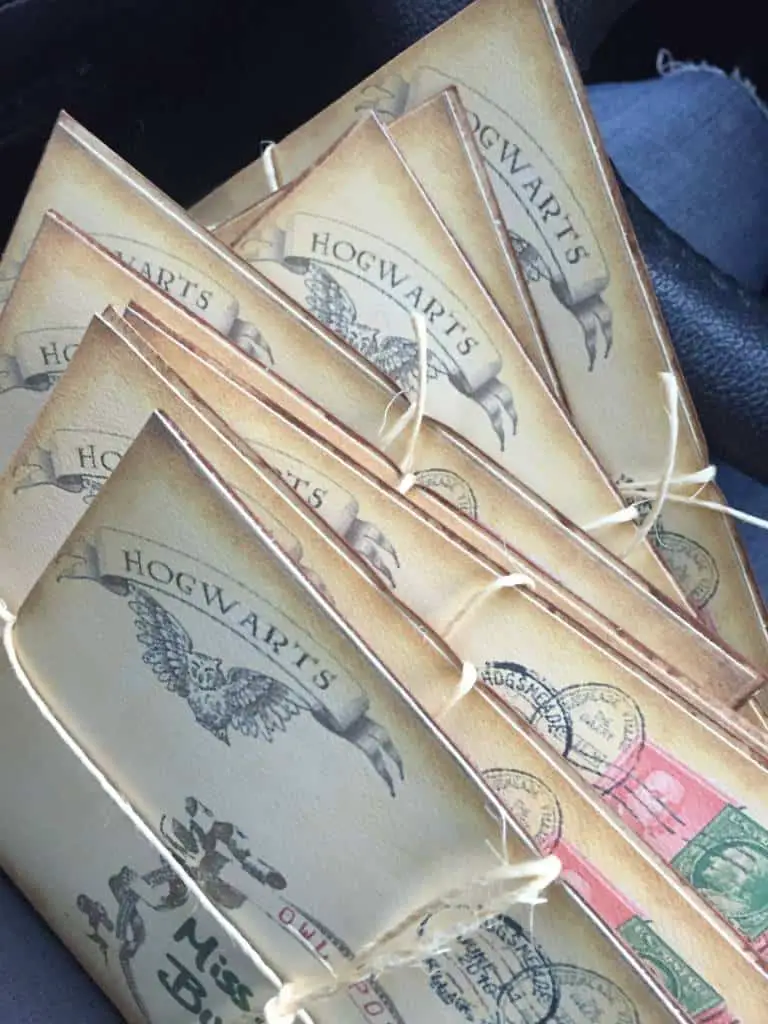
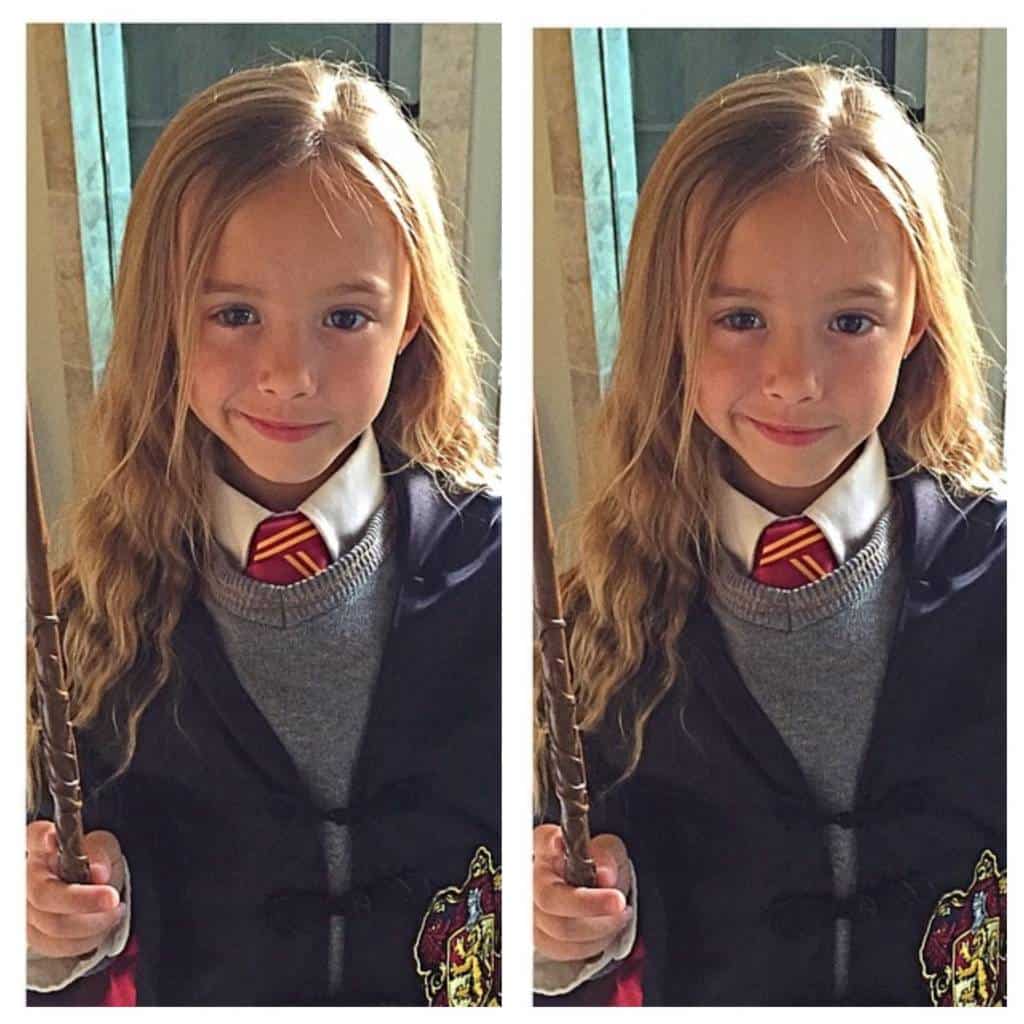
The letter got folded and put into a Mohawk Skytone Vellum Parchment Envelopes Aged – Size A6 (4 3/4 X 6 1/2) 60 Lb Text – 25 Envelopes Per Pack parchment colored envelope with a photo of our own Hermione.
I found the envelopes at the craft store in the Tim Holtz product section or you can order similar here. I used a sepia ink pad and further aged all the edges of the envelope.
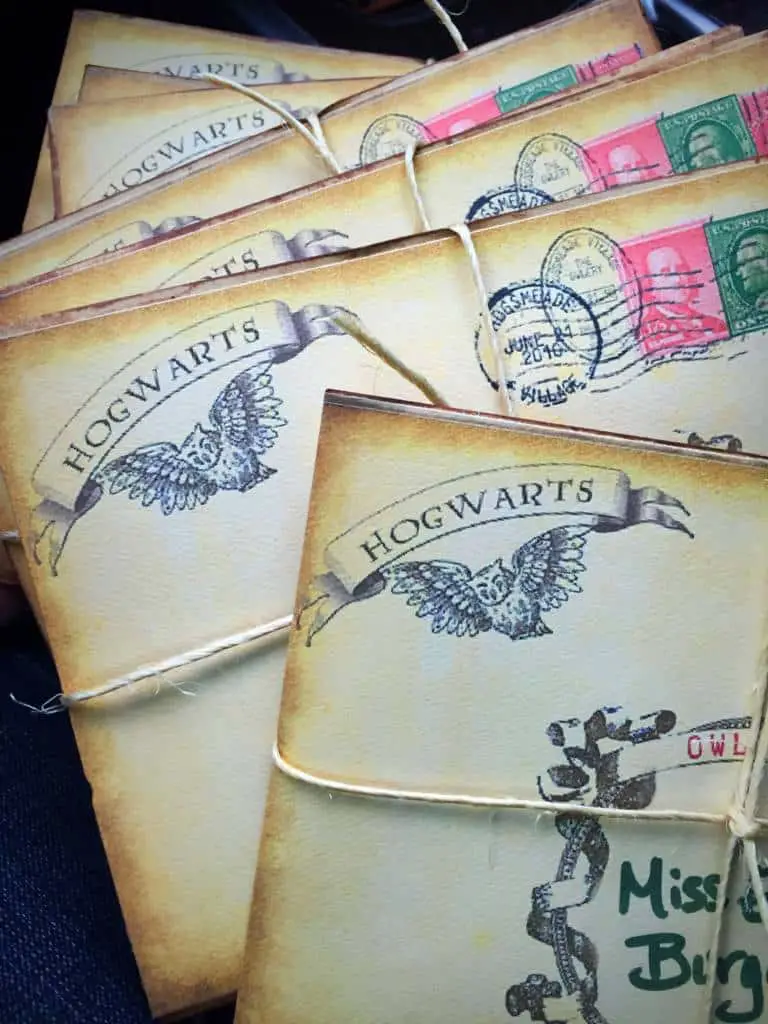
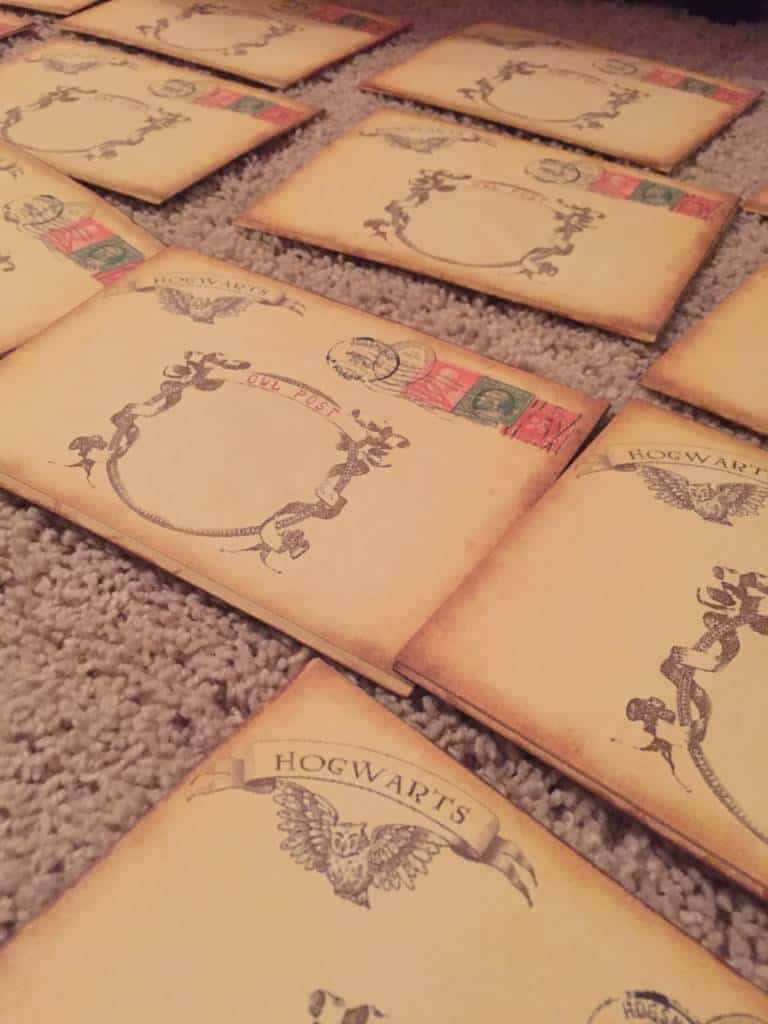
I couldn’t figure out how to print the owl post info onto the envelope, so I just printed it out, cut it to size, and glued it to the front of our parchment envelopes. It looked great.
While I love the look of the wax seal on the back, I didn’t know where to begin to find a stamp and wax and honestly, I wasn’t up for the hunt, so I decided to make my own version.
I took a small ball of Staedtler Fimo Professional Soft Polymer Clay, 2 oz, Red FIMO clay (also from craft store) and smashed it flat. Then I used an “H” stamp (from an Alphabet pack of clear stamps from Michaels) to imprint into it. Baked it in the oven per the package directions and let it cool.
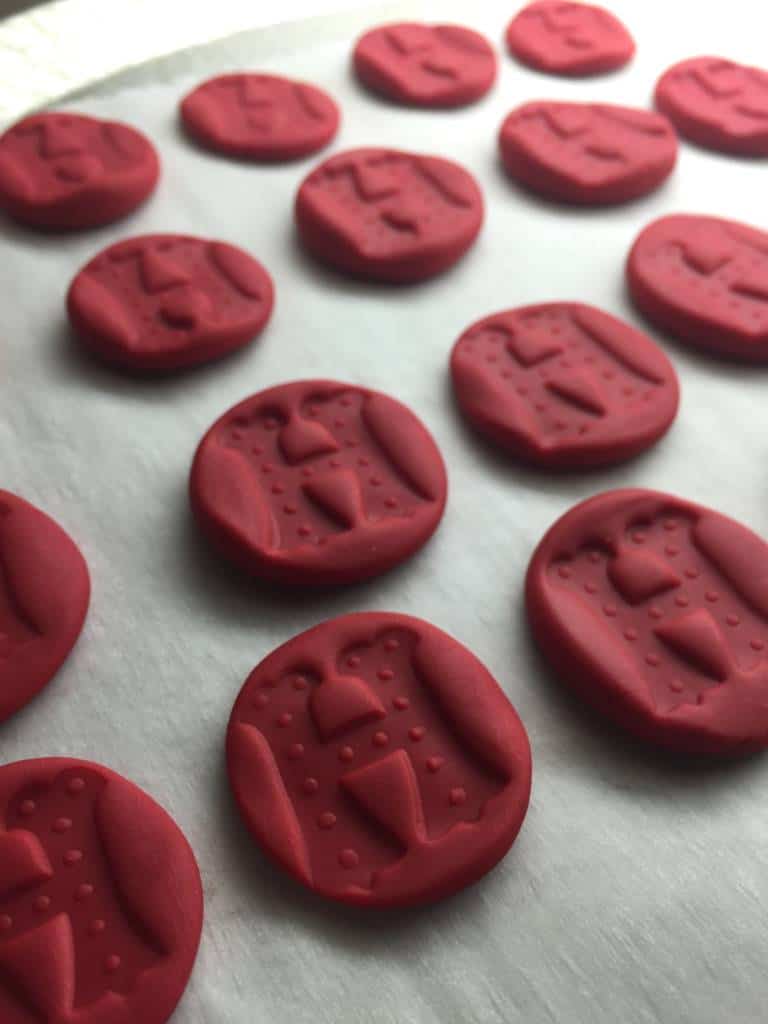
Then we glued it to the back of the envelope over the flap.
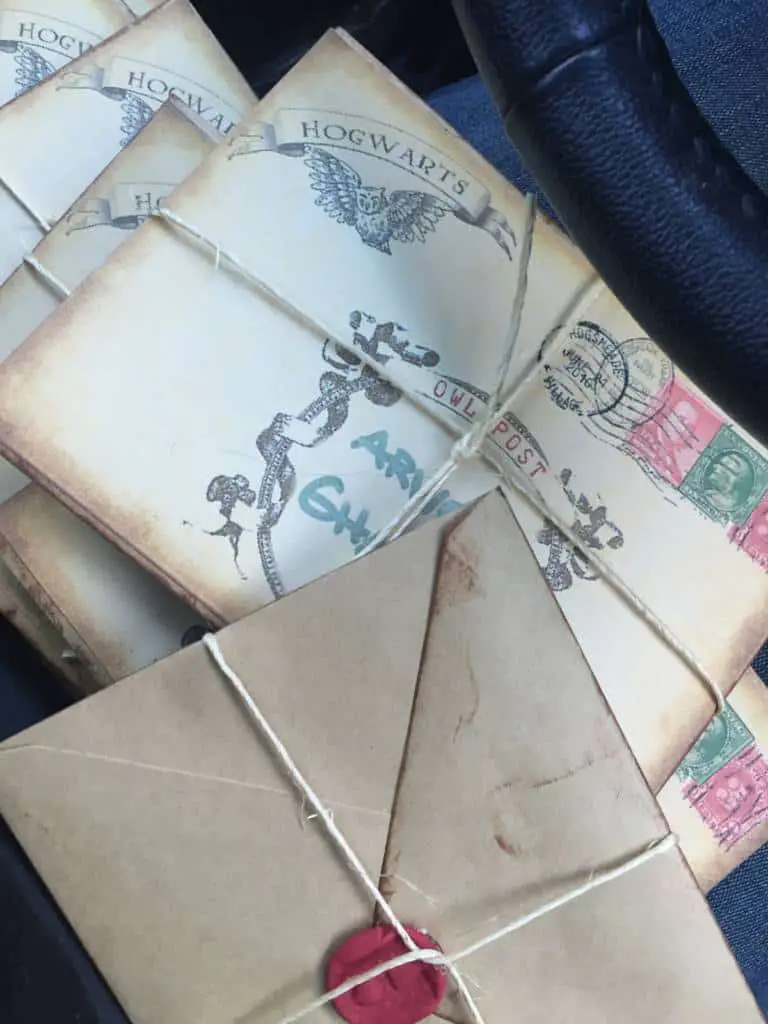
To make it a little easier for the owls to fly with the invitations, we tied rope around the envelope. There may have been a stray feather or two that got stuck to it as well. It’s rough stuff, that owl post job! For additional authenticity, we crumpled the envelopes before we delivered them. (I had both the rope and feathers, but you an get those from any craft store as well.)
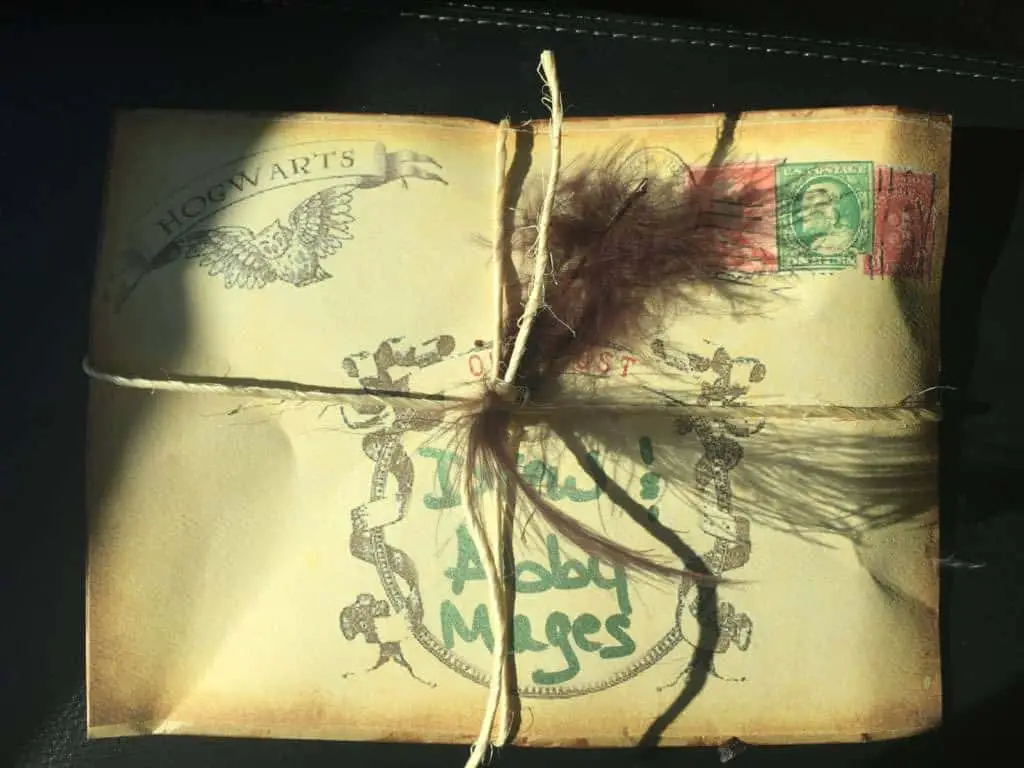
Happy Harry Potter Party!
 What’s your happy place? Crafting? Cooking? Cocktails? Party planning? Yes please! I love it all, and I’ve tried a lot. Check out my how-to’s! What should we do next?


0 Comments