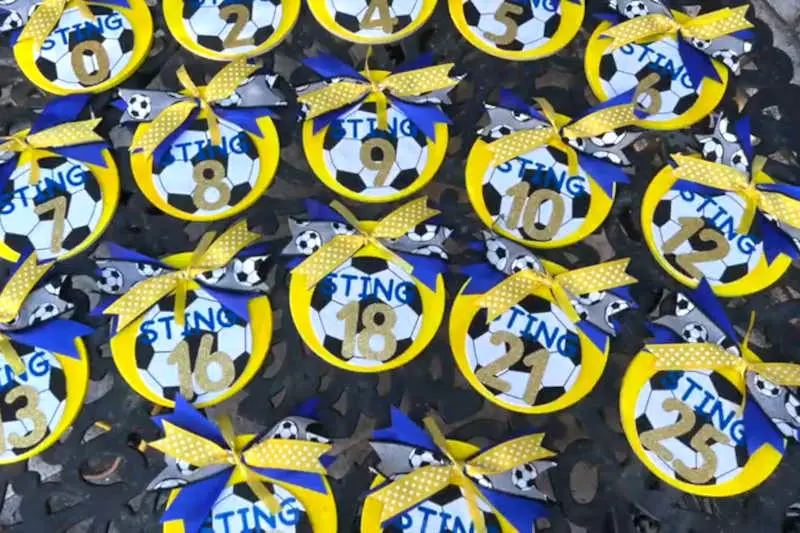
Calling all soccer moms! These soccer locker decorations are easy to make, fun, and practical. As you may already know, my daughter plays football and she travels quite a bit with her team. If you’re any kind of team mom, you’ll know that when the team is traveling, the girls’ often decorate their hotel room doors with their team number and these cute little spirit decorations work just as well as team door hangers.
I made these these for our recent soccer showcase trip to San Diego, but they would be perfect for locker decorations for Spirit Week, or for any other celebration really,
Oh, and stay tuned. I’m going to give you a top tip on making perfect bows – everytime, and my trick for making sure you purchase the right numbers.
Easy Locker (Or Hotel Door) Spirit Week & Homecoming Decorations
DIY Soccer Locker Decorations – What You Will Need
Command Strips – for attaching the decorations to the hotel or locker doors. I used the poster-level ones. These door decorations are super light and easy to use and remove with the Command Strips. They come with 12 in a package, so I used two per pumpkin, but I probably could have only used one.
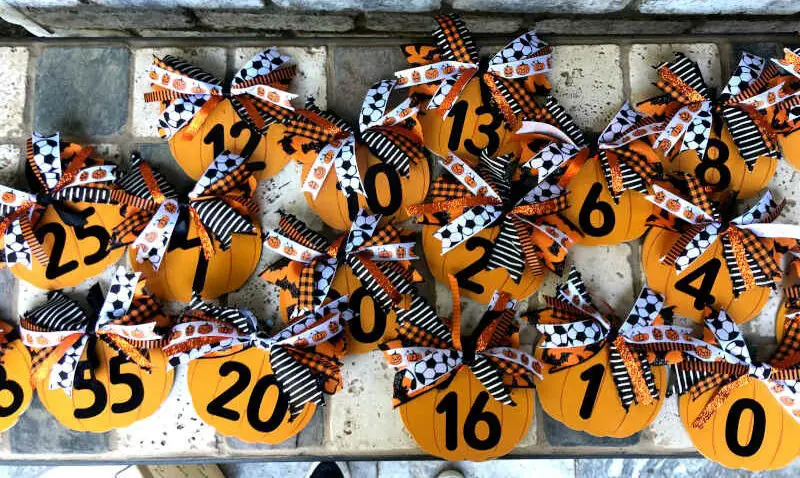
Wooden shapes – These pumpkins were actually a door garland from Dollar Tree! They came with 4 shapes on a ribbon (3 pumpkins and one football that said, “welcome.”) Honestly though, any wooden shape or ornament would do. I just found that the dollar store door hangers were exceptionally affordable and I didn’t have to paint them. Depending on the occasion you are decorating for, you will find a variety of shapes in any craft store or dollar store.
Ribbon – you will want several different widths in complementary colors that match the team colors or holiday. I wove in a soccer-themed ribbon into my fall-inspired pumpkin. The colors worked and it made it perfect for a soccer showcase, even though it didn’t have our team colors on it.
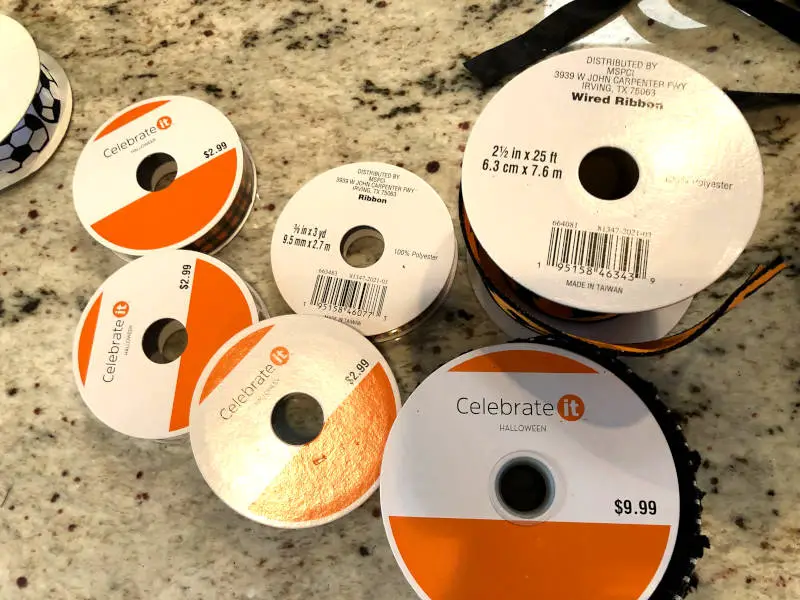
As mentioned, this was a door hanger from The Dollar Tree that I disassembled. Each of the three pumpkins and football were attached to a ribbon with staples. I removed the staples and separated the shapes. (Anyone need 6 footballs that say, “Welcome?” haha)
Next, I chose my ribbons with coordinating colors and different widths. As long as the colors are similar, you can use whatever patterns you like. The different widths of ribbon give it that extra dimension and make for a more interesting bow.
For each ribbon, I cut about six inches, and trimmed the ends with an angled cut or triangle to prevent them from fraying. Then I cut the pipe cleaners into 3 inch-is pieces. None of this has to be exact.
Start with the widest ribbon and lay it down. Then make Xs with the other ribbons on top. I went from the largest to the smallest width ribbon, and as you can see, I didn’t want them on top of each other although that would also work if you wanted to do it that way. It would be cute but for this project, I wanted a really wide full bow. I was using an odd number of ribbons here and normally that would make me a little OCD, but in this case, I think it worked out because the last one was really kind of skinny with lots of glitter so it just added a little pop of sparkle.
I could have doubled up on the glitter, but truth be known, I didn’t do my ribbon math correctly at the store and ran out, and had to go back to the store for a foot of ribbon. (Insert eye-roll). All the ribbon I used here is from Michael’s and was on holiday discount, so another check for affordability!
Anyway, take your little stack of ribbons, pinch it together at the middle, and then wrap your pipe cleaner around it to hold it tougether in that center spot. Then adjust the ribbons by twisting them if they aren’t facing the right way after the pinch. If it doesn’t work, just take the pipe cleaner off and do it again, it’s no big deal so don’t stress this part, That’s really all you do: You just pinch it in the middle and wrap the pipe cleaner around it and secure it by twisting it on the backside.
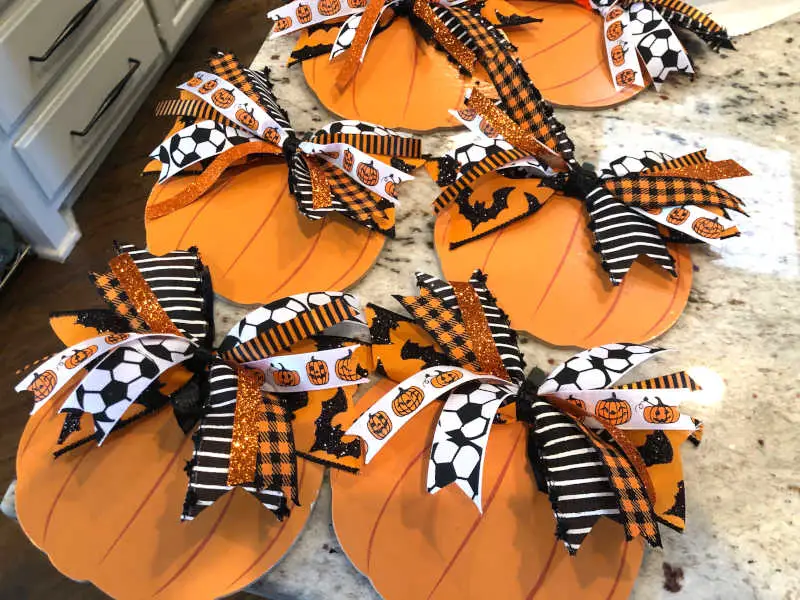
That is it. You are going to be gluing down your ribbon bundle so make sure the pipe cleaner on the back is sitting flat. Next, you’re going to cover the pipe cleaner. In my case, I reused that black ribbon that these little pumpkins were attached to. It did have some staple marks on it in a few places but I was able to use bits around that. Most of the ribbon was completely usable and the color was perfect. I just repurposed that ribbon to cover up the pipe cleaner with it. Your next step is to glue it on top of your wooden shape. Simple!
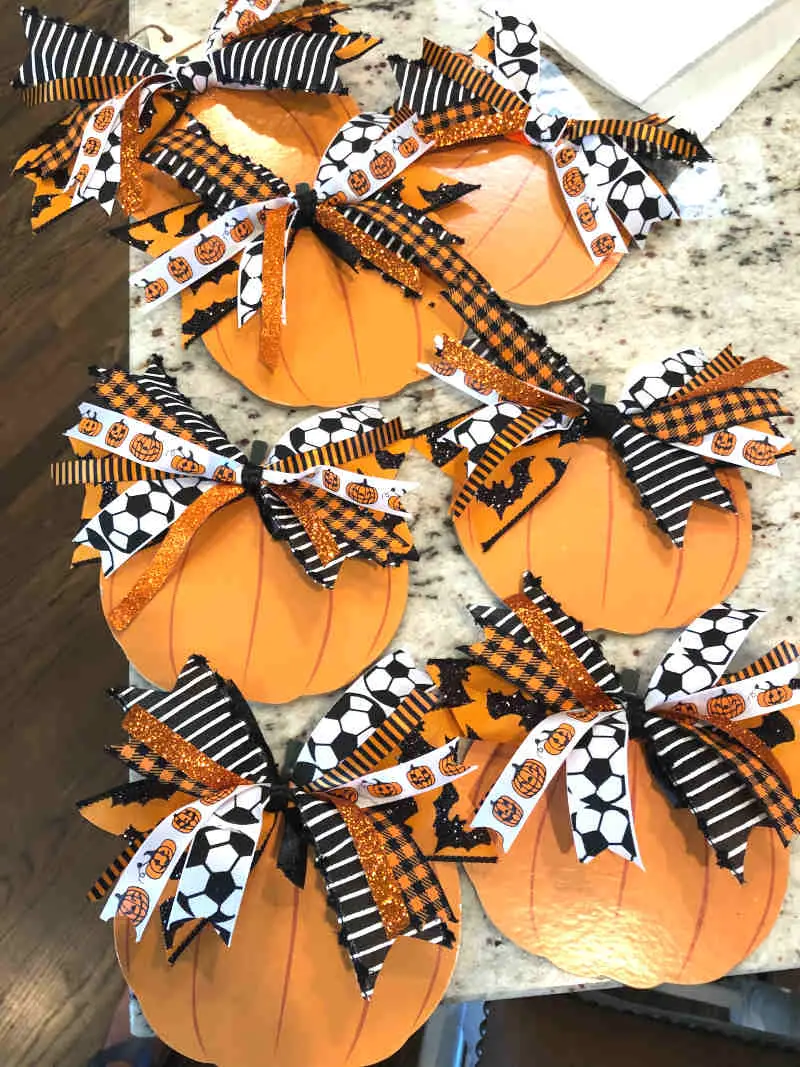
To attach the ribbon to the pumpkin (or whatever other wooden shape you are using), take your little ribbon bundle and put some hot glue on the back of it and then smash it onto the shape. You do want to use enough glue so that the ribbon will stay firmly on there. Just hold it in place for a second. The only trick here is to make sure you don’t glue the ribbon on too low that it would interfere with the personalization.
Also before committing to the placement of the ribbon, just check the orientation of any images on your ribbon. You don’t want to have those upside down. In my case, the pumpkins.
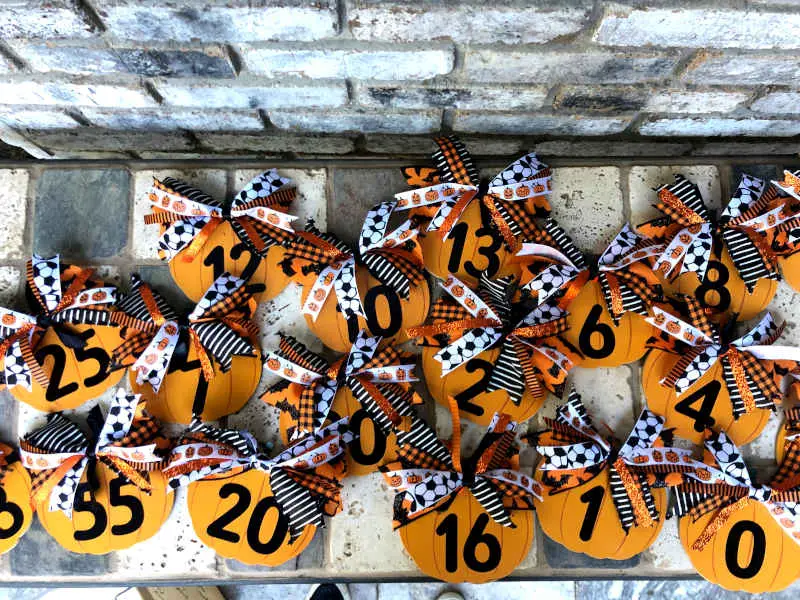
Now with that done, the door decorations just need the team numbers. You might want to have names or messages instead, depending on what you were making these for. You can put the school on them, their names, you can put Happy Halloween on them. Really, lots of options to choose from!
Because are for the hotel doors for a soccer team, I went with numbers. The fastest way for me to do this is with stickers and Michaels had the perfect size and color, in packages of ALL numbers! There were 6 of each number which is very handy when you are working on a craft project for a team because you will definitely need multiple numbers.
See my video at minute 9 to see my trick for getting the right number of numbers, but here it is. When I am working on a project for the sports team, I have a little trick when I’m shopping for my numbers to make sure I have the right quantity of each number in the package. I just list them all out and hash mark how many of each I need so that when I look at the package in the store, I can see that I am buying the right amount. I know it’s a simple thing, but I can’t tell you how many times I go to the store and just underbuy or overbuy or whatever so this helps me keep straight with the numbers.
The hardest part about this soccer locker decorations project was getting the numbers out of the packaging, LOL!
Just line up the number with the middle of the pumpkin and stick them down. It’s such a simple project and SO cute!
As with all my craft posts and projects, if you get a little bit stumped, send me a text message on (214) 609-1648 or TEXTTRISTA.COM and I’ll be happy to help you get back on track. The message does come directly to me so good luck and Go Team!
Halloween Posts
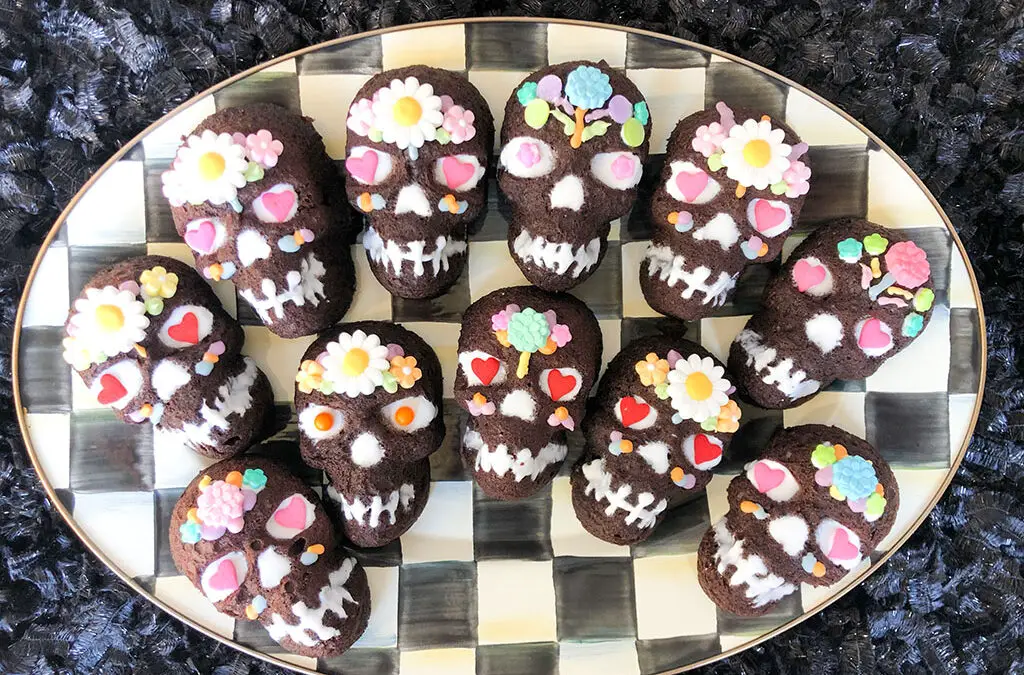
Day of the Dead Cakes
Day of the Dead cakes are easy to make and look great. In fact, I think they may become an annual tradition in my house. Here’s how I made them.
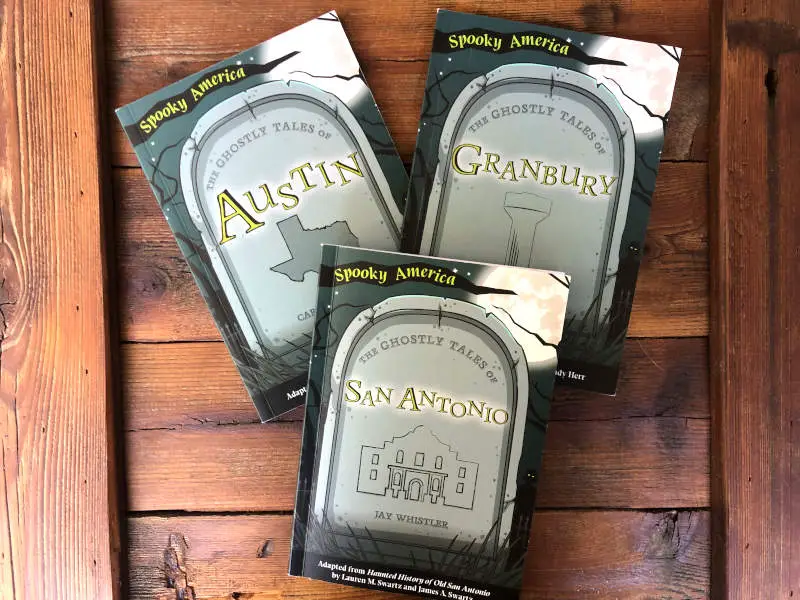
Scary Books for Kids of all Ages
Whether I’m “Booing” the neighbors or putting together a Halloween giftie for my own little ghoul (she’s a teenager, I can say that), I always have my eye out for the perfect items to give. And because I’m always trying to trick her into reading, I think these ghost...
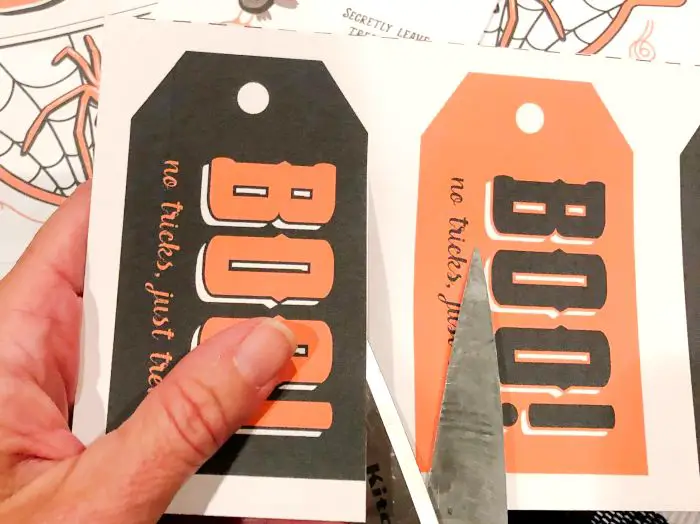
Halloween Printables
Feeling neighborly? Halloween is round the corner and it's the perfect time to surprise your friends with a little "Boo." If you aren't familiar with the tradition, it's a fun one! Simply put a few treats together and leave them at a neighbor's house to make their...


 What’s your happy place? Crafting? Cooking? Cocktails? Party planning? Yes please! I love it all, and I’ve tried a lot. Check out my how-to’s! What should we do next?


0 Comments