Fabric succulents are the answer to my not-so-green thumb! This is a *no-sew*, inexpensive craft you can definitely DIY in an afternoon. I LOVE how my faux cactus turned out although I can’t claim the credit for this clever project. I discovered it in an edition of a UK magazine called Mindful Crafting, as an article by Sarah Beeman. You can purchase the issue via Amazon or direct from the publisher
These faux cacti are super cute and fun to make. I have a full video tutorial below or if you prefer to read the steps, you can follow along with the steps in the post, also below.
There are not a lot of supplies with this project (which I LOVE) so first off, gather the things you will need from the list of materials.
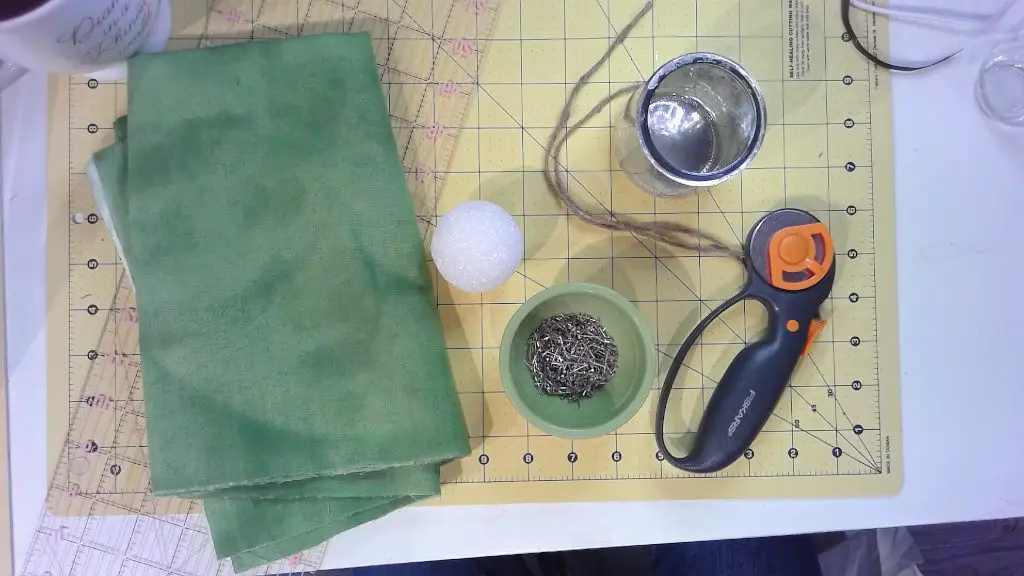
Depending on the size of cactus you’re making, you’ll need about a third of a yard of green fabric. I also think multi-colors, like bright pink or ombre fabric would be fun, depending on what color you want your cacti to be. This could be a good craft to use up odd remnants you have been hanging onto for a crumb quilt because who says succulents have to be green, right?
You’ll also need one styrofoam ball. The ones I used in the video are two inches across but you can use whatever size ball you like. Remember, the bigger the ball, the more fabric you’ll need. I had already painted a jar to look like mercury glass and I used it for my base. A little scrap of jute or ribbon around the top of the jar will be a nice finishing touch.
You definitely need sequin pins. I found these at Michaels and I used two packages.
I already had the tools I needed: a rotary fabric cutter, a self-healing mat, and a big quilting ruler. You definitely don’t need these exact tools but you’ll be cutting your fabric into even strips and the rotary cutter makes fast work of that. Scissors and a regular ruler will work just as well.
Supplies List (may contain affiliate links):
Tools Used (may contain affiliate links):
Cutting and Ironing Strips
Note: I’d usually use a bigger cutting mat than the one in the video but as I was filming using my document camera, the smaller mat fit the space better.
Before cutting your fabric, you’ll need to determine the size of your strips. That width depends on the size of the styrofoam ball you are using. If you are using a two-inch ball, then you will need strips that are two inches wide. If you are using a five-inch ball, then you need to cut strips that are five inches wide, and so on.
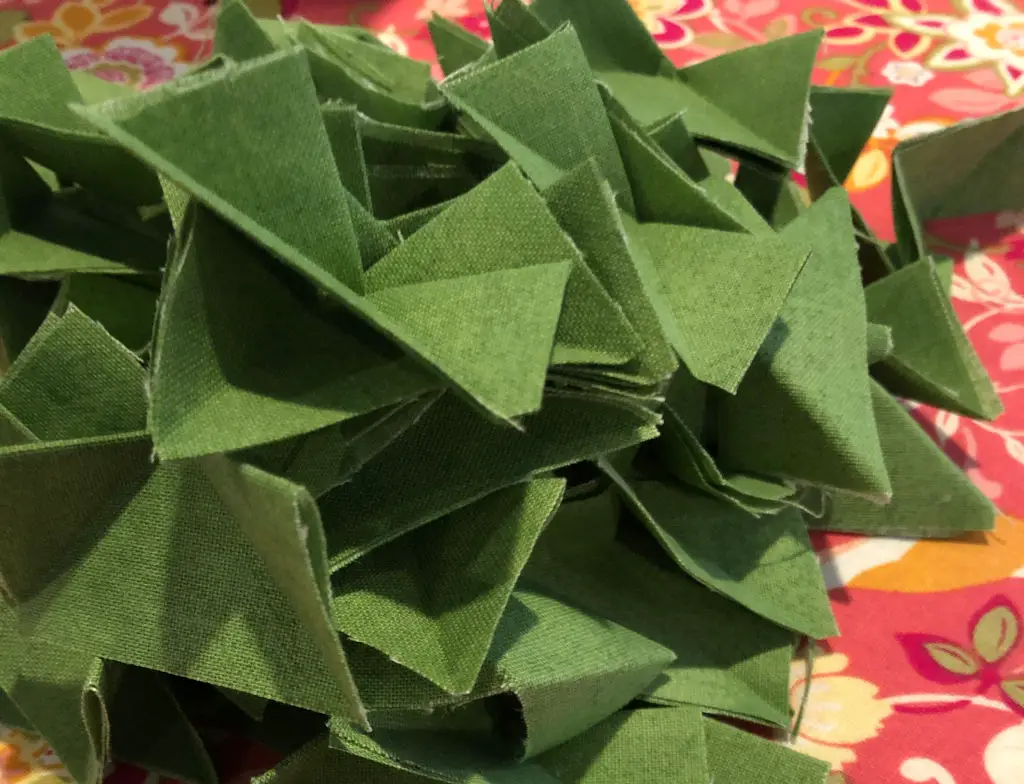
After cutting your strips, you are then going to cut the strips into squares – two-inch squares for two-inch balls, five-inch squares for five-inch balls, etc.
So prepare 33 of the little squares and then you are going to iron only 32 of them into a triangle shape. First fold the fabric square in half, with the nice side of the fabric out. Then fold the corners down into the middle of the long side of the half, and iron into a triangle shape. Repeat the process another 31 times.
The one square that’s left will be the center of the cactus.
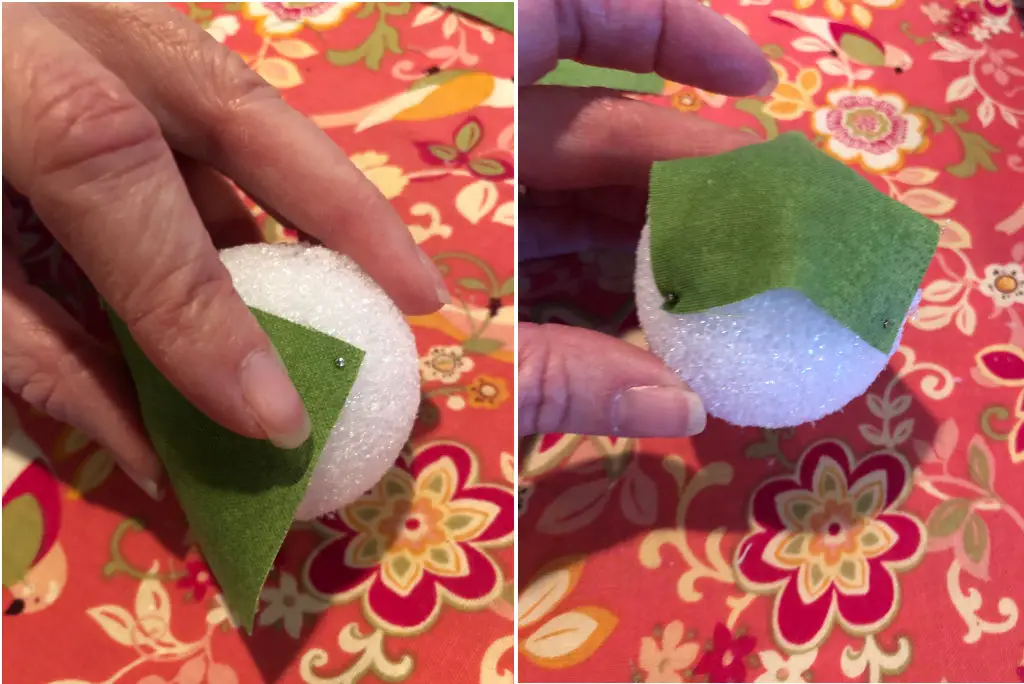
Pin each corner of the unironed square onto the styrofoam ball using the little sequin pins. Stretch the fabric so it lays as smooth as possible on top of the ball and covers it well.
Keep a thimble handy because as you go on, you may need it.
Layer the ‘Leaves’
Now the fun starts. You can start to layer the leaves from the top on down. Align one of your triangles so that the straight side lines up with the straight side of the square that is pinned onto the ball. Do the same thing for all four sides. Now, do the same thing, but one the corners of the original and first square that you pinned to the ball. I made several of these and found that it’s best to do opposite sides at a time, checking to make sure the triangles look even as I go.
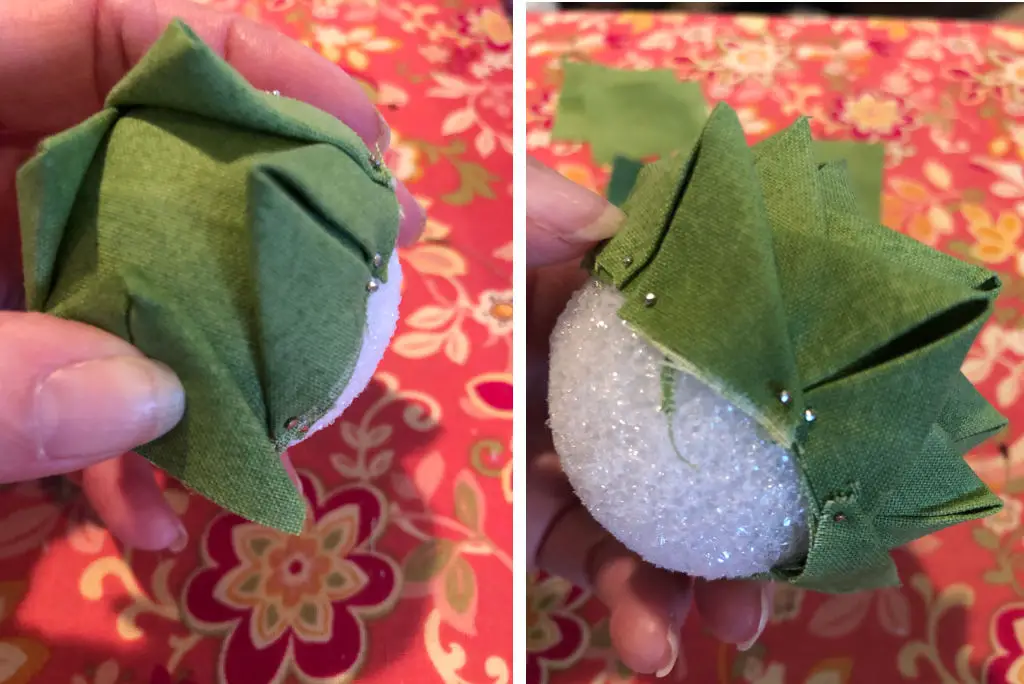
As you work around you might find a spot where the pin doesn’t want to go in. That’s okay, just move it over a bit to where it’s easier to push in. This is where you thimble may come in handy.
Now that you’ve got 8 leaves in your first row around the ball, your next set of four triangles should be placed so that their points show in the middle of those you just pinned. You’ll do the same process that you used for the first row of leaves. Repeat the process with 8 to a row, layering your rows downwards till you’ve used up all your triangles (4 rows) and making sure you don’t have any bald spots where the styrofoam shines through.
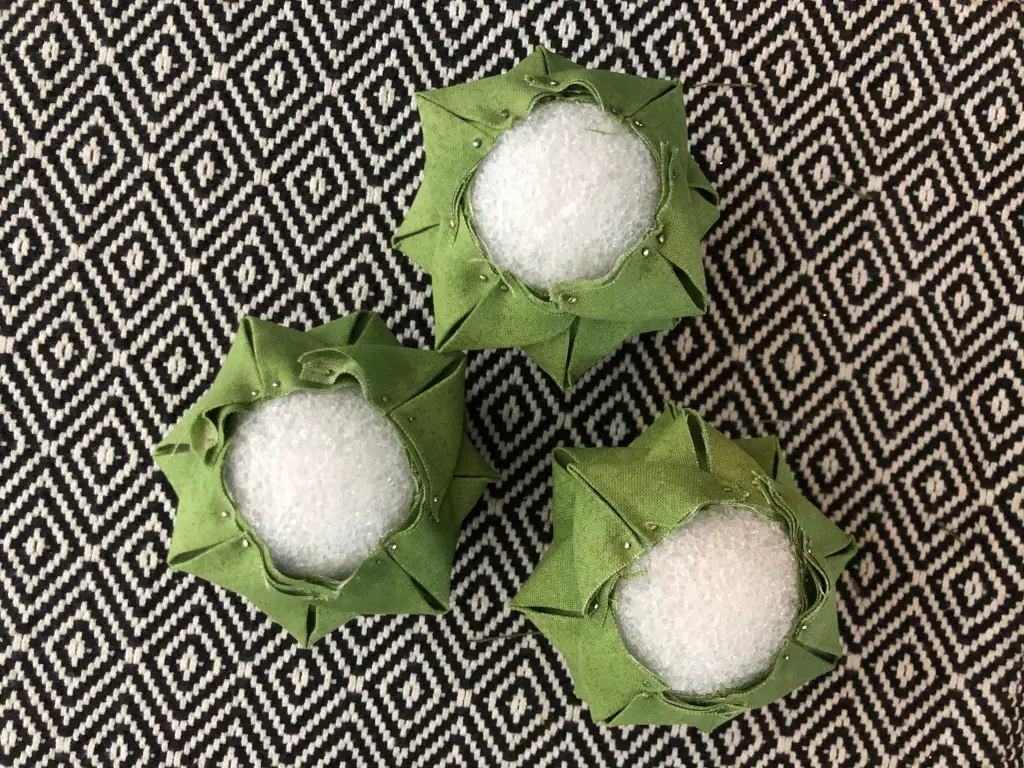
When you’ve gone all the way to the bottom of the ball, you’ll be left with a bald spot at the base. You can choose to cover it with another small square or leave it as is as you’ll be setting this into a container of some sort. Pop these into a pretty pot or jar — I glued mine down with E600. If your container feels a little top heavy with the succulent on it, simply fill it with beans or rocks to give it more weight before you use the glue to permanently affix the succulent to the jar.
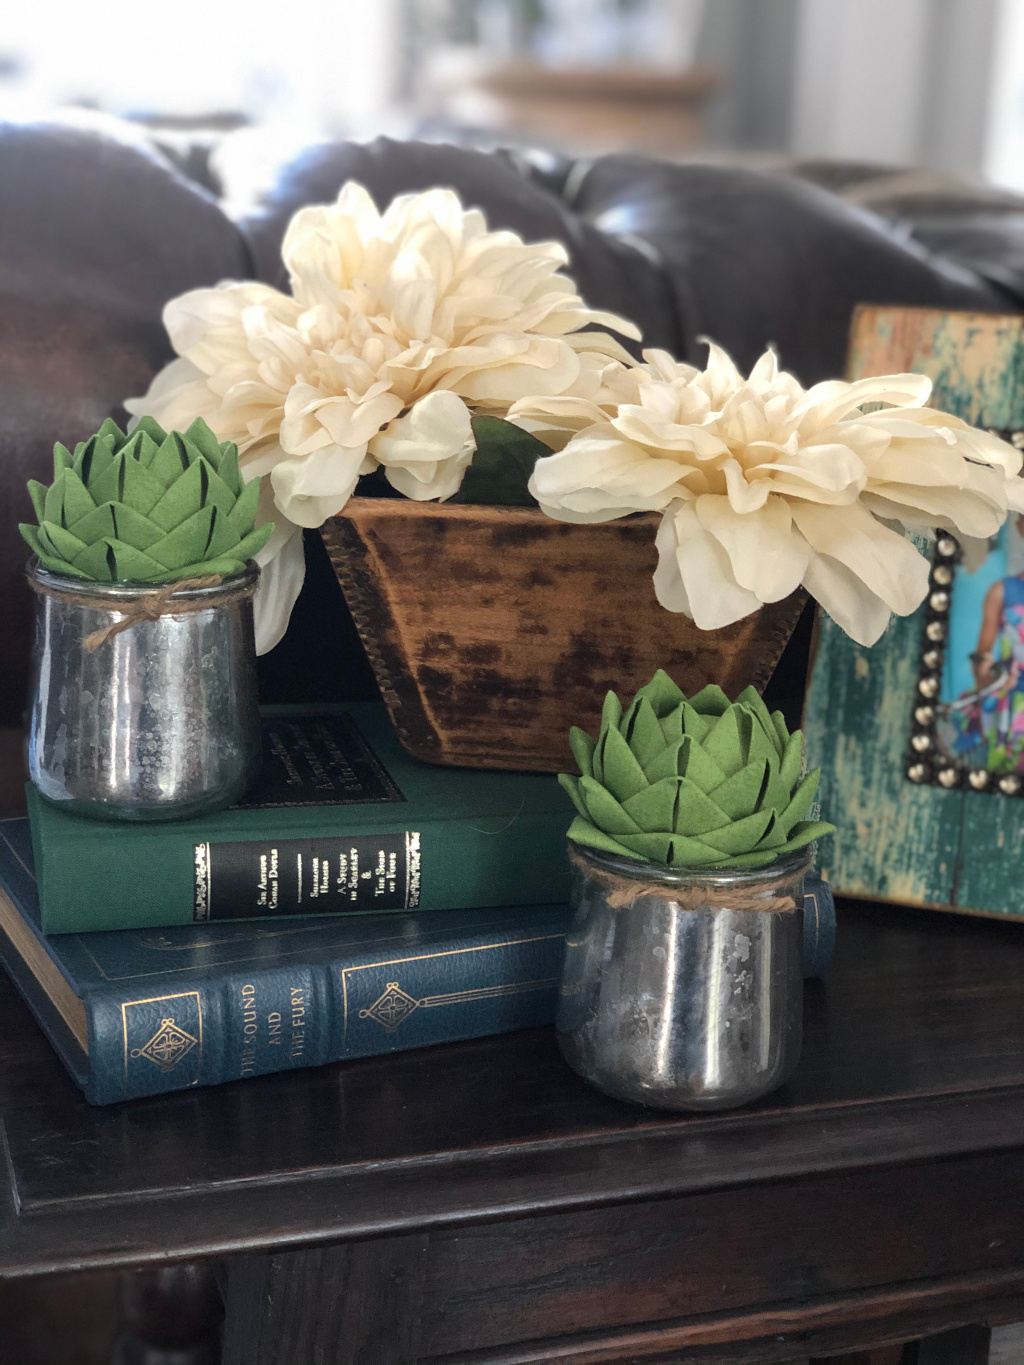
Aren’t they cute? I absolutely LOVE these. I think they’d look so fun with multiple fabrics and sizes all grouped together.

 What’s your happy place? Crafting? Cooking? Cocktails? Party planning? Yes please! I love it all, and I’ve tried a lot. Check out my how-to’s! What should we do next?


0 Comments