Previously, I was really going for a balance between effort and a design that anyone could replicate using mostly pre-made materials.
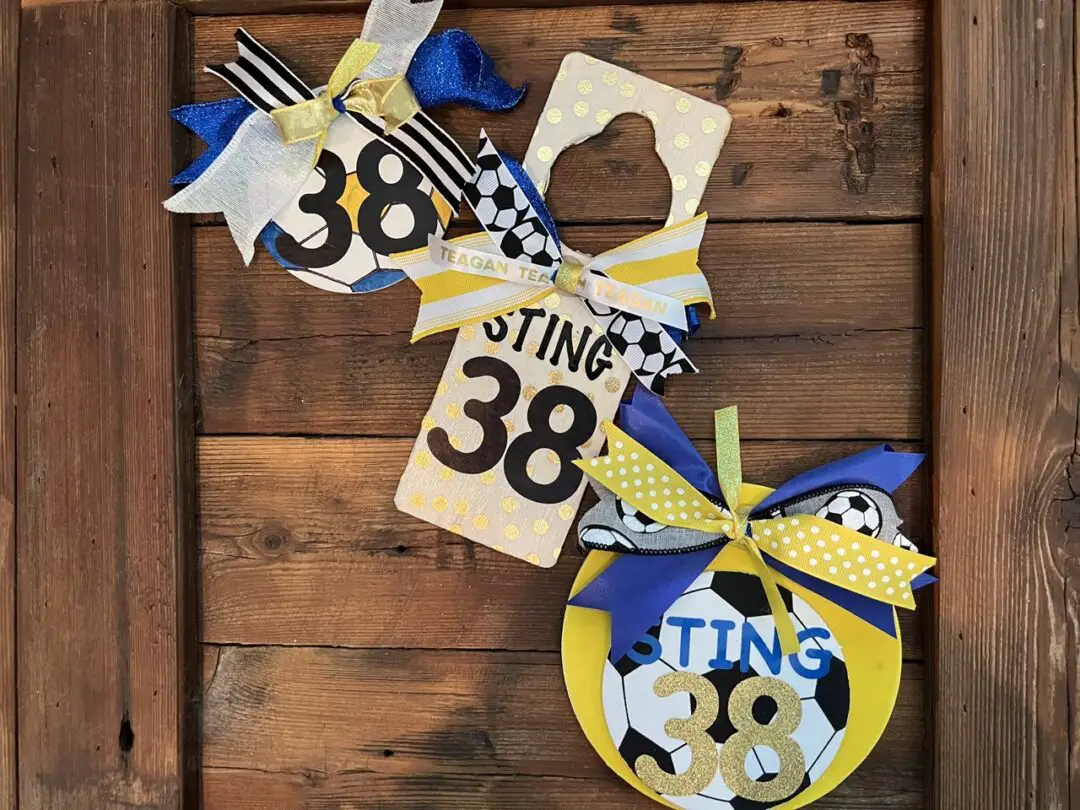
AA This most recent one, I decided to go with a new approach. There are still only a few materials required: adhesive vinyl, cardboard, ribbon, pipe cleaners, and hot glue, but whereas my previous ones didn’t use my vinyl cutter, this one did.
It is also my favorite that I’ve created so far!
Custom Door Decorations Using A Cricut
If you don’t have a silhouette or cricut, this may be a hard pass for you (be sure to check out the previous versions of this where I don’t use any custom cuts), but if you have a personal cutting machine you’re golden! Keep reading!
Here’s how I created these, along with sources in case you’d like to make some for your travel team.
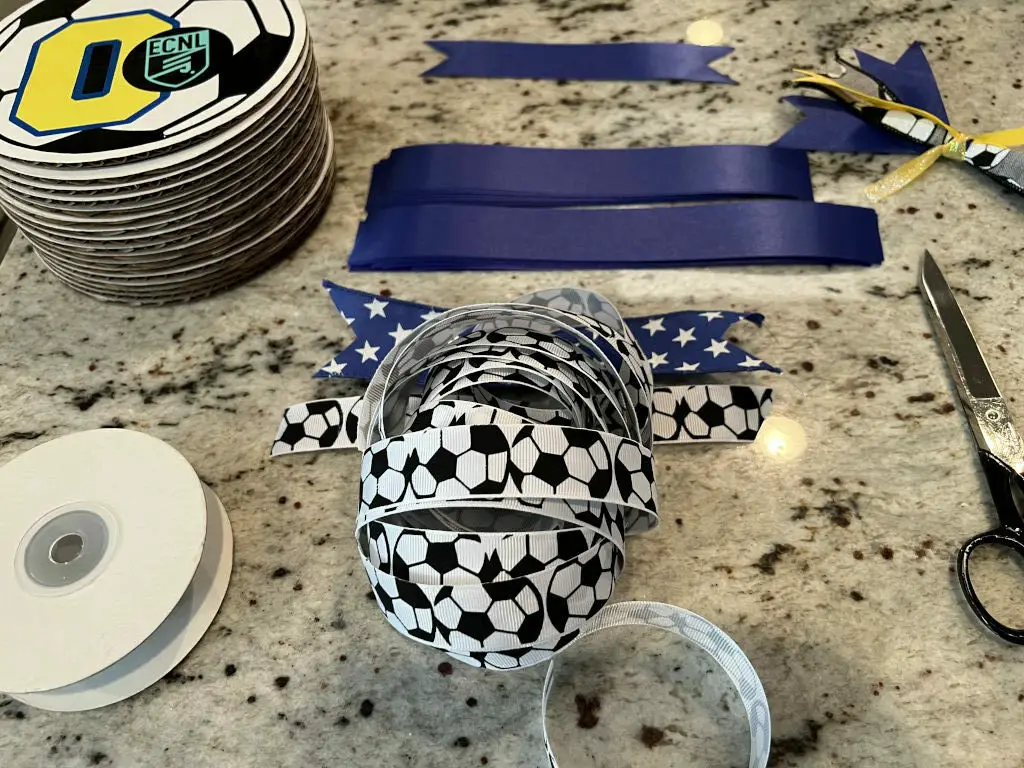
What you need:
Adhesive vinyl in 3 or 4 colors – will vary depending on your team and sport. I used our soccer team colors: royal blue and bright yellow. I also used black for the soccer ball design, and an aqua to mimic the ECNL logo. I am loving the convenience of a new vinyl and blanks store near me, but they also have an online store if you aren’t in the DFW area. The website is: https://www.avivadallas.com.
Round cardboard pieces – These serve as the background for your design. I’ve been using thin cut wood previously, but I wanted to see if these would work as they’re less expensive. They’re actually “greaseproof” 6 inch cardboard cake boards. You can find them on Amazon by clicking the image. (affiliate link ☺) I will warn you though, because of their “greaseproof” nature, the vinyl doesn’t like to stick to it, so that takes a bit of finagling. More on that in a bit.
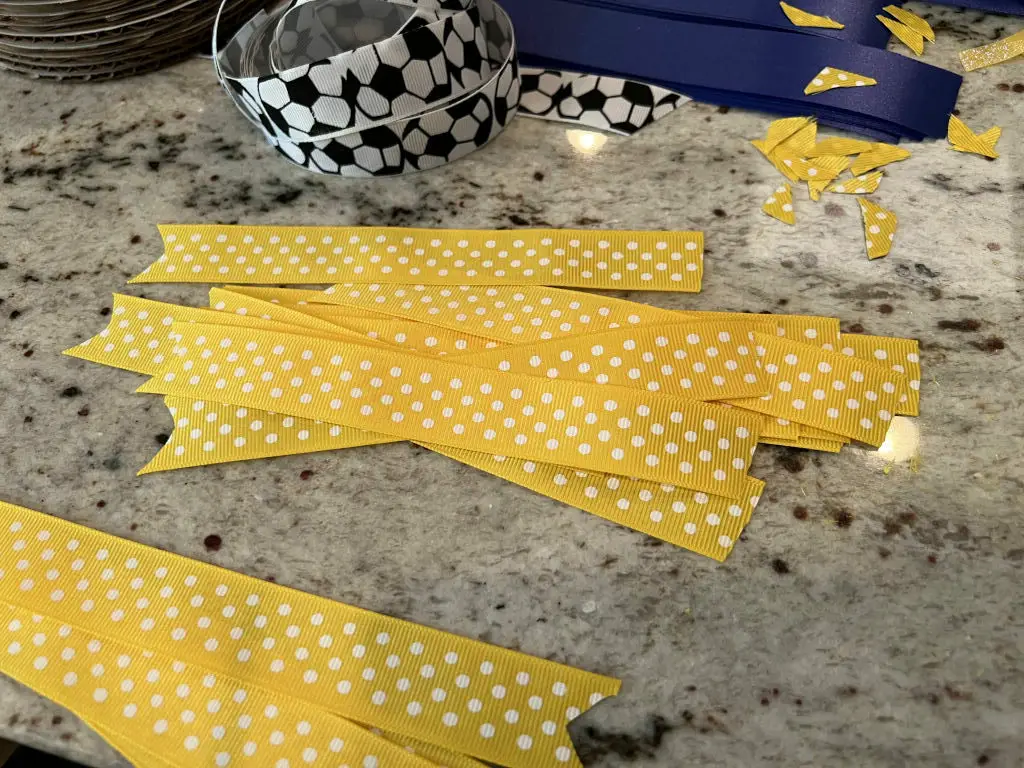
Ribbon – I used 4 colors of ribbon. The background and widest ribbon, I used two six-inch pieces of. This is 1 ¼ inch wide acetate or satin poly HOCO ribbon cut into 6-inch ish pieces. The yellow dots and soccer ribbons are 1 inch wide grosgrain ribbon cut to same length. The teal ribbon is ½ inch satin ribbon. You’ll need two pieces of this cut into 5 inch-ish pieces. With the exception of the satin ribbon, all the ribbon came from The Sale Place. The satin ribbon is from Michaels.
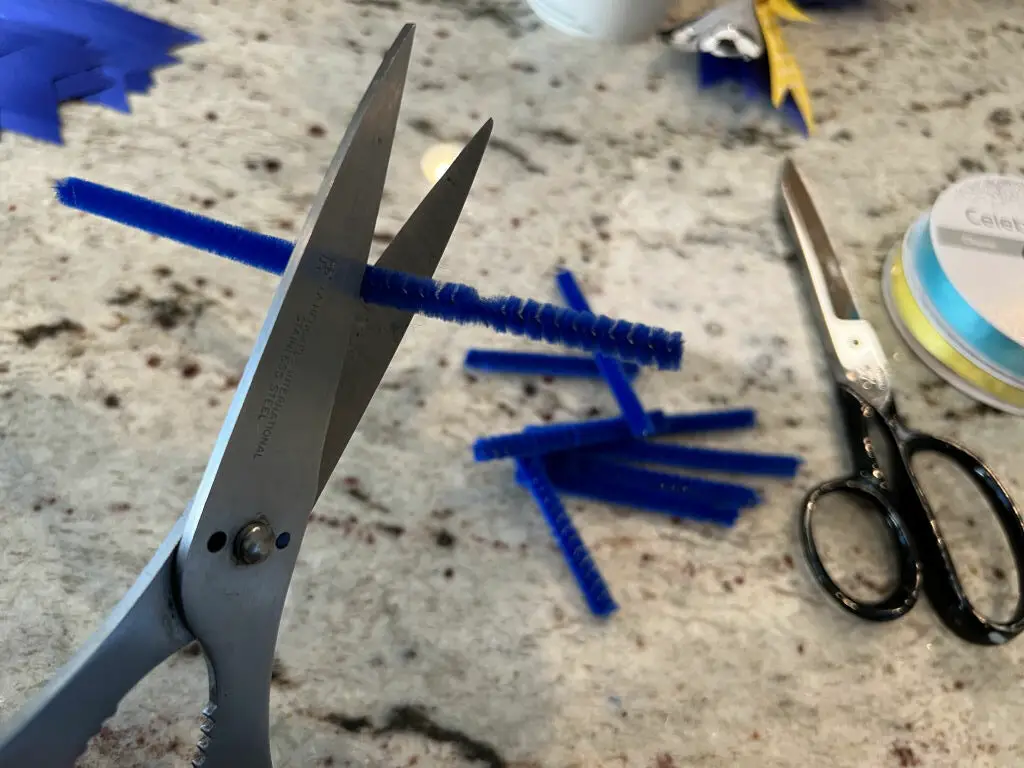
Pipe cleaners – You can’t see them in the finished piece because they’re holding the bow together, but the pipe cleaners are in royal blue to match the background ribbon. These are cut into 3-inch pieces. These are also from Michaels.
Hot glue – You’ll need a hot glue gun with clear-dry glue to attach the bow to the boards. I think Walmart has the best prices on hot glue so that’s likely where I got my glue.
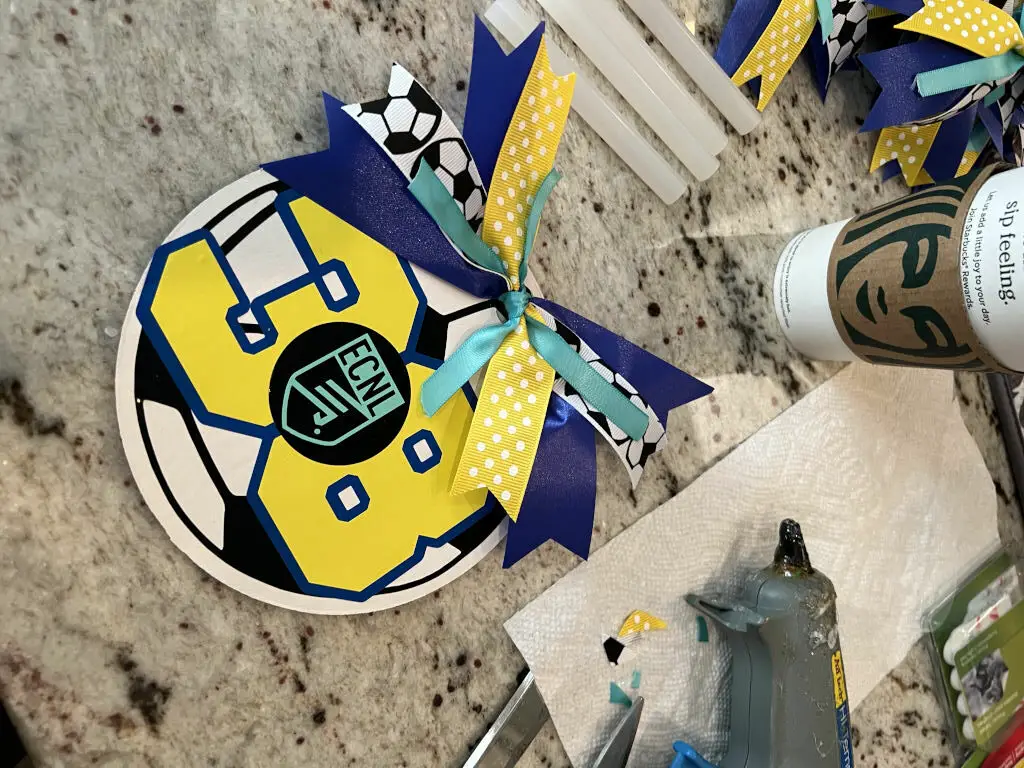
Now that you have your supplies, let’s jump into the design aspect of this.
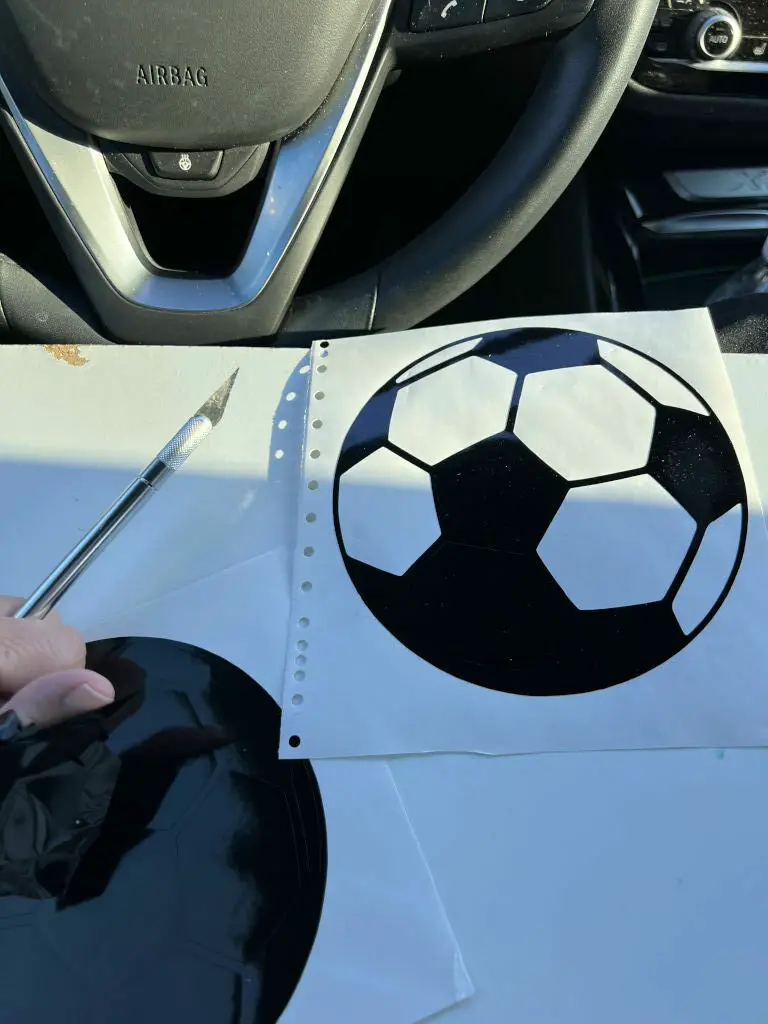
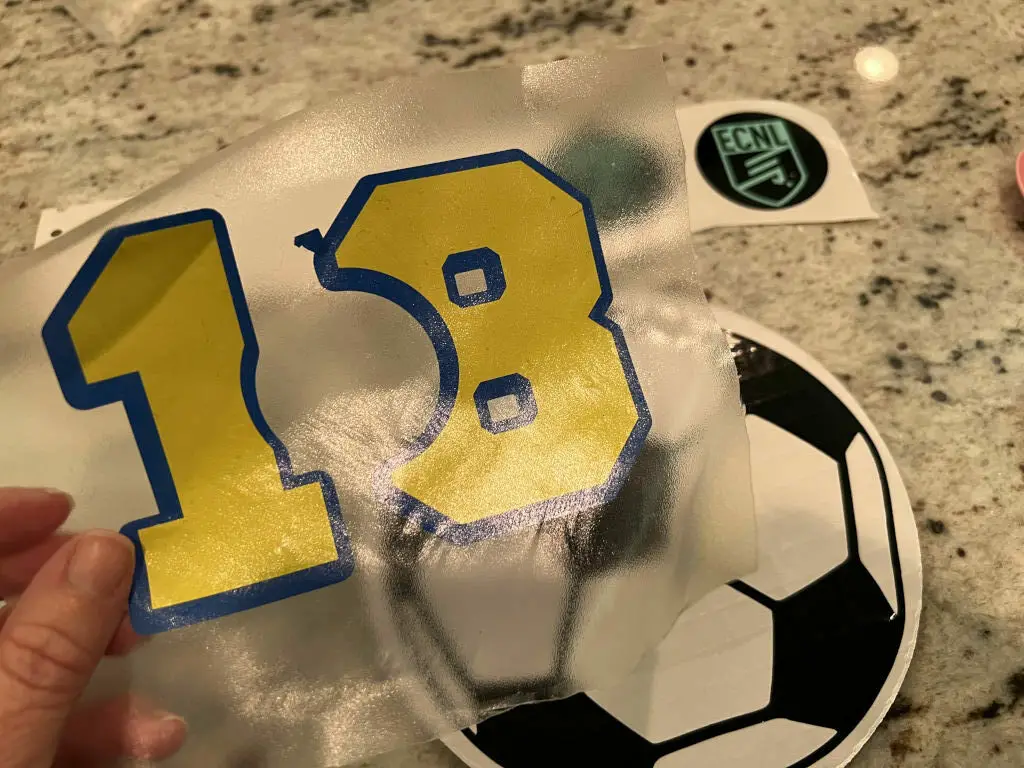
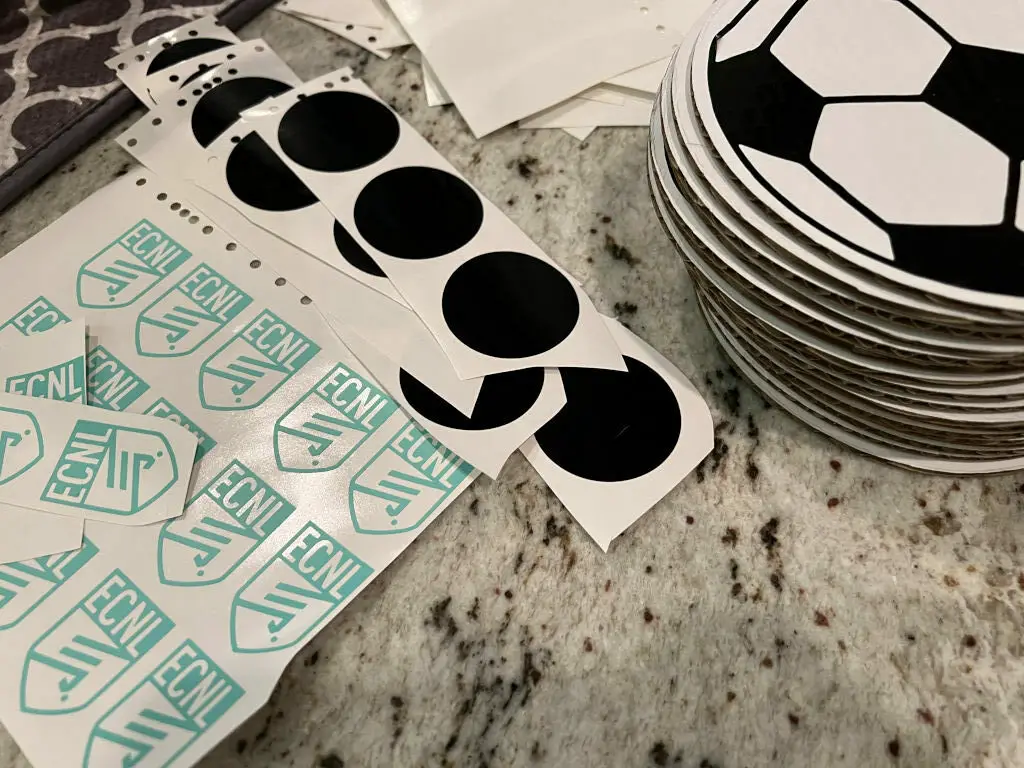
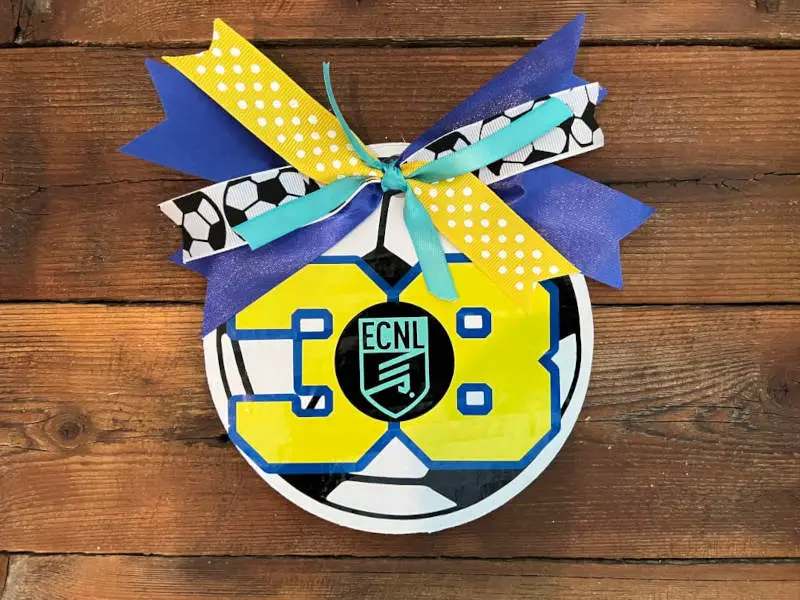
I have a Silhouette Cameo so all of this design is from the online store. The numbers are using JERSEY NUMBER MONOGRAM FRAME by Megan Hardy Designs, cut in yellow with an 1.45 offset cut in blue. The soccer ball is SOCCER BALL by Bella Blvd. I created the circle using the draw tool and cut it in black to fit into the circle where a monogram would go.
The ECNL logo could be replaced with your team logo. To create this logo, I found a .png of the logo file online, imported it into my Silhouette library and onto the design page. Then I used the trace function to trace it. I cut these in teal vinyl.
I found it easiest to put this together in layers.
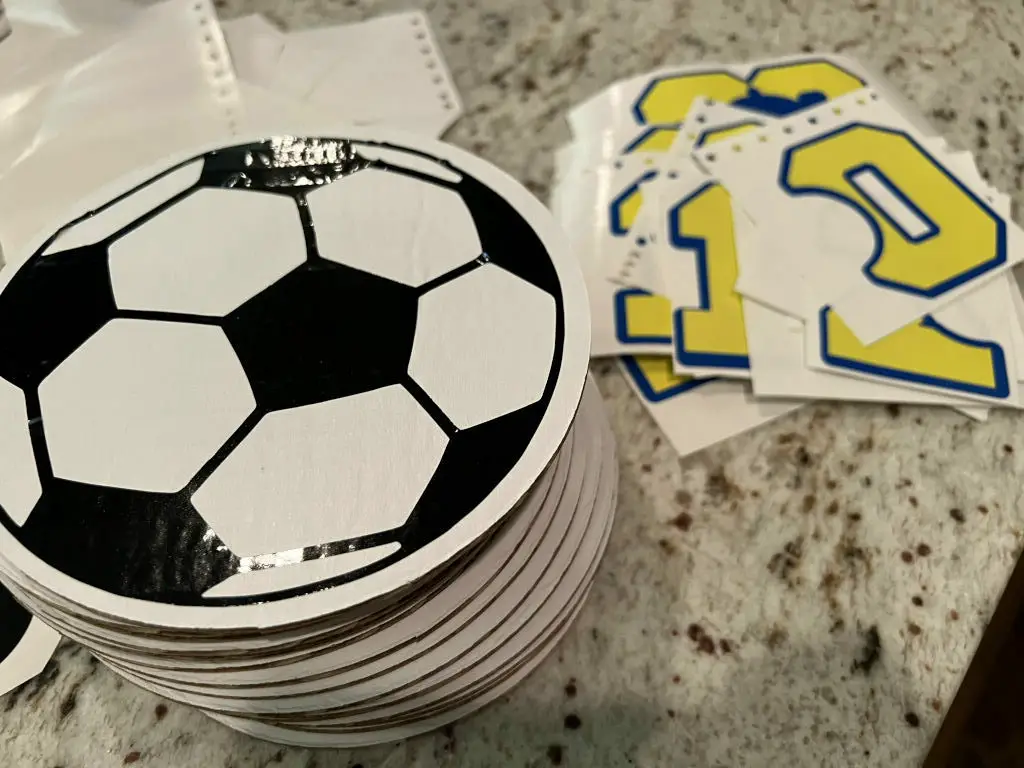
- I started with putting the soccer balls onto the cake boards first because I wasn’t sure if it would work, and I quickly found out it would test my patience. I found if I went slow and accepted that they would be perfectly imperfect (most of it is going to be covered anyway), they worked out. I’m not going to lie, it wasn’t fun, lol. I was also doing this while sitting in my car with a lap desk so not the ideal conditions. If I did this again, I would experiment with spraying the boards lightly with an adhesive before trying to stick the soccer balls to them.
- Put the ECNL logo onto the black circles.
- Put the yellow numbers onto the blue.
- Put the numbers onto the soccer balls. I was strategic in that if any of the soccer ball didn’t adhere perfectly, I made sure that area would be covered by either the ribbon or the numbers.
- Put the black circles with ECNL onto the numbers.
Now… it’s “bow” time. I say that with air quotes because these are the simpliest, now bow-y bows I can make and I love them – mostly because I’m terrible at making actual bows!
You’ve seen me make these before, but basically, you take your widest ribbon – in my case here, the solid blue — and crisscross two pieces. Layer on your next two pieces – my yellow dots and soccer ribbon — so they don’t exactly overlap. Your last piece is one of the teal ribbons. Put that on top.
Pinch it in the middle and secure the pinch with a bit of pipe cleaner. Twist the pipe cleaner in the back of the bow. Now take your last bit of teal ribbon and wrap it around the pipe cleaner with the knot (I just cross it once) in the front.
Heat up your hot glue and attach your bows to the top of the cake board.
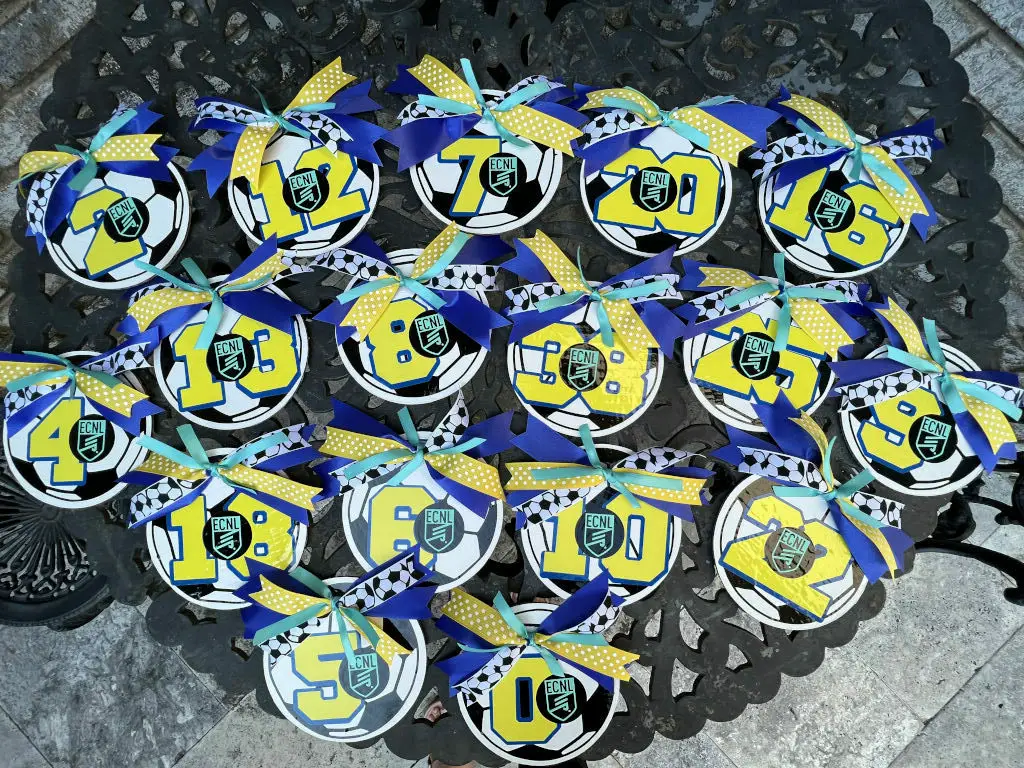
You’re all done! These are lightweight so I attached Command Strips for posters to the back, leaving the “wall” side covered so they could peel it and stick it on their doors.
They’re super cute. I hope it inspires you to make some for your team. I’d love to see any of them that you make!


 What’s your happy place? Crafting? Cooking? Cocktails? Party planning? Yes please! I love it all, and I’ve tried a lot. Check out my how-to’s! What should we do next?
0 Comments