Recently I put out a call for entries. We wanted to see your Christmas crafts that you’ve made.
There was a lot at stake. We had prizes on the line. Tickets for the Gift of Lights at Texas Motor Speedway and dinner at a local restaurant. Out of towners had the option for a Michaels gift card.
The Princess Cupcake was the judge – and she took the responsibility very seriously. She’s watched plenty an episode of Craft Wars, Cupcake Wars and Chopped to know what creative competition is all about.
It was tough. There were lots of great projects, but ultimately she chose this project submitted by Leah Jones.
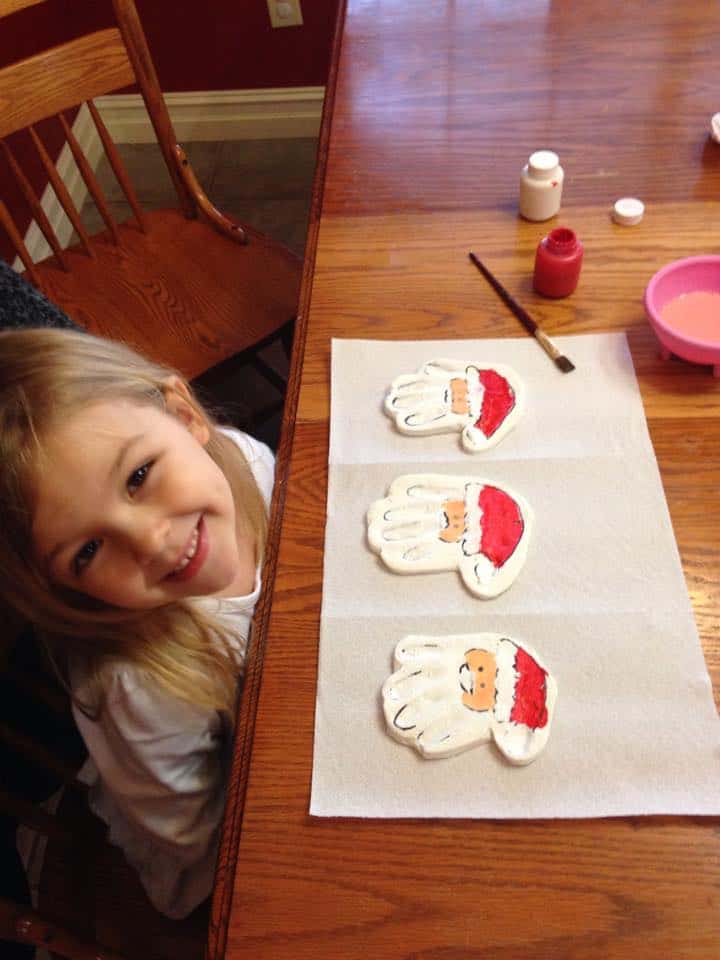
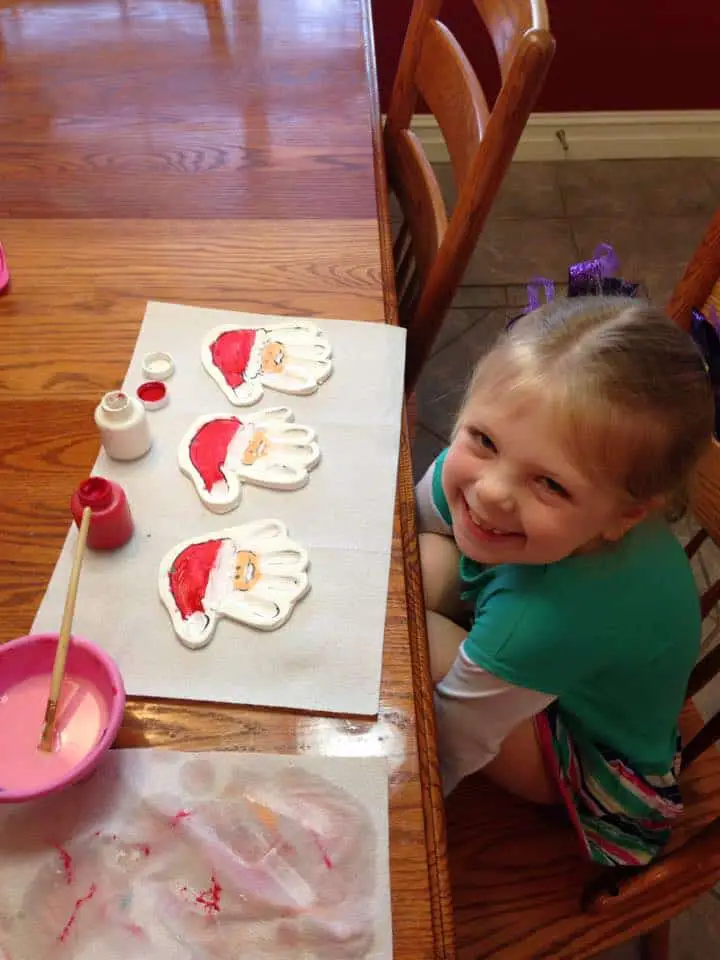
Those two adorable little munchkins made Santa ornaments with modeling clay. Leah says, “I buy the big tub of molding clay from Hobby Lobby for $20 (it lasts for a bunch of crafts) and I used a rolling pin to roll the clay flat. Then they smooshed their handprints in and I used a knife to cut around the hand print. Then we let them dry overnight. I went around the handprint and made the outline of Santa with a regular black marker and then we painted Santa on them! They loved it! After that we poked holes so we could make them ornaments.”
If I know my girl, this late entry from Leslie Chandler probably would have been a contender too.
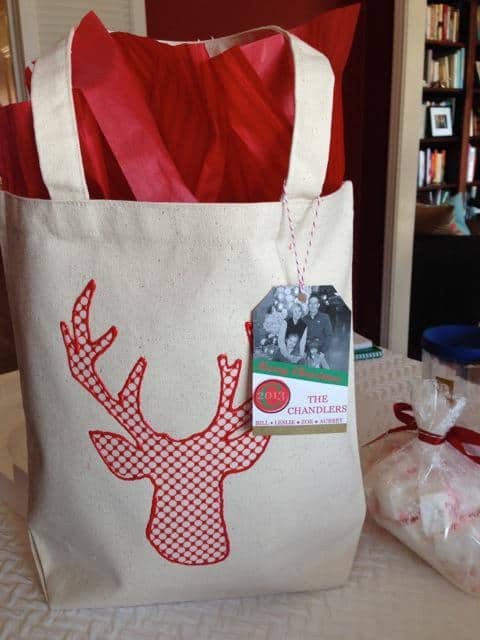
Leslie told me how she made these cute bags: “My girls and I make tote bags to hold homemade goodies (like peppermint marshmallows) for the gifts from them to their teacher’s and family friends. We’ve been doing this since they were toddlers and every year is a different theme! Last year it was all about the reindeer! They cut out a print-out of the deer unto cardstock and then trace it on fabric. They cut the fabric (usually our seven year old does this part!) and after I iron it on with wonder bond onto the ready-made tote bag our five year old traces the design with tulips fabric paint. I love the way they turned out! I can’t wait to see what they come up with this year!”
Meeeee toooooo, these are fab!
Here’s an entry from Ashley Adams. She made one of our favorite Christmas crafts, a glitter ornament.
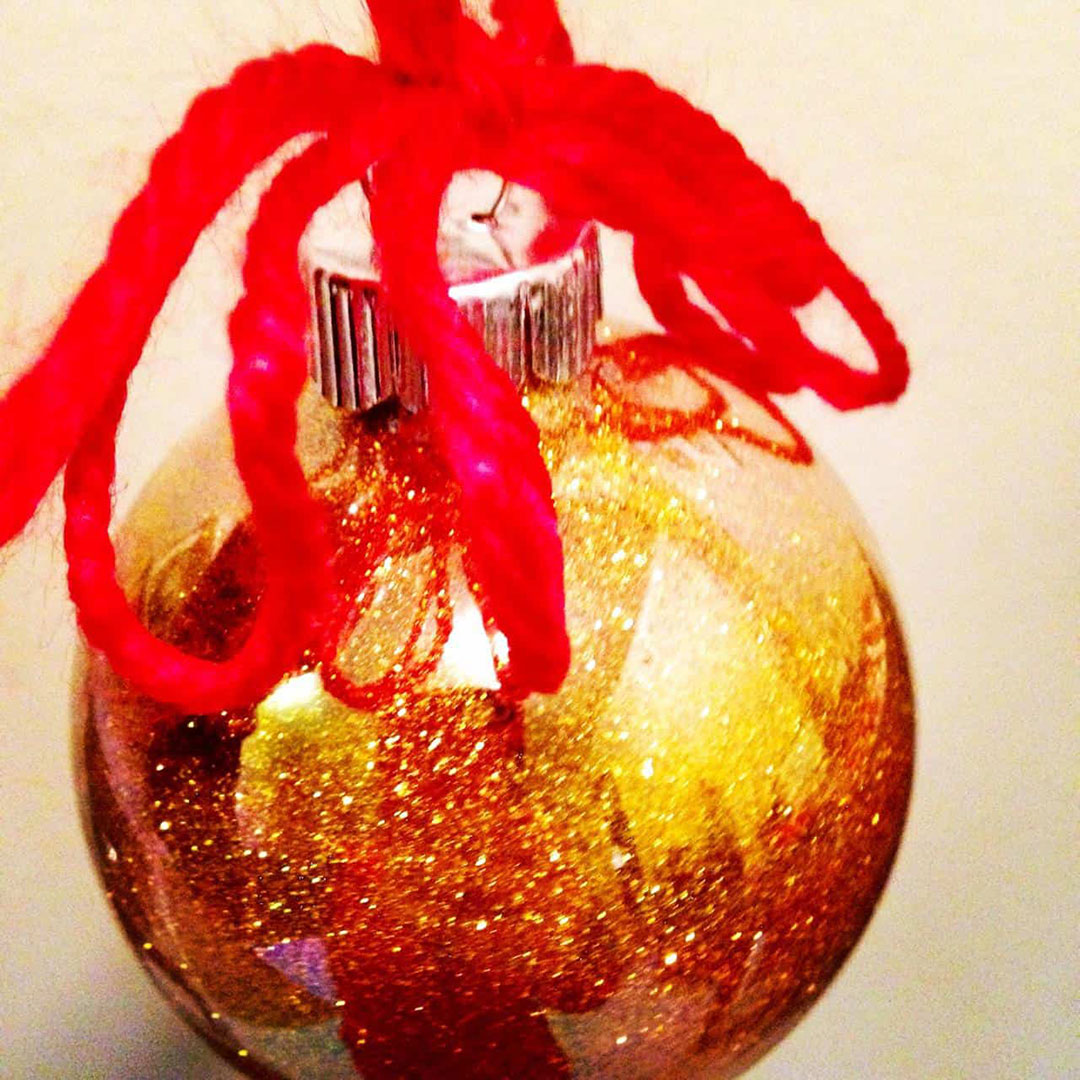
Ashely tells us how she made them: “You need: glass ornaments (clear), glitter (I like to use ultra fine), ribbon /twine / yarn, floor wax/acrylic (Pledge Mop & Glo), scissors. Remove silver topper off ornaments. Pour small amount of floor wax into ornament, swirl and make sure very part is coated. Dump out excess in small container. Next, pour in generous amount of glitter. Swirl to coat. Turn upside down and give a little shake to cover top of ornament. Dump excess back into glitter container. Leave overnight to dry. Carefully reattach silver top. Do not twist as that will scrape off the glitter. Attach a bow with your choice of ribbon, twine or yarn. Leave a long loop to allow ornament to hand onto the tree. Ta-da!!”
Here are some more entries I want to brag on.
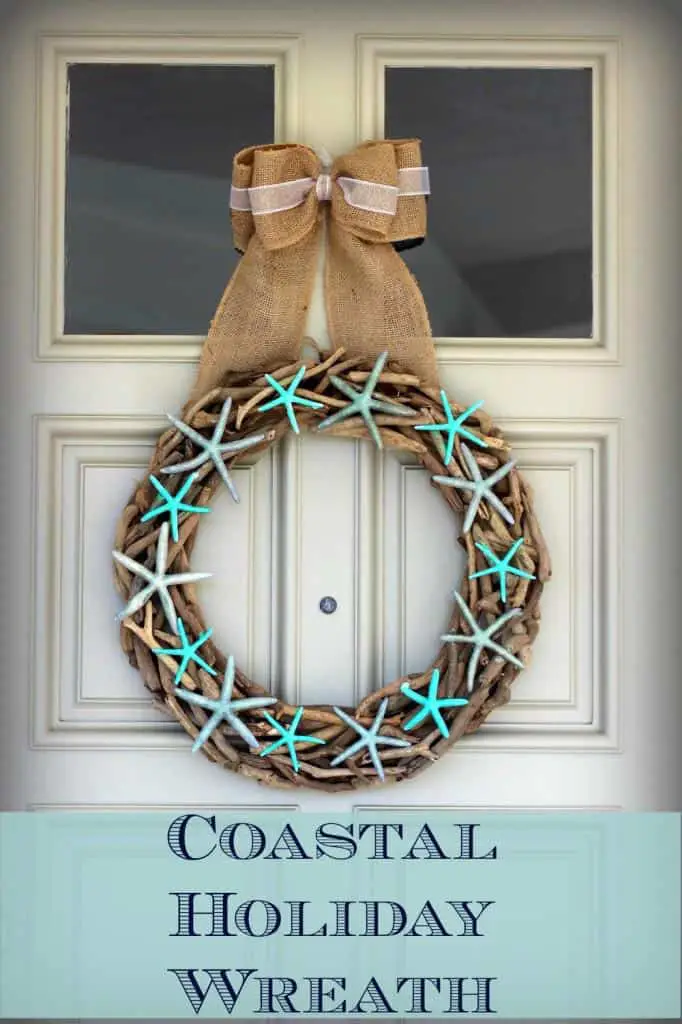
This one is from my blogger friend Theresa Sied in San Diego. I love this coastal wreath! (Check out her blog at MomSmack.com)
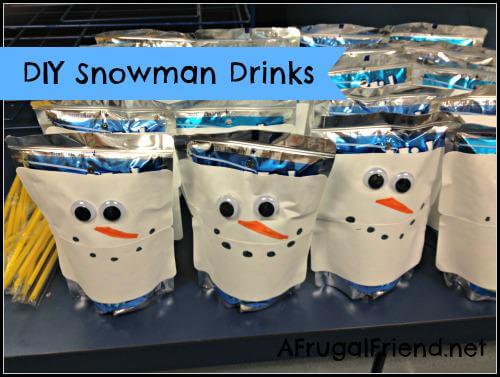
And another bloggy buddy, Debra Muccio of A Frugal Friend. What a GREAT school treat idea!
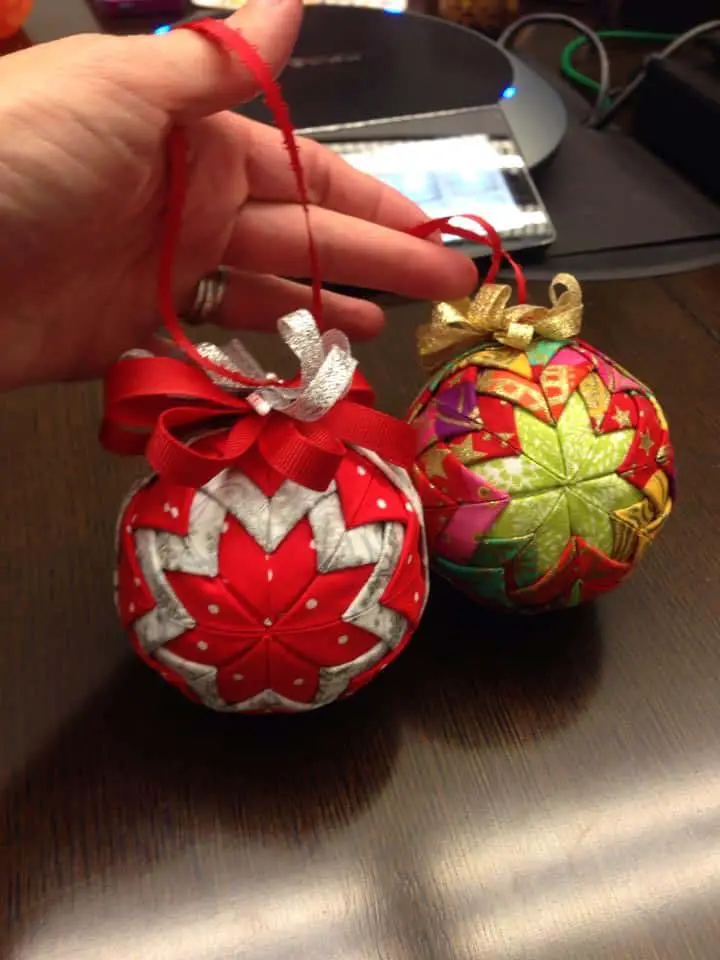
Debbie Ernst – The outdoor wreaths, indoor ornaments, and the fabric ornaments that made an appearance at our Craft Exchange last year!

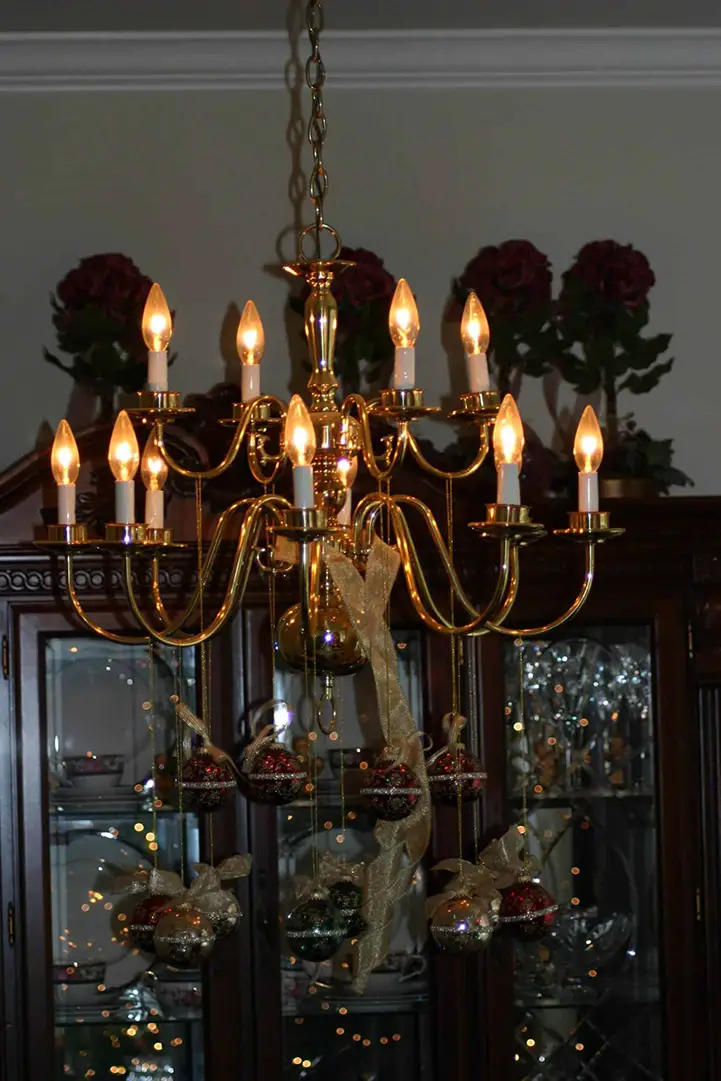
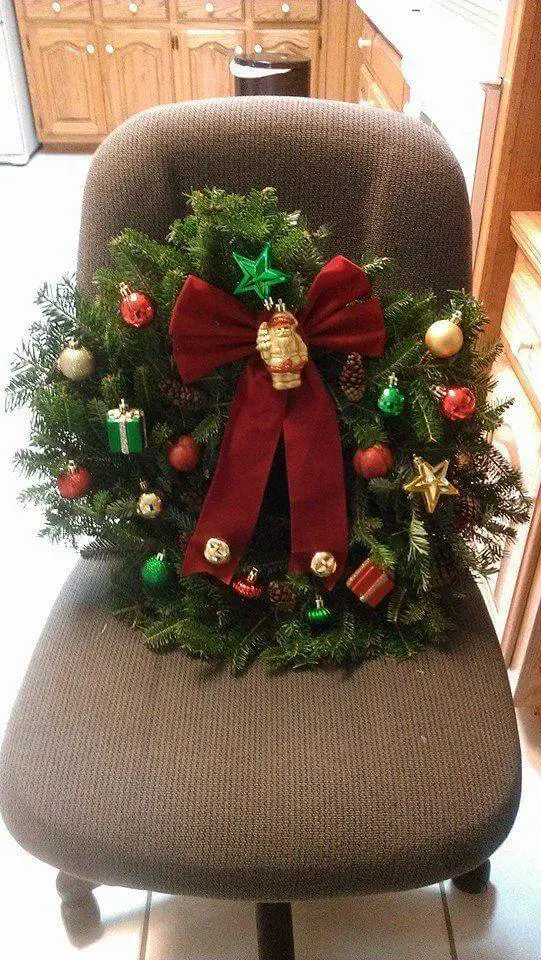
Cristina Garcia likes making wreaths and floral table decorations this time of year.

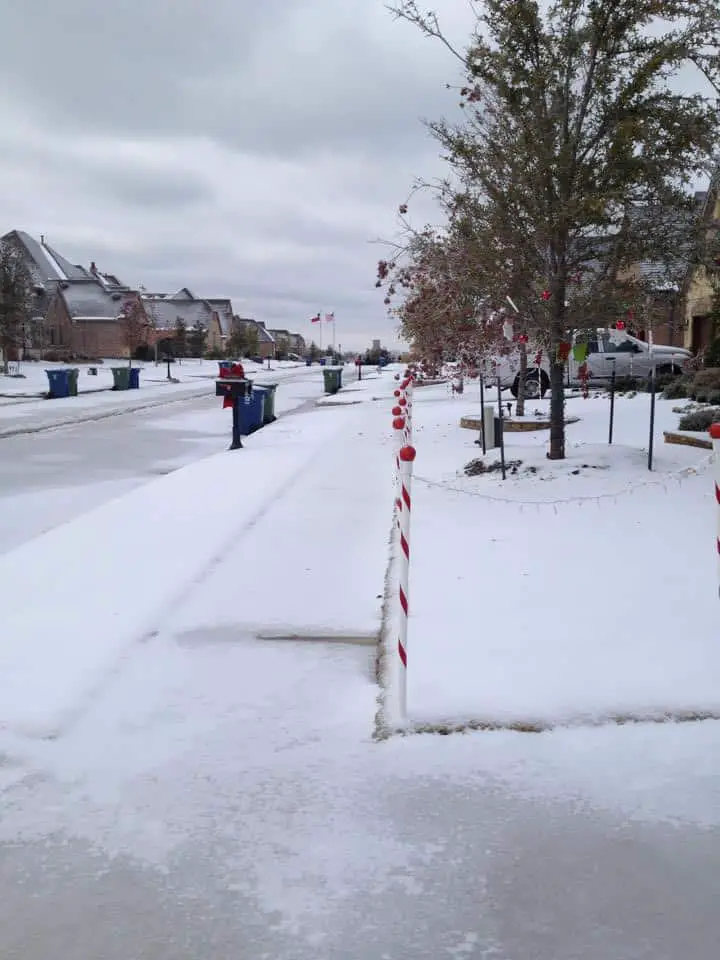
How about these Candy Cane Lane lights that Anna Williams made? Talk about making your neighbors feel lighting-inferior!

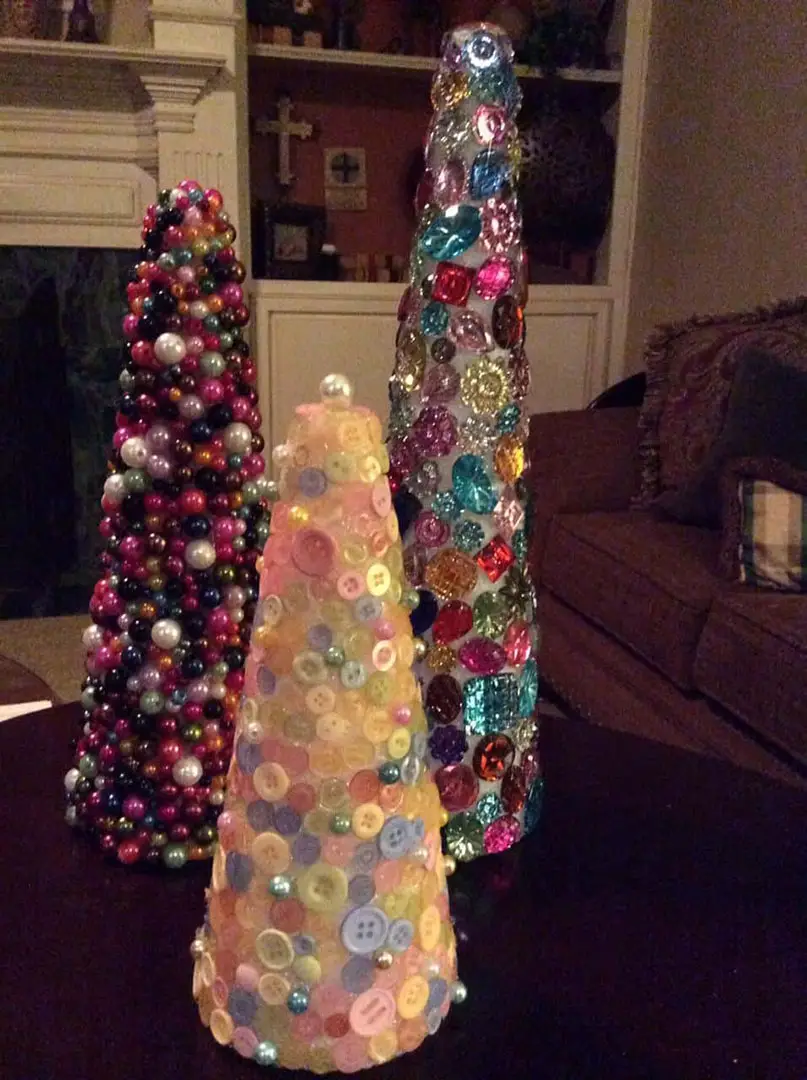
Terri Hunter made these fun trees. I want that bead one!
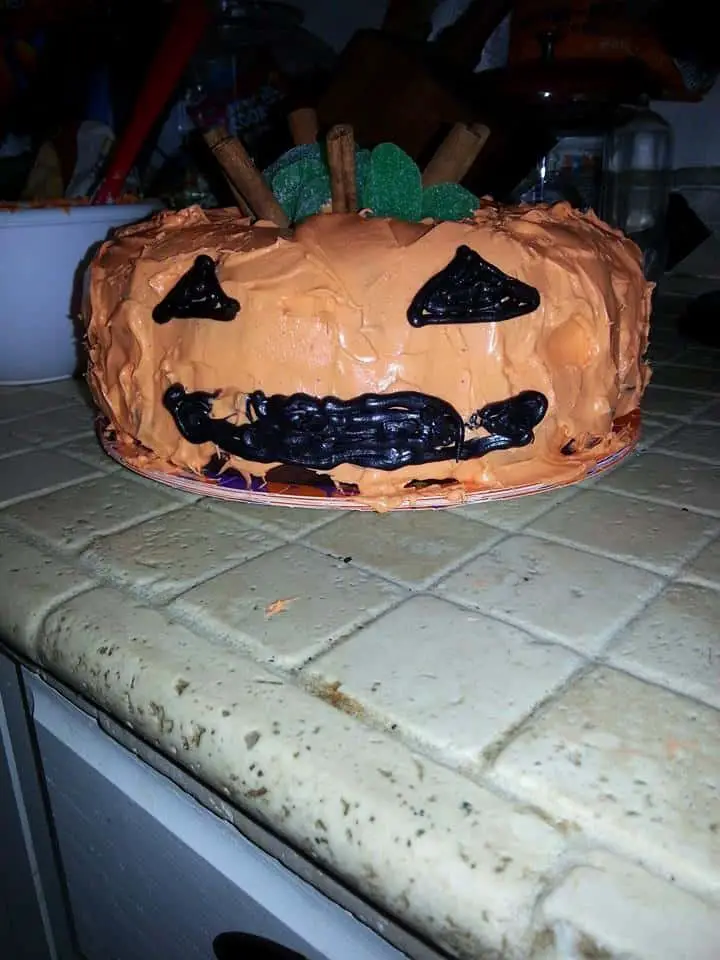
Girl after my own heart, Jessica Acker was still recovering from Halloween and sent this in. I can totally relate and love the cake! (PS – totally stealing the cinnamon stick idea!)
And lastly, our friend Andy Mages of ADM Performance, puts his aftermarket craft magic on cars (he broke the speed record at Miracle Mile, yo!) and sent in this.
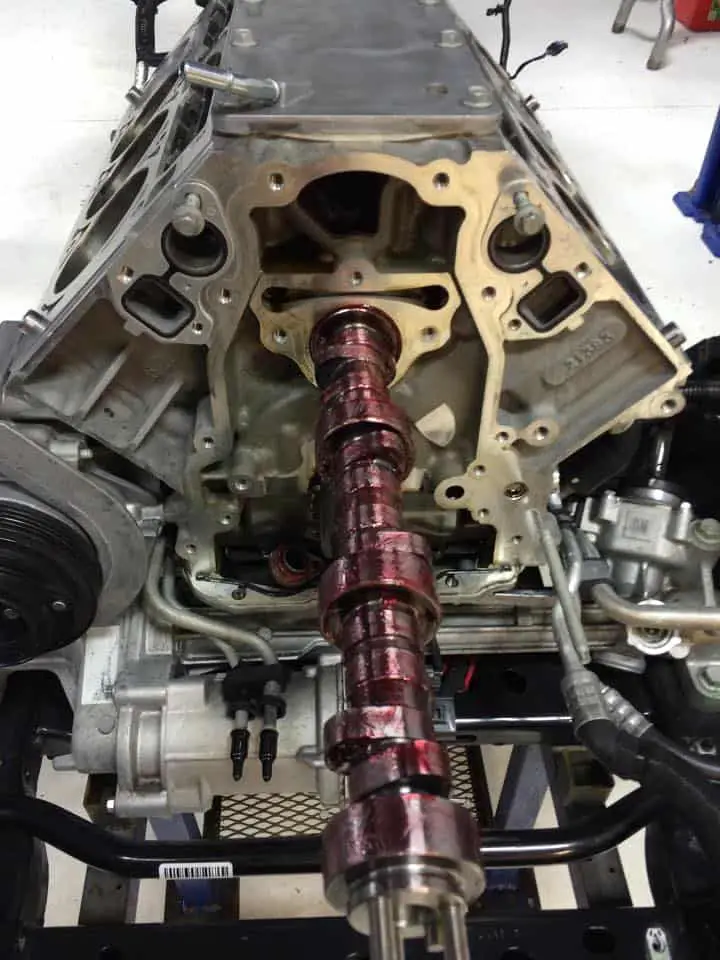
I guess it kinda looks like a tree. 🙂
All the projects were fantastic and some of you made me LOL when I opened your photos. Thank you for sharing them with us!


Those handprints are beyond adorable!! I just might have to “borrow” that idea this year! 🙂